Bleach Bypass Photography: The Complete Guide to Silver Retention Film Processing for Desaturated, High-Contrast Cinematic Images
Bleach bypass — also known as silver retention, skip bleach, or ENR processing — is a film development technique in which the bleach step of colour film processing is partially or completely skipped, leaving metallic silver in the emulsion alongside the colour dyes. The result is an image that combines the colour information of the dye layers with the high-contrast, desaturated, gritty tonality of the retained silver: reduced colour saturation, increased apparent contrast, enhanced grain structure, deep and sometimes crushed blacks, and a distinctive metallic quality that has made bleach bypass one of the most sought-after aesthetic looks in both cinema and still photography.
The technique gained widespread recognition through its use in cinema — Steven Spielberg's Saving Private Ryan (1998), David Fincher's Se7en (1995), the Coen Brothers' O Brother, Where Art Thou? (2000) in a related skip-bleach variant, and numerous other films used bleach bypass or its ENR variant to achieve desaturated, high-contrast, emotionally intense visual qualities. In still photography, bleach bypass creates images that sit in a compelling middle ground between colour and black-and-white — neither fully chromatic nor fully monochrome, but something uniquely atmospheric that feels grittier, more textured, and more emotionally raw than either pure colour or pure black-and-white.
How Bleach Bypass Works: The Chemistry
Normal C-41 (colour negative) processing consists of four main steps: colour developer, bleach, fixer, and wash. During colour development, exposed silver halide crystals are reduced to metallic silver, and the oxidised developer reacts with colour couplers in the emulsion to form dyes — cyan, magenta, and yellow dyes in the three separate emulsion layers that together reproduce the full colour spectrum. The bleach step then converts the metallic silver back to silver halide (essentially undoing the silver development), and the fixer dissolves the silver halide away. After normal processing, only the colour dyes remain — the silver that made the original image is completely removed.
In bleach bypass, the bleach step is skipped or abbreviated. The colour dyes form normally during development, but when the reduced metallic silver is not (or only partially) converted back to silver halide and removed, it remains in the emulsion as a dense, opaque, neutral-density layer superimposed on the colour dye image. This retained silver acts like a black-and-white negative superimposed on a colour transparency or negative: it adds density (darkening the image), reduces colour saturation (the opaque silver blocks some of the colour dye), and increases apparent contrast (the silver adds density primarily in the mid-tones and shadows, compressing the tonal range toward the dark end).
The degree of silver retention can be controlled by varying the bleach bypass. Complete skip (no bleach at all) retains all metallic silver, producing maximum desaturation, contrast, and density. Partial bleach bypass (reducing bleach time to 25%, 50%, or 75% of normal) removes some silver while retaining some, producing intermediate effects. Different bleach concentrations can also be used. The more silver retained, the more dramatic the effect — complete silver retention produces extremely dense, heavily desaturated images, while light silver retention produces a subtle gritty quality with most colour information preserved.
Bleach Bypass with Colour Negative Film (C-41)
Bleach bypass on colour negative film is relatively straightforward. Process the film normally through the colour developer step, then skip the bleach entirely (or reduce bleach time) and proceed directly to fixer and wash. The resulting negatives are denser (higher overall density due to retained silver), more contrasty, and less colour-saturated than normally processed negatives. They can be scanned or printed, though the increased density may require adjustments — more light during scanning or printing, and contrast correction during post-processing.
When scanning bleach-bypass negatives, expect to work harder in post-processing to balance the tonal range. The retained silver preferentially increases density in the shadow areas (where more silver was deposited during exposure), so the scan may show blocked-up shadows and require careful curves or levels adjustments to recover shadow detail. Colour correction is also typically needed — the retained silver doesn't affect all dye layers equally, so colour balance shifts that wouldn't occur in normally processed film may need correction.
Bleach Bypass with Colour Slide Film (E-6)
Bleach bypass on E-6 slide film produces more dramatic and visually striking results than on C-41 negative film, because slide film is viewed directly (as a positive image) rather than through the tonal inversion of negative-to-print conversion. A bleach-bypass slide retains its colour dyes (though desaturated by the overlying silver) plus a dense layer of metallic silver that gives the image a distinctive smoky, metallic quality. The highlights glow through the silver with reduced but visible colour; the shadows become very dense and nearly black; the mid-tones take on a pearly, silvery quality unlike anything achievable in conventional colour photography.
E-6 bleach bypass is technically more complex than C-41 because E-6 processing includes a reversal step (either chemical or light re-exposure) between the first and second developers. The bleach in E-6 normally removes all silver after the second (colour) development, so skipping it leaves a very dense, heavily silver-laden positive. The density can be extreme — full-skip E-6 slides may be too dense to project or scan effectively, though they can produce extraordinary results when scanned with high-dynamic-range scanners or photographed on a light table.
Cinematic History: Bleach Bypass at the Movies
The film industry adopted bleach bypass and related silver-retention techniques for their ability to create emotionally specific visual moods that were difficult or impossible to achieve through conventional colour timing alone. Cinematographer Janusz Kamiński used bleach bypass on Saving Private Ryan to create the desaturated, gritty, almost photojournalistic look that made the Normandy beach scenes feel documentary-real rather than Hollywood-slick. The retained silver desaturated the uniforms and skin tones while adding grain and contrast that evoked the newsreel footage audiences associated with World War II imagery.
Vittorio Storaro used ENR (a Technicolor-proprietary variant of bleach bypass developed by Ernesto N. Rico) on films including Reds and One from the Heart, using controlled silver retention to darken and desaturate specific scenes for emotional effect while leaving other scenes normally processed. Darius Khondji used bleach bypass on Se7en to create the dark, oppressive, nearly monochromatic visual mood that defined the film's atmosphere — the retained silver turned the perpetual rain and grime of the unnamed city into a visual experience of claustrophobia and moral decay.
DIY Bleach Bypass: Practical Home Processing
If you develop your own colour film at home using a C-41 kit, bleach bypass is one of the easiest experimental techniques to try. Most home C-41 kits include separate developer, bleach (or blix — combined bleach/fixer), fixer, and stabiliser solutions. For complete bleach bypass: develop normally in the colour developer for the recommended time and temperature, then skip the bleach step entirely and proceed directly to the fixer. For partial bypass: reduce the bleach time to a fraction of normal (experiment with 25%, 50%, 75%) or dilute the bleach with water before use.
If your kit uses a combined blix (bleach-fix) rather than separate bleach and fixer, true bleach bypass is more difficult because you cannot easily separate the bleach and fix functions. However, you can achieve partial silver retention by reducing the blix time significantly — blix for 30–60 seconds instead of the normal 4–6 minutes. This allows some fixing to occur (so the residual silver halide is partially removed and the film is at least partially stable) while not allowing enough bleach time for complete silver removal. The results are less predictable than with separate bleach and fixer, but the gritty, desaturated quality is still achievable.
Important practical notes: bleach-bypass negatives are very dense and may challenge scanners that aren't designed for high-density originals. Increase your scanner's backlight if possible, or use a dedicated film scanner rather than a flatbed. Also note that retained metallic silver is not as archivally stable as pure dye images — the silver can oxidise over time, causing tonal shifts or density loss. For long-term preservation, scan your bleach-bypass negatives at high resolution promptly after processing, and store the originals in archival sleeves in cool, dry conditions.
Digital Simulation of the Bleach Bypass Look
The bleach bypass aesthetic is widely simulated digitally in Photoshop, Lightroom, Capture One, and dedicated plug-ins. The fundamental technique is straightforward: desaturate the colour partially (reduce saturation 40–70%), increase contrast (especially shadow density), add grain, and optionally adjust colour balance toward cooler, more muted tones. More sophisticated digital simulations layer a desaturated, high-contrast copy of the image over the colour version using a blending mode (typically Luminosity or Overlay) that combines the monochrome contrast with the underlying colour.
In Lightroom or Camera Raw: reduce Vibrance significantly (-40 to -70), reduce Saturation moderately (-20 to -40), increase Contrast (+30 to +60), darken Shadows (-20 to -40), add Clarity (+10 to +30), and add Grain (Amount 20–40, Size 25, Roughness 50). Fine-tune with the HSL panel — further desaturate specific colour channels (often greens and blues) while preserving skin-tone hues. This workflow produces results that closely approximate the bleach bypass look, though the organic grain structure of retained film silver is difficult to replicate perfectly with digital tools.
When to Use Bleach Bypass: Subject and Mood Considerations
Bleach bypass works exceptionally well for subjects that benefit from a gritty, raw, emotionally intensified visual treatment. Reportage and documentary work gains urgency and immediacy from the desaturated, high-contrast quality. Street photography becomes grittier and more atmospheric. Portraits take on a dramatic, almost confrontational quality — reduced colour saturation draws attention to form, texture, and expression rather than pretty colour. Industrial subjects, urban decay, stormy weather, and dimly lit interiors all respond well to the bleach bypass treatment.
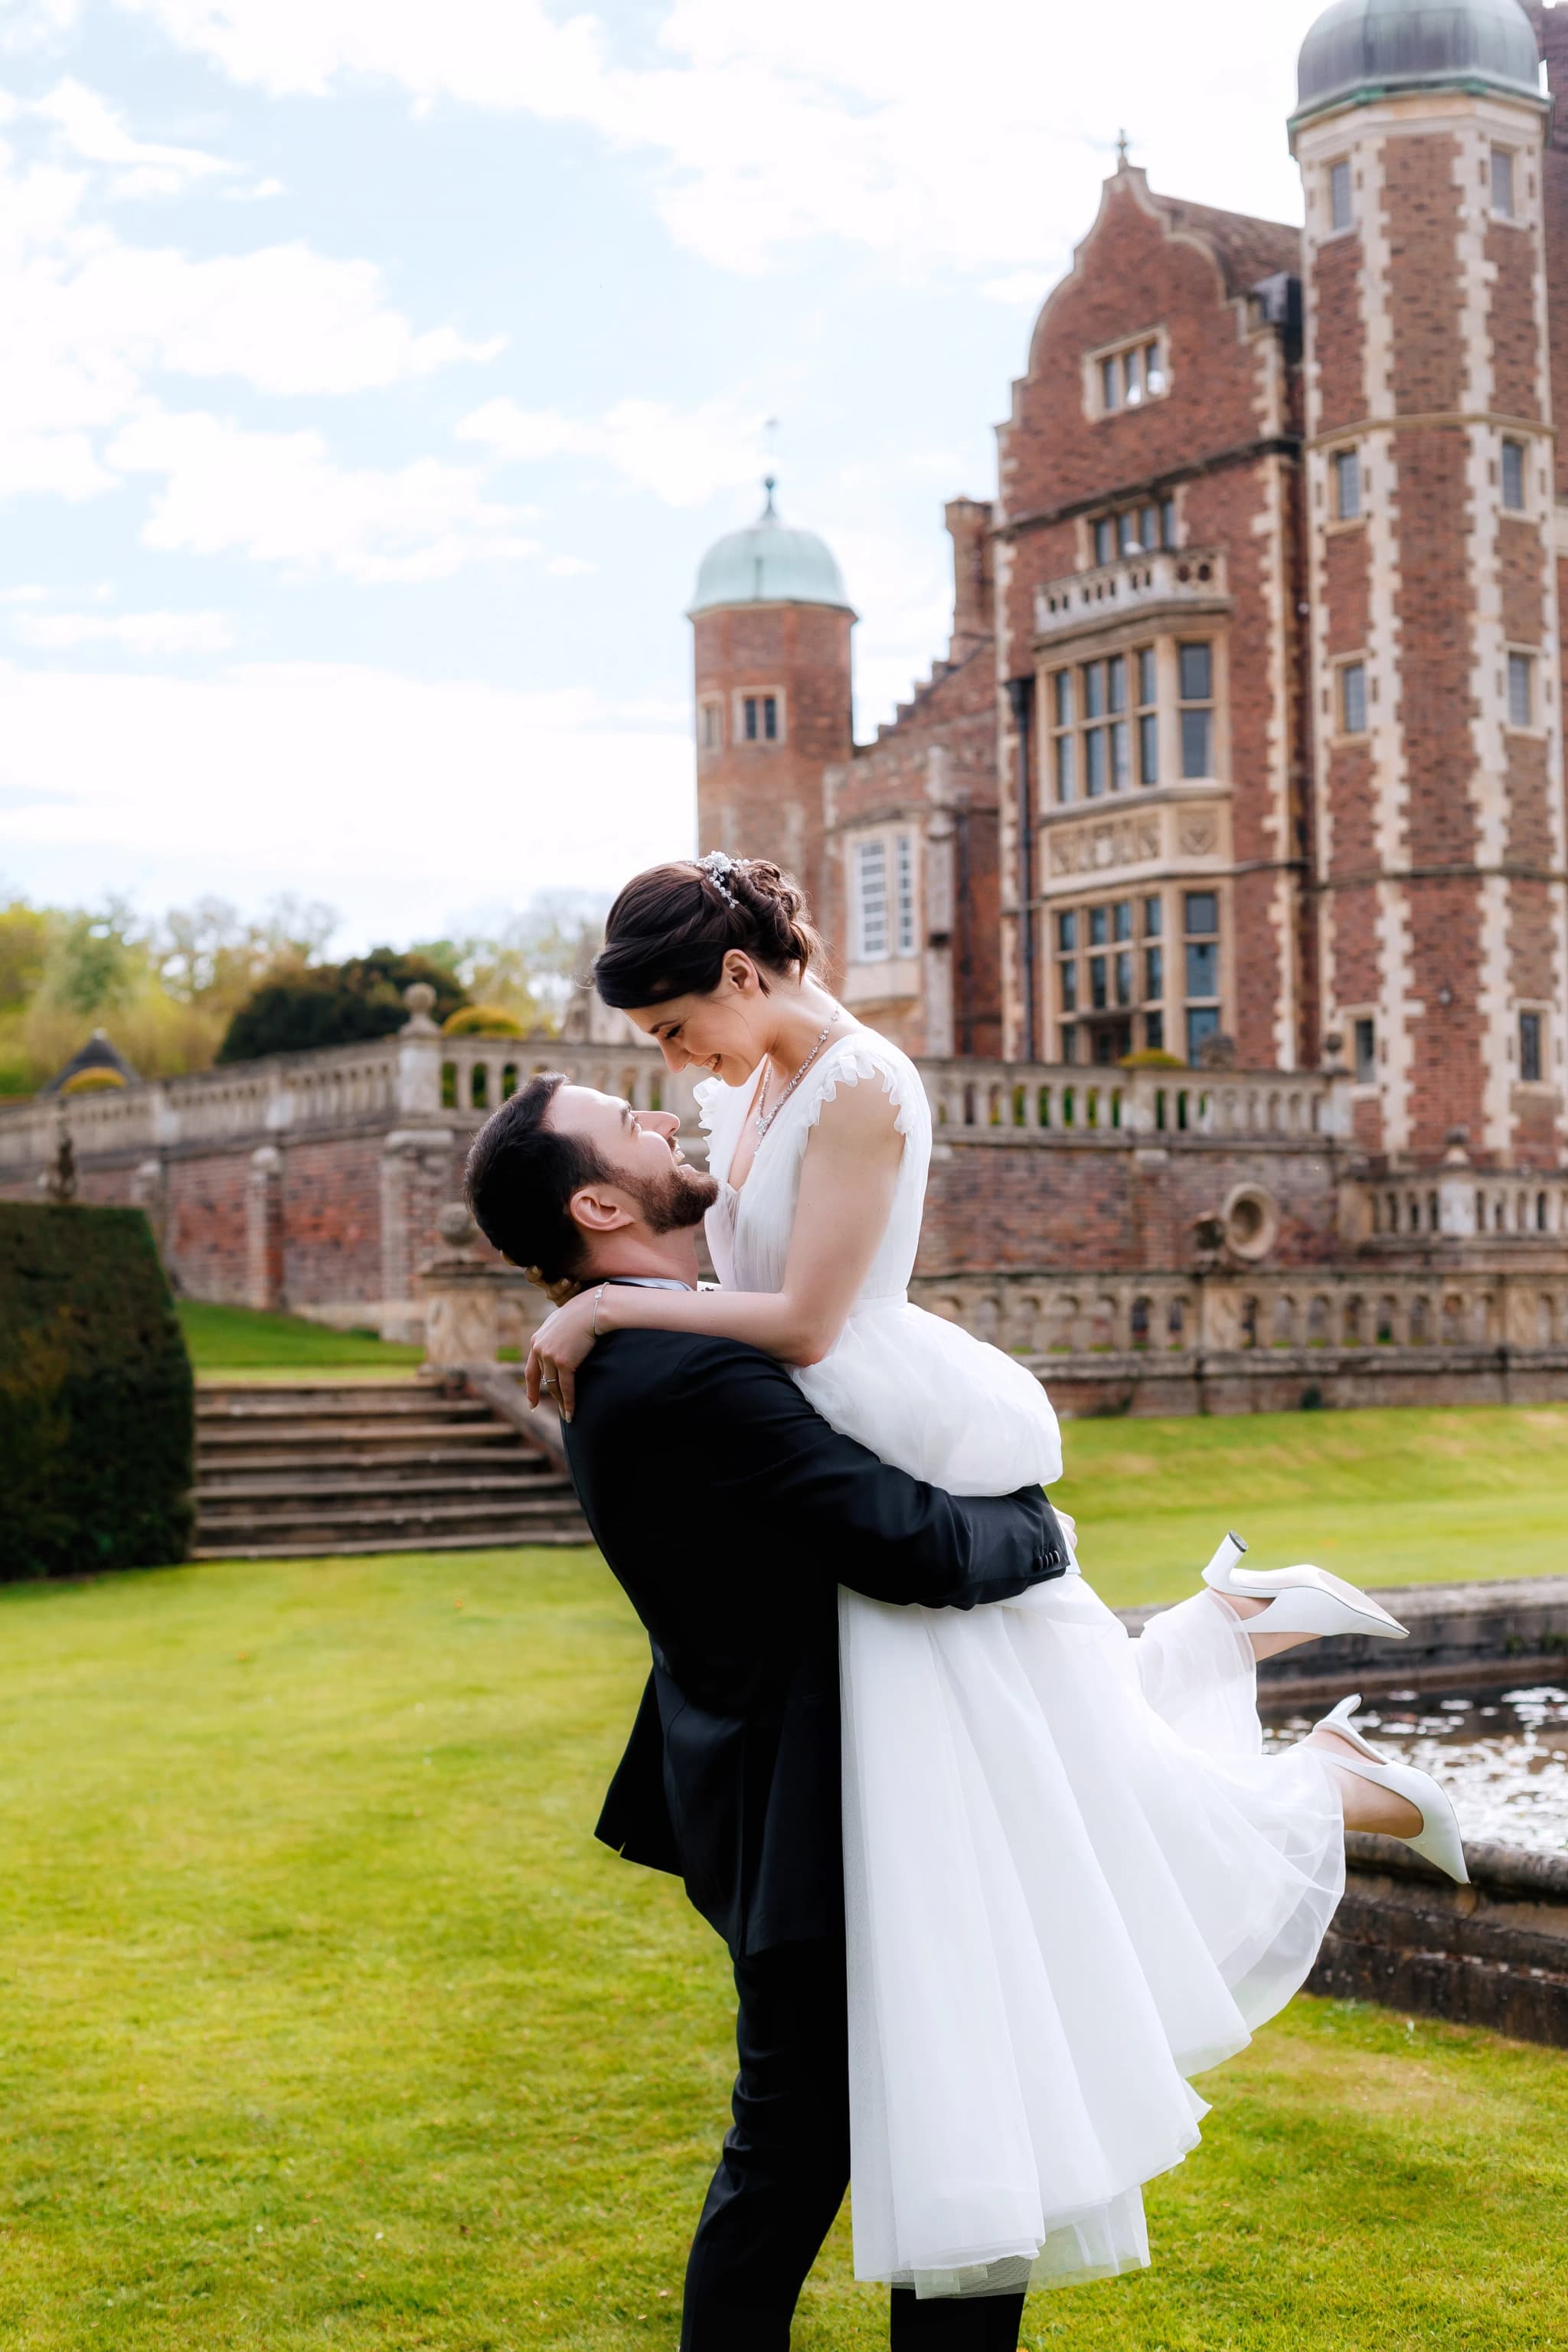
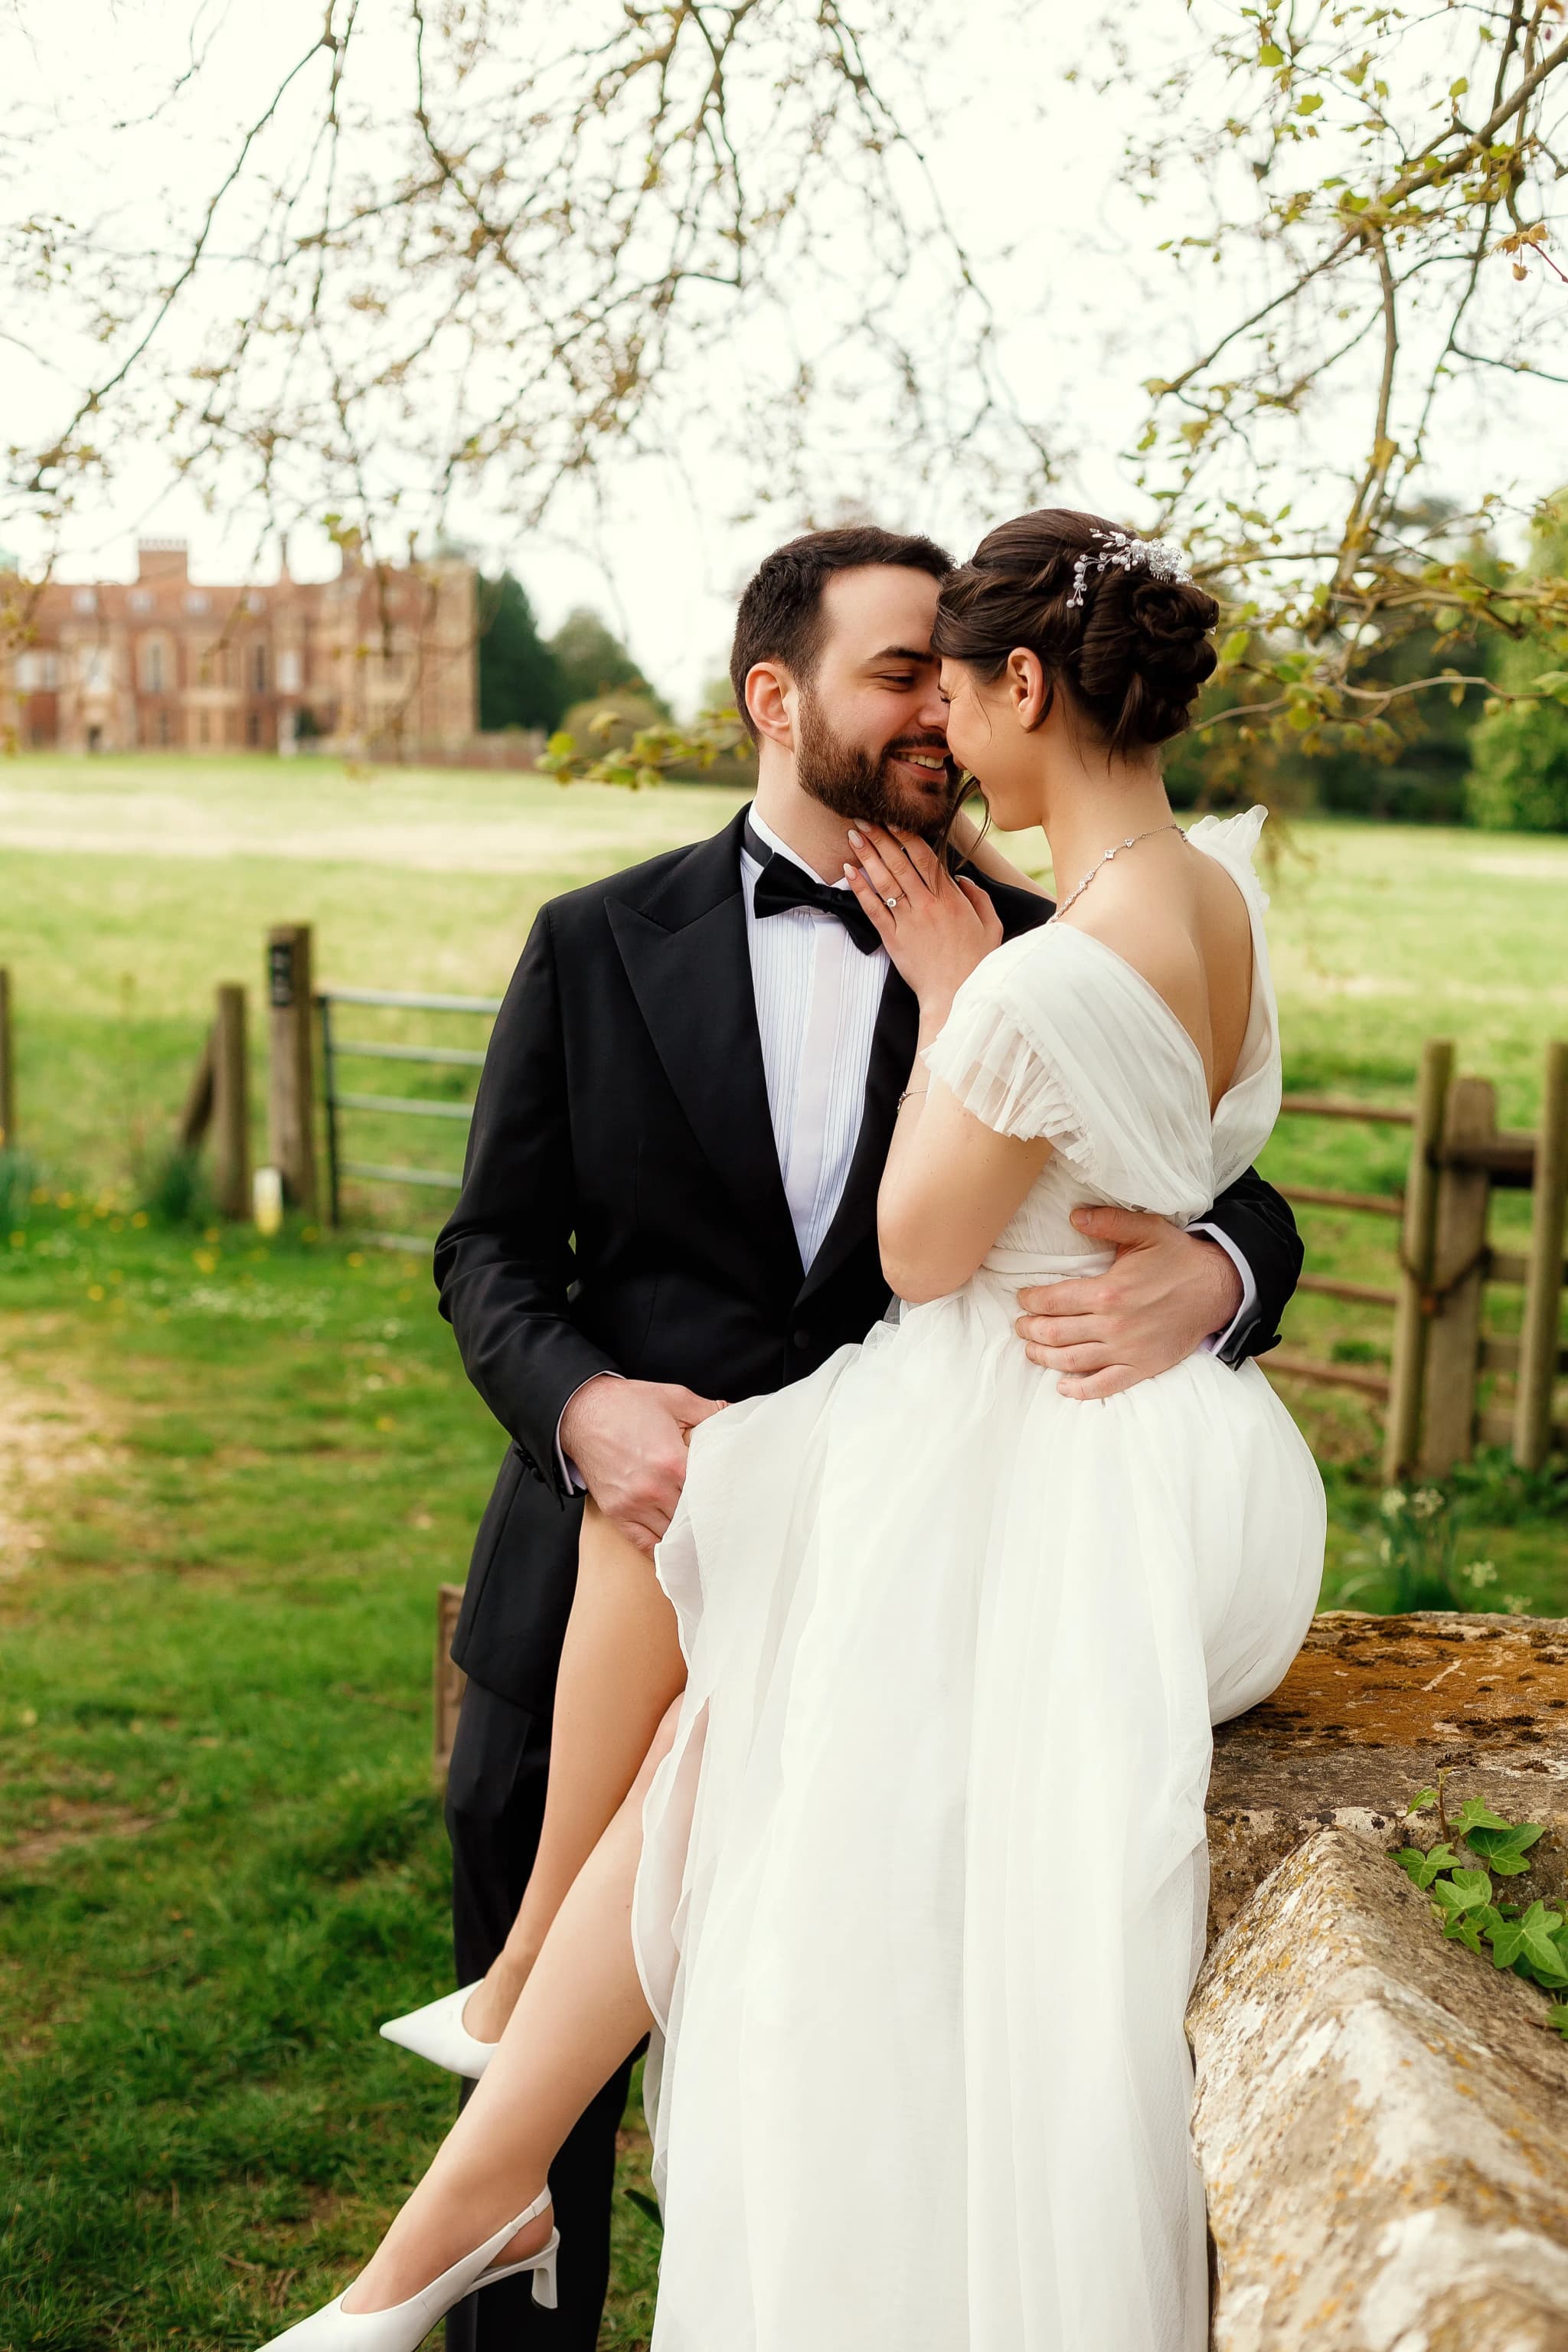
Bleach bypass works less well for subjects that depend on saturated colour for their impact — flower photography, tropical landscapes, food photography, and brightly coloured commercial subjects typically lose too much when desaturated. Wedding photography presents an interesting middle ground — the bleach bypass aesthetic can give wedding reportage a timeless, photojournalistic quality, but the desaturated colours may not be what couples expect when they envision their wedding photos. As with any strong stylistic choice, discussing the aesthetic with clients before applying it is essential.
Atmospheric Photography in Cambridge
Understanding techniques like bleach bypass — how contrast, saturation, and tonal density shape the emotional impact of an image — informs every photograph I make. Whether I'm documenting a misty morning ceremony at the Round Church or capturing candid moments at a college reception, I'm always thinking about how tonal choices serve the story.
For atmospheric, emotionally resonant photography in Cambridge, get in touch.