Yana Skakun

Golden Hour Photography: How to Capture That Perfect Warm Glow
By Yana Skakun·11 April 2026·7 min read
Golden hour — the sixty minutes or so following sunrise and preceding sunset — produces the warmest, most flattering, most universally beloved light in photography. Understanding why it looks the way it does, and how to actually plan a session around it, is one of the most practically useful things a photographer or a portrait client can learn, and it changes how you think about scheduling almost any outdoor shoot once it clicks.
Why Golden Hour Light Is Different
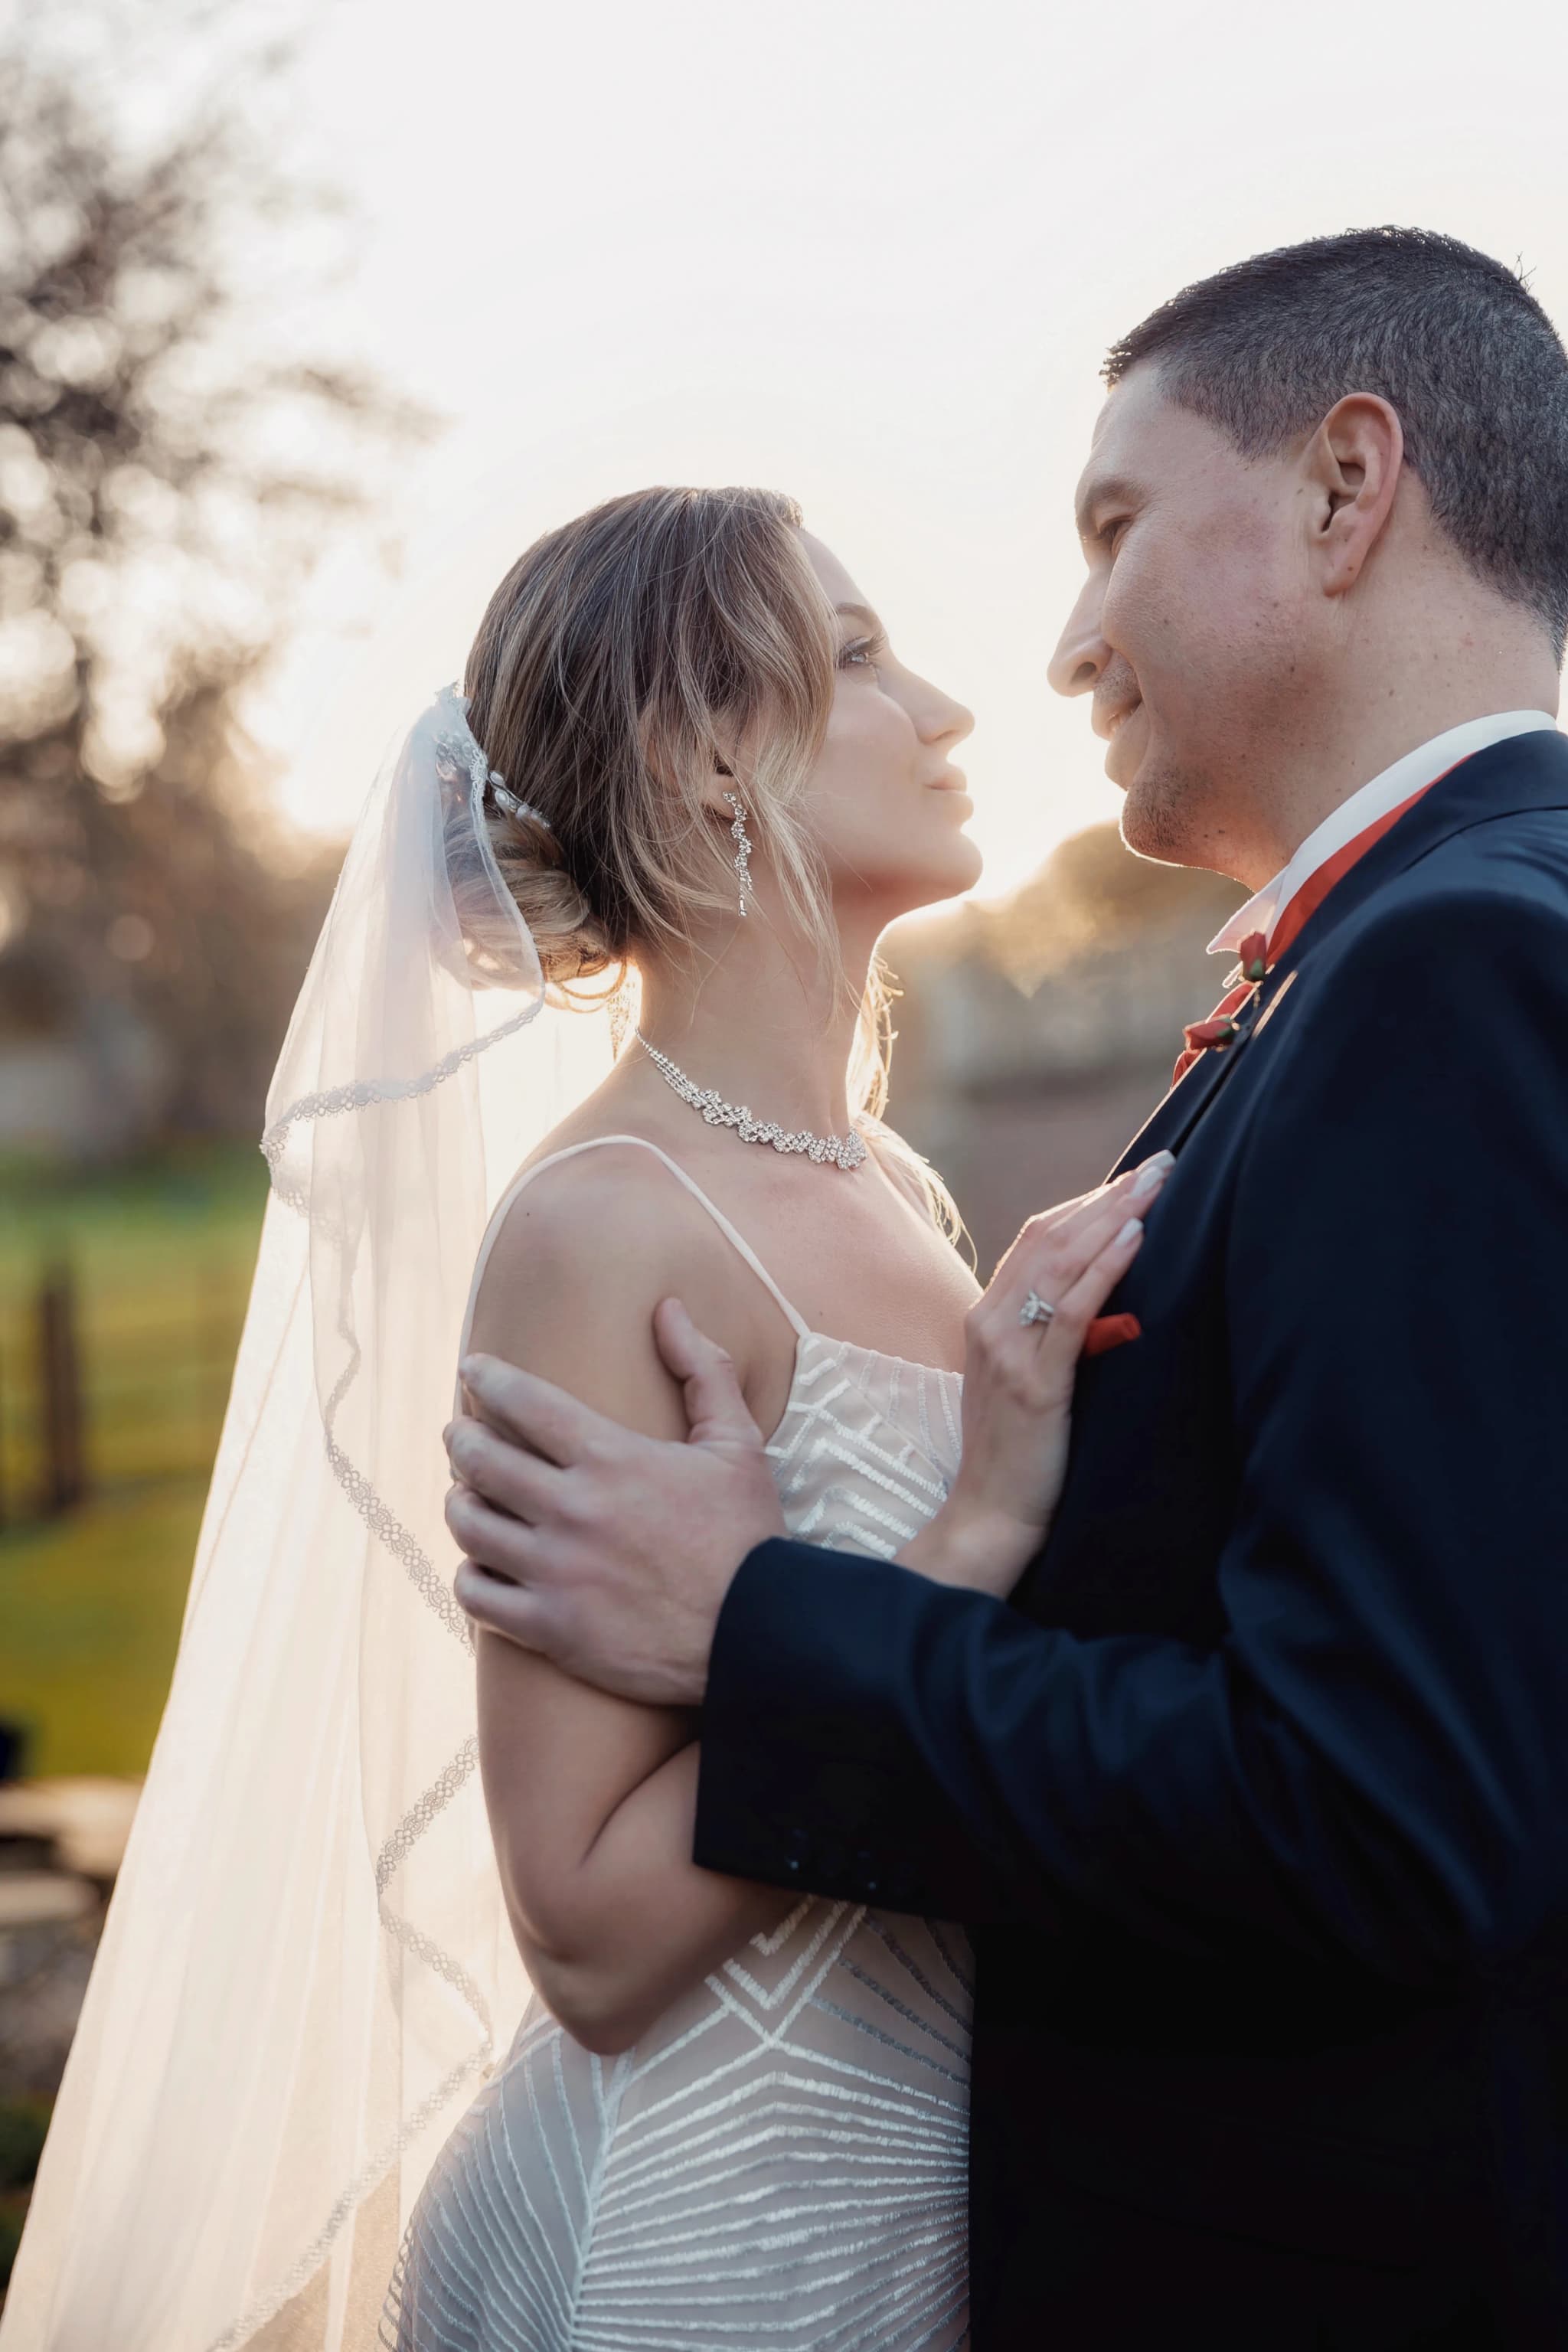
At sunrise and sunset, sunlight travels through a much greater depth of atmosphere than it does at midday. The shorter wavelengths, blue and violet, scatter away across that distance, leaving the longer wavelengths, red, orange, and gold, to pass through and reach the subject. The result is a warmth that is quantifiably different from midday light, rendered in degrees Kelvin at around 2,000 to 3,500K versus the 5,500 to 6,500K of midday sun. This warmth is flattering on skin tones and creates the film-like quality that many photographers spend years trying to replicate in post-production, without ever quite matching what the light itself does naturally.
There is a secondary effect that matters just as much as the colour: the low angle of the sun means light arrives from the side rather than from above, which sculpts a face with gentle shadow and highlight rather than flattening it the way overhead midday sun tends to. This directional quality is part of why golden hour portraits so often look three-dimensional and alive in a way that flatter midday images do not, quite apart from the colour temperature alone.
How to Use Golden Hour for Portraits
The key decisions are direction and timing. Positioning a subject with the light source behind them, known as backlighting, creates a glowing rim of golden light around the hair and shoulders, sometimes called the halo effect, while the face itself is lit by softer reflected ambient light from the scene in front. This requires slight exposure compensation, generally one to two stops over what a camera's meter would suggest, to avoid the subject falling into silhouette against the brighter background behind them.
Alternatively, positioning a subject side-on to the light creates a more dramatic, directional quality, with warm shadows and highlights that sculpt the face and body in a way that front-lit portraits cannot achieve. Both approaches have their place, and part of what I do during a session is move between them depending on the specific composition, background, and mood we are going for at that moment rather than sticking rigidly to one technique throughout.
Metering for golden hour also deserves a mention, since it is where a lot of otherwise well-composed images go wrong. Because the light source itself is often within or close to the frame, an automatic meter reading can easily be fooled into underexposing the subject in an effort to control the bright sky behind them. Metering directly off skin, or using spot metering on a subject's face rather than an overall scene average, tends to produce far more reliable results.
Planning Around Golden Hour
Golden hour timing varies by season and location in a way that genuinely reshapes how a session gets planned. In England, summer golden hour extends from around 8:30pm to 9:30pm British Summer Time, making late-evening sessions particularly effective for making the most of long summer days. By contrast, December's golden hour begins around 3pm and lasts only around forty-five minutes, which means winter sessions built around this light have to work within a genuinely tight window. Apps including The Photographer's Ephemeris and PhotoPills provide exact golden hour windows and sun angle information for any location and date, and I check these routinely when confirming timing for an upcoming session.
Weather is the other major variable, and one that no app can fully predict in advance. Thin, high cloud can actually enhance golden hour light, scattering and softening it further, while thick, low cloud can block the low sun entirely and flatten the light back toward something closer to overcast conditions. Checking the forecast closer to the date, rather than relying solely on the calculated sun position, is part of getting a genuinely reliable result rather than just a technically correct one.
A note on building golden hour into your session
Whether you are planning a golden hour portrait session, an engagement shoot, or want a dedicated golden hour window built into your wedding day timeline, I plan the schedule around the actual sunset for your date rather than a rough estimate, so the light is right when it matters most.
View wedding photographyGolden Hour for Wedding Photography
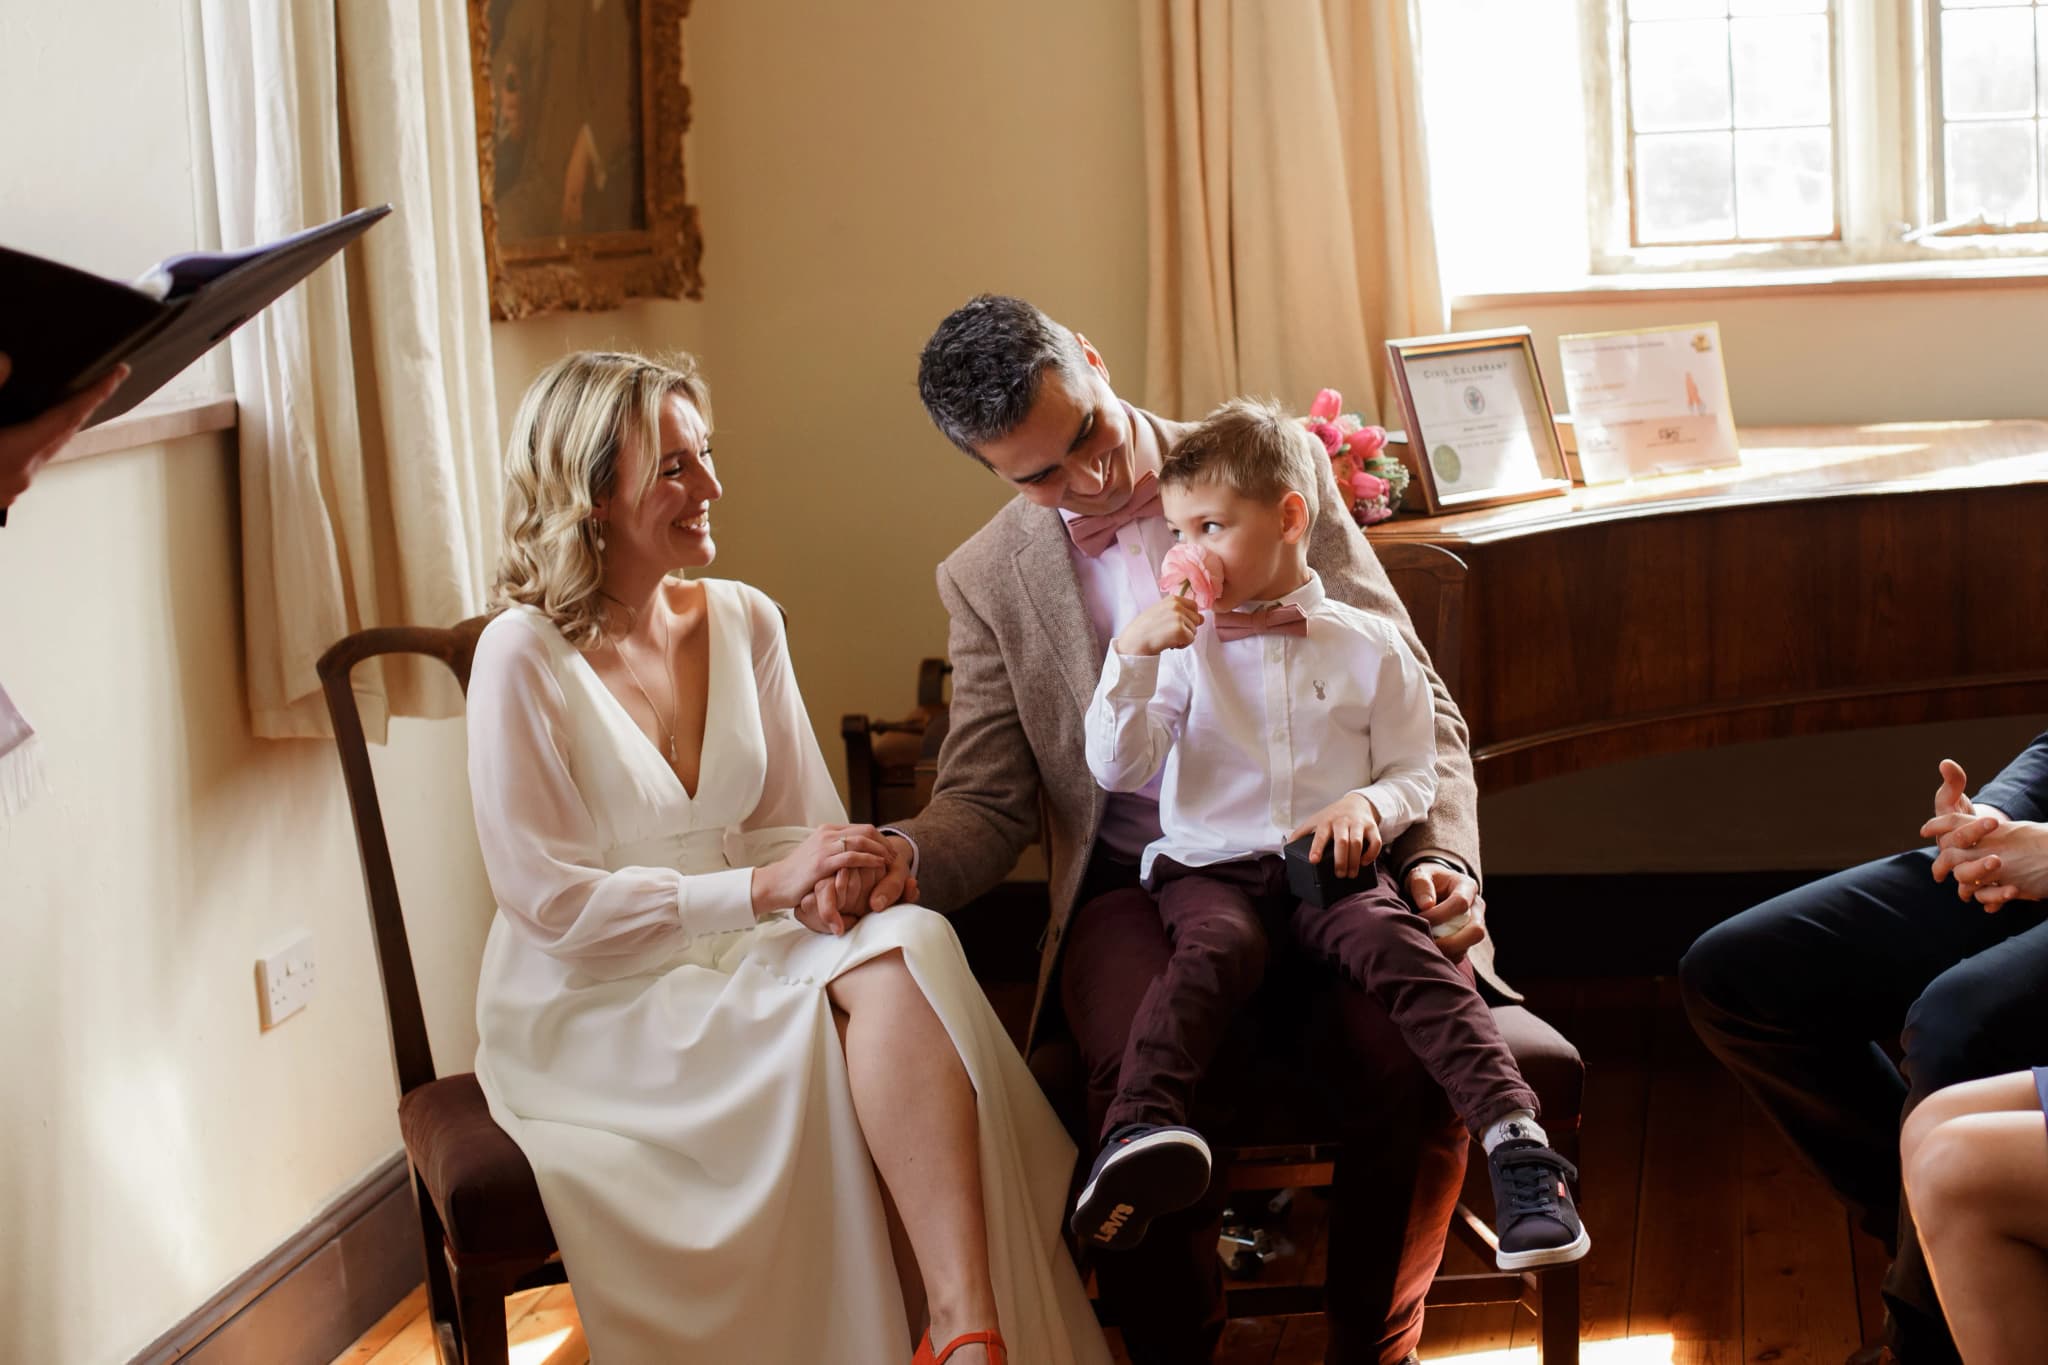
Scheduling a fifteen-to-thirty-minute golden hour portrait session during a wedding day, usually between the wedding breakfast and the evening reception, is one of the highest-return investments in wedding photography planning that a couple can make. The light quality alone can elevate a set of couple portraits from beautiful to genuinely extraordinary, and it is a window I build into every summer wedding schedule I photograph, discussing the likely time with the couple well in advance so it does not get lost among the rest of the day's events.
Getting this window right on the day requires a bit of coordination with the wider wedding timeline — enough notice to the couple that we need to step away for a short period, and enough flexibility in the schedule that a slightly delayed meal or speech does not push the golden hour slot past the point where the light is still good. I generally flag the approximate time during timeline planning well before the wedding itself, so it becomes an expected, welcome part of the day rather than a surprise interruption.
Equipment and Camera Settings for Golden Hour
For anyone shooting their own golden hour images rather than working with a photographer, a few practical settings help enormously. Shooting in aperture priority with a wide aperture, somewhere around f/2.8 to f/4, both lets in more of the limited light and creates a soft, blurred background that suits the warm, dreamy quality golden hour already has. A slightly higher ISO than you would use at midday is usually necessary, since the available light is naturally dimmer even when it looks bright to the eye, and modern cameras handle moderate ISO increases well enough that noise is rarely a real concern.
White balance is worth a mention too. Auto white balance settings can sometimes try to correct away some of golden hour's natural warmth, treating it as a colour cast to be neutralised rather than an intentional creative choice. Setting white balance manually to daylight or slightly warmer, rather than leaving it on auto, generally preserves more of the golden colour that makes this light worth chasing in the first place.
Working Around Unpredictable Weather
The UK's weather rarely cooperates fully with a photography plan, and golden hour sessions are no exception. Thin cloud drifting across the sun at the wrong moment can soften or briefly cancel the effect, while a clear evening can turn overcast within the space of an hour as fronts move through. I keep a close eye on the forecast in the days leading up to any golden hour session, and where the outlook is genuinely uncertain, I am upfront with clients about the possibility of adjusting the plan on the day, whether that means shifting timing slightly or working with the softer, more diffused light that partial cloud can still produce.
It is worth remembering that a session does not have to be ruined by imperfect weather. Even without a fully clear sky, the low angle of the sun during golden hour still produces warmer, more flattering light than the same scene at midday, and thin, broken cloud in particular can scatter that warm light in genuinely beautiful ways, sometimes producing a softer, more painterly result than a completely clear sky would.
Golden hour is, in the end, simply the best light available for most kinds of outdoor portrait and wedding photography, and understanding how to plan around it properly makes a genuine, visible difference to the final images. If you are planning a portrait session, engagement shoot, or wedding day and want to build the schedule around the best available light, get in touch and we can work out the timing together.


Yana Skakun
Photographer · England
Professional wedding, family and portrait photographer based in England. Passionate about capturing authentic emotions and timeless moments.
About Yana →golden hour photography tipsgolden hour portrait photographyhow to photograph golden hourmagic hour photography wedding
Photography Tips — Professional Photography in Cambridge & England
Yana Skakun is a professional photographer based in Cambridge, specialising in wedding, family, and portrait photography across England. Every session is personal — planned around your story, your people, and the moments that matter most. This guide — Golden Hour Photography: How to Capture That Perfect Warm Glow — is part of the photography journal: practical, experience-based advice drawn from real sessions across England. Whether you arrived searching for golden hour photography tips or golden hour portrait photography, the same care and attention shapes every session Yana photographs.
Professional Photography sessions are available year-round, with bookings open across Cambridge, Ely, Huntingdon, Peterborough, and further afield — East England, London, the Midlands, and beyond. If you have specific questions about how to photograph golden hour, mention it in your enquiry. Get in touch through the contact form above to check availability and discuss your session. Enquiries are welcomed from anywhere in the UK.
Frequently Asked Questions
What camera settings should I use for outdoor portraits?+
For outdoor portraits, shoot in aperture priority mode. Use a wide aperture (f/1.8–f/2.8) to blur the background and isolate your subject. Keep ISO as low as possible in good light. In bright conditions, use a neutral density filter or switch to manual to avoid overexposure at wide apertures.
What is the golden hour in photography?+
Golden hour is the period roughly 30–60 minutes after sunrise and before sunset. The sun is low in the sky, producing warm, soft, directional light that flatters skin tones and creates beautiful long shadows. It's widely considered the best natural light for portrait and outdoor photography.
How do you get sharp photos in low light?+
In low light, increase your ISO (accepting some grain), use the widest aperture your lens allows, and slow your shutter speed to the slowest you can hand-hold without camera shake (roughly 1/focal length as a guide). Use image stabilisation if available, and consider a tripod for static subjects.
What is the rule of thirds in photography?+
The rule of thirds divides the frame into a 3×3 grid. Placing your subject on one of the four intersection points — rather than dead centre — creates a more dynamic, visually interesting composition. It's a guideline, not a rule: some of the most powerful images break it deliberately.
How do you edit photos to look professional?+
Professional editing starts with shooting in RAW format. In Lightroom or similar software, correct exposure, white balance, and contrast first. Recover shadow and highlight detail. Apply gentle colour grading for mood. Be conservative with skin retouching — the goal is natural enhancement, not transformation. Consistency across a set of images is what separates professional from amateur editing.
Continue Reading
Related Articles
Photography Tips
Photography Gift Vouchers: The Most Personal Present You Can Give
5 min read · Read Article
Photography Tips
Photo Books vs Photo Albums: What Is the Difference and Which Is Better?
5 min read · Read Article
Photography Tips
Photo Gift Ideas: Turning Professional Images into Meaningful Presents
5 min read · Read Article
Get in Touch
Ready to Book Your Session?
Get in touch to discuss your vision — I'll reply within 24 hours.