Yana Skakun
How to take better photos for Instagram: A photographer's honest guide
By Yana Skakun·25 August 2026·9 min read
I spend a good deal of my working life explaining light, composition, and editing to clients who have never thought about photography in technical terms before — and increasingly, the question that comes up is not "how do I take a nice family portrait" but "how do I make my own phone photos look less amateur on Instagram." It is a fair question, and most of the advice circulating online does not really answer it. You will find endless articles telling you to post consistently, use trending hashtags, and shoot during golden hour. None of that is wrong exactly, but none of it addresses why one photograph looks considered and another looks like a snapshot, even when both were taken on the same phone in the same afternoon. The difference almost always comes down to a small number of variables that professional photographers think about instinctively and everyone else has simply never been taught. This is my attempt to teach them, without the jargon.
The Variable That Matters Most: Light
If I had to reduce professional photography advice to a single sentence, it would be this: light matters more than the camera, more than the editing, and more than almost anything else you can control. Harsh, direct sunlight at midday creates deep shadows under eyes and noses, blows out highlights on pale skin, and generally flatters no one. It is the single most common reason a well-composed phone photo still looks wrong. Overcast daylight, by contrast, is diffused by the cloud layer and wraps around a subject evenly — it is what most professional portrait photographers treat as their reliable baseline, rather than something to avoid because the sky looks grey.
Indoors, the equivalent principle is window light. Position your subject facing a window, not with their back to it, and you get soft, directional light that models a face beautifully without needing any equipment at all. The mistake almost everyone makes is standing with a bright window behind them, which forces a phone's automatic exposure to darken the entire foreground to compensate. Turn around, face the light instead of having it behind you, and the same room produces a completely different result.
Late afternoon in the hour or two before sunset is popular advice for a reason — the sun sits lower and its light is warmer and more forgiving — but it is not the only workable time of day. An overcast Tuesday lunchtime will very often out-perform a clear sky at noon, and understanding why removes a lot of the anxiety around "waiting for golden hour" that stops people taking photos at all.
Background: The Variable Everyone Forgets
A photograph is not only its subject. The background communicates almost as much, and it is the part people think about least. A cluttered background — a busy bookshelf, patterned wallpaper, a kitchen counter with post and chargers on it — competes visually with whatever you are trying to show, and the viewer's eye does not know where to settle. A clean or complementary background does the opposite: it frames the subject and lets the eye rest exactly where you intend.
You do not need a studio backdrop to achieve this. A plain interior wall, a doorway, an outdoor space with soft greenery or neutral stone, or simply moving three feet to your left to lose a distracting object from frame will all produce a noticeably better photograph than the same subject shot against visual chaos. When I am scouting a location for a brand shoot, I am often doing nothing more sophisticated than walking around a space looking for a wall, a corner, or a patch of light that is quiet enough to let the subject do the work.
Composition: Two Rules Actually Worth Learning
Composition theory could fill a book, but for everyday social content there are really only two principles worth internalising. The first is the rule of thirds: imagine your frame divided into a three-by-three grid (most phone cameras will overlay this grid for you in the settings) and place your subject's eyes or the main point of interest along one of those intersecting lines rather than dead centre. It creates visual interest and, usefully for Instagram, leaves clean space elsewhere in the frame for a caption overlay or a Story sticker.
The second is leading lines — paths, fences, shadows, the edge of a building, a row of chairs — anything that draws the eye from one part of the frame towards your subject. A photo taken straight-on in a flat, featureless space will almost always feel more static than one where a line in the environment pulls the viewer's attention inward. These are starting points rather than strict rules, and professional photographers break them constantly once they understand why they work. But learning them first explains, very concretely, why certain photographs feel dynamic and others feel flat, even when the subject and the light are identical.
Editing: What Genuinely Helps, and What Quietly Ruins a Feed
Consistent editing across a set of images reads as intentional and professional, even to viewers who could not tell you why. The most reliable route to that consistency is not a filter but a small, repeatable set of adjustments applied the same way every time: a touch more contrast, a slight warmth shift, and gently pulling down the highlights tends to suit most lifestyle, portrait, and brand content without drawing attention to itself. The editing should feel invisible — the viewer should notice the photograph, not the processing.
Over-filtering is the opposite problem, and it is extremely common. Heavy saturation, aggressive grain or texture overlays, and skin-smoothing pushed too far all date an image almost immediately and strip out the genuine detail that made the photograph worth taking. A useful test: if you can look at an edited photo and immediately name the filter or preset used, it has probably gone too far. Editing that enhances what is already in the frame reads as quality. Editing that tries to impose a mood that was never actually there tends to read as trying too hard, and viewers notice that instinctively even when they cannot articulate it.
When your own photos are not enough
These principles will noticeably improve what you shoot on your phone, but there is a ceiling to what any of us can achieve without training, equipment, and a second pair of eyes directing the shot. For businesses and creators who need a consistent, professional library of images to draw on, I run brand and content photography days built specifically for that purpose.
Explore brand photographyWhat Actually Gets Saved and Shared
It is worth understanding, briefly, what Instagram itself rewards, because it changes what is worth photographing in the first place. Images that show something useful — a location worth knowing about, a process, a before-and-after, a perspective the viewer could not easily get themselves — consistently generate more saves than images that simply show something aesthetically pleasing with nothing else behind it. Saves are one of the platform's clearest signals that a piece of content had value beyond a passing glance, and the algorithm treats that signal seriously.
For photographers, small business owners, and independent creators specifically, this means images that answer a question tend to outperform images that simply display a finished result. Where is this? How was this made? What would this look like for someone in my position? A behind-the-scenes frame from a wedding morning, a step in a maker's process, a genuine moment from a headshot session rather than only the polished final portrait — these consistently do more work for an account than another beautifully lit but context-free image added to the grid.
Putting It Together Without Overthinking It
None of this requires new equipment or a steep learning curve. It requires noticing where the light is coming from before you lift the phone, taking half a second to check what is happening in the background, and resisting the urge to drag every slider in the editing app as far as it will go. Most people who feel their Instagram photos look amateurish are not missing talent or expensive gear — they are missing the handful of decisions professional photographers make automatically, almost without registering them as decisions at all. Practise noticing light and background deliberately for a few weeks and it stops being effortful; it becomes the way you see a scene before you have even opened the camera app.
There is, of course, a point at which personal effort meets its limit — a product launch, a rebrand, a set of headshots for an entire team, a body of work that needs to look coherent across dozens of images rather than one lucky frame at a time. That is a different job, and it is the one I do professionally. If you are weighing up whether your business or your feed has reached that point, get in touch and we can talk through what a content or brand photography session would actually look like for you.

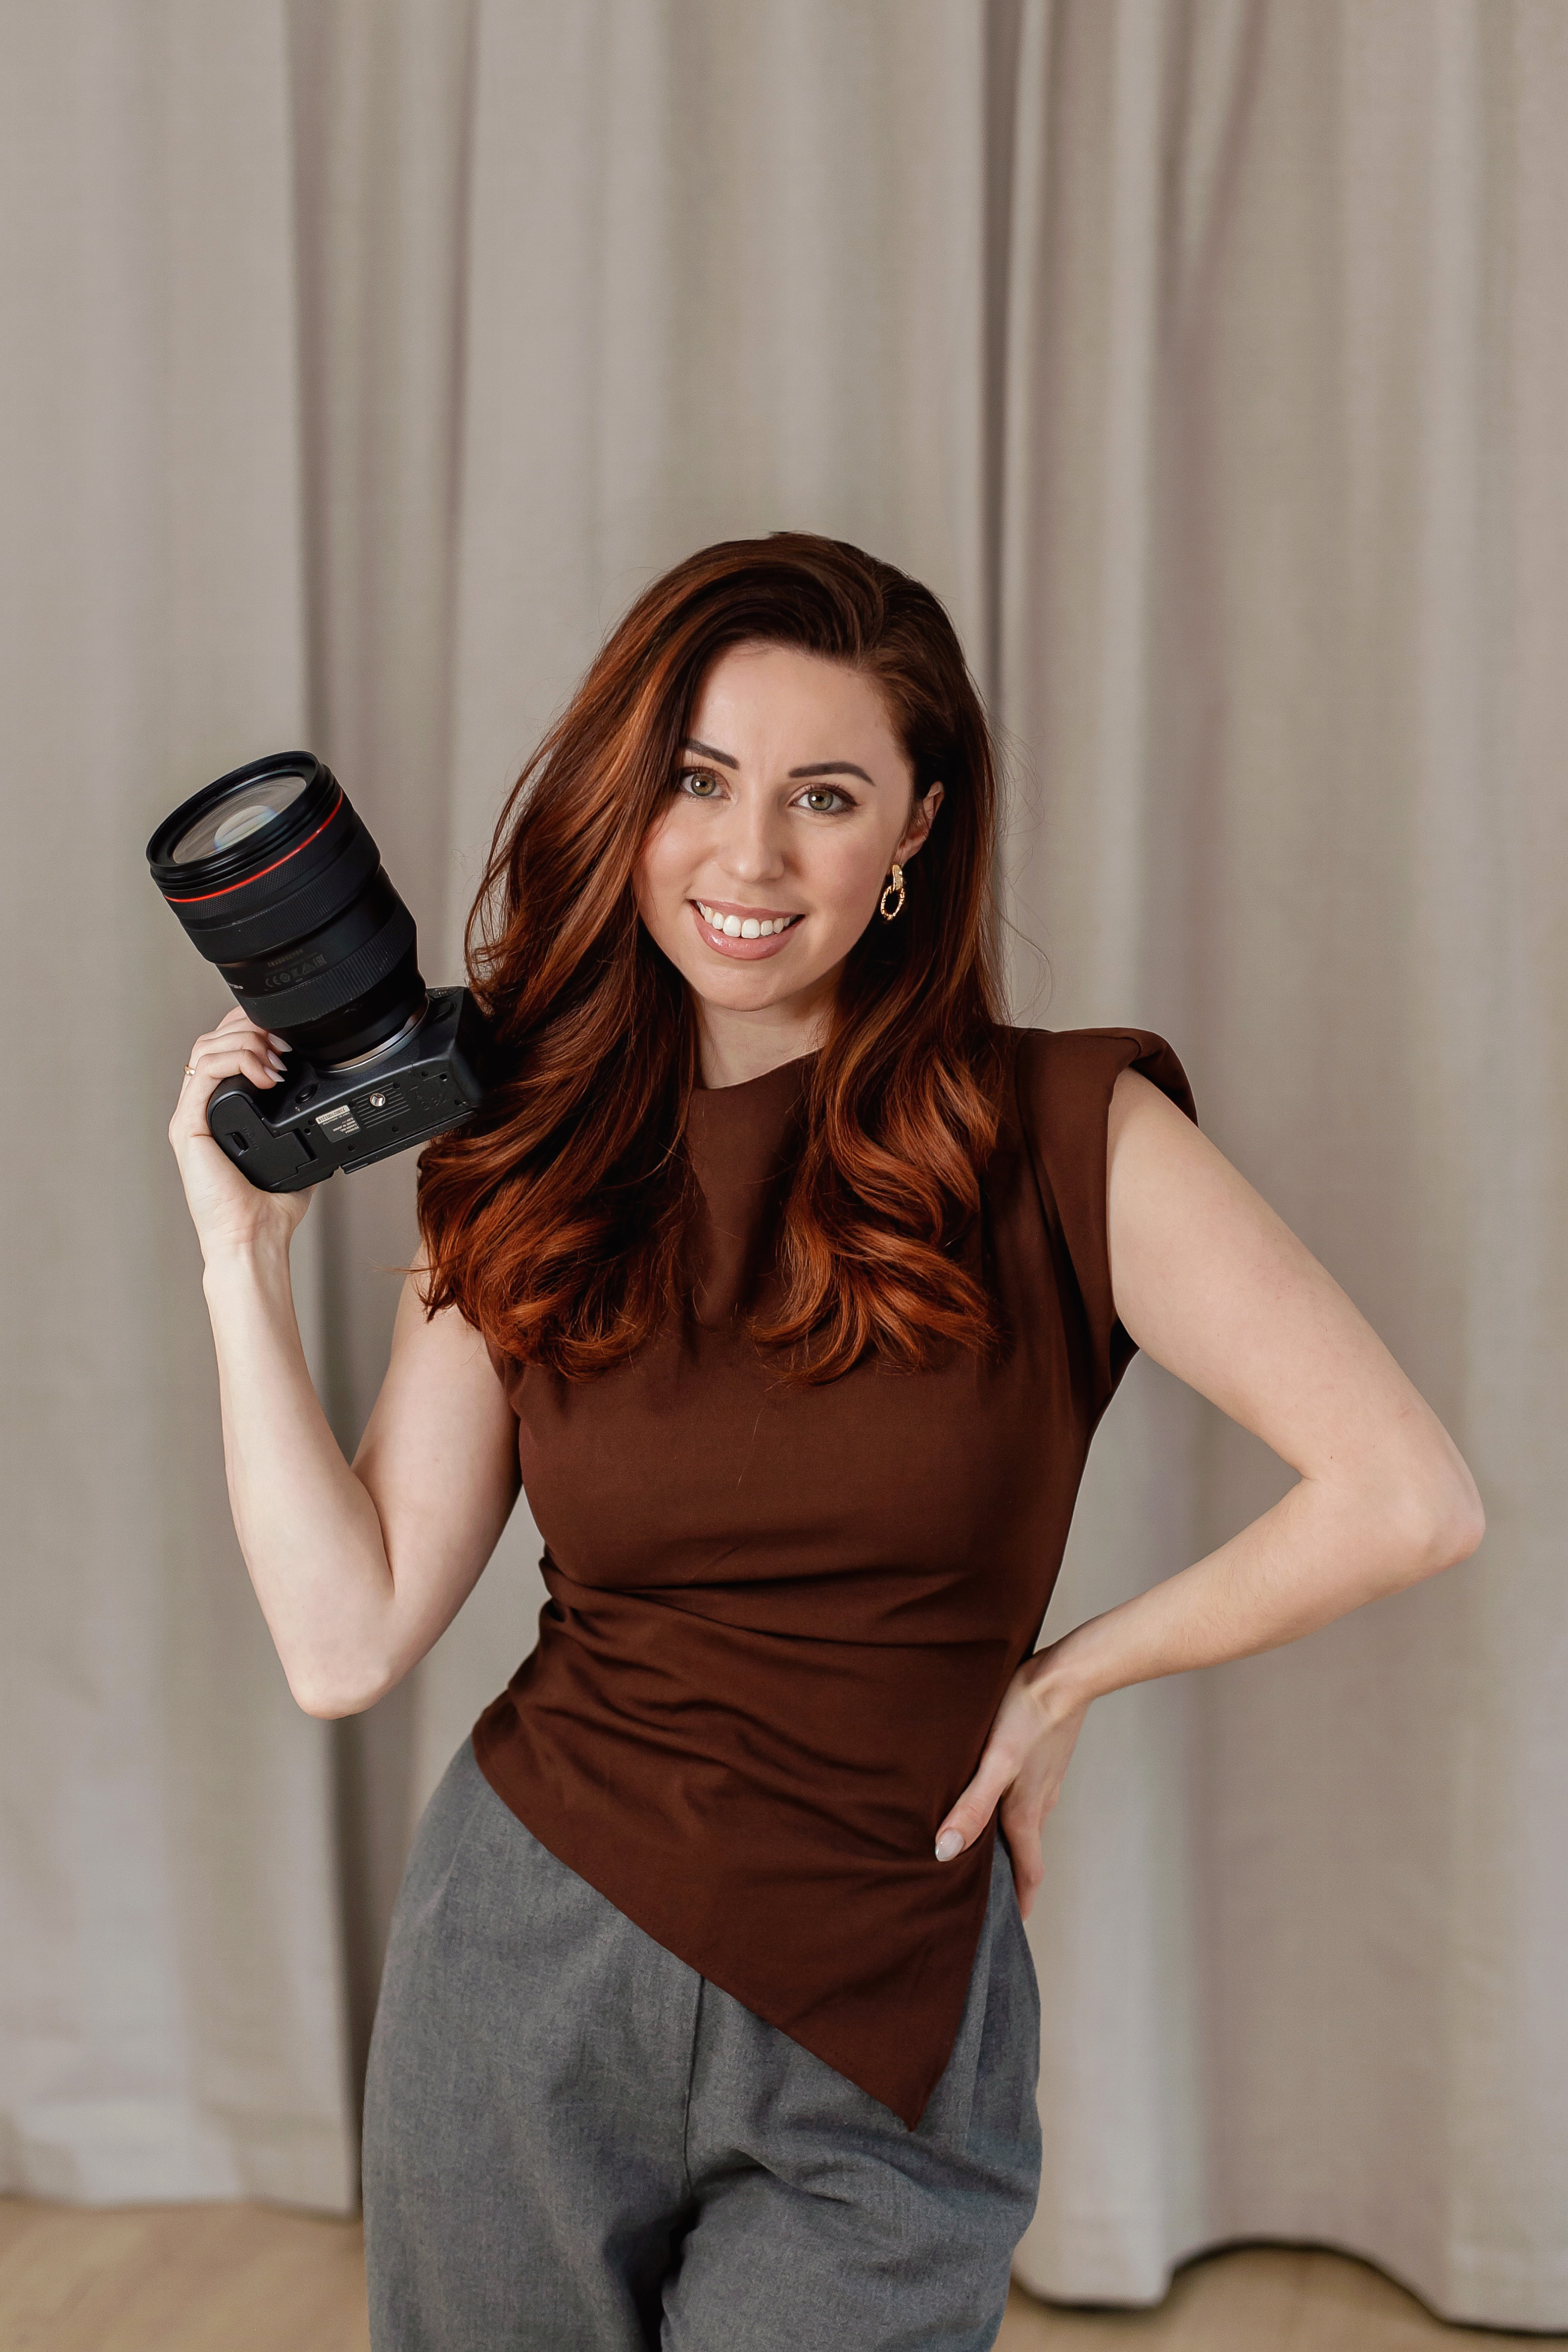
Yana Skakun
Photographer · England
Professional wedding, family and portrait photographer based in England. Passionate about capturing authentic emotions and timeless moments.
About Yana →Instagram photography tipshow to take better photos for Instagramphotography social media guideInstagram photo editing tipscontent photography for Instagram
Photography Tips — Professional Photography in Cambridge & England
Yana Skakun is a professional photographer based in Cambridge, specialising in wedding, family, and portrait photography across England. Every session is personal — planned around your story, your people, and the moments that matter most. This guide — How to take better photos for Instagram: A photographer's honest guide — is part of the photography journal: practical, experience-based advice drawn from real sessions across England. Whether you arrived searching for instagram photography tips or how to take better photos for instagram, the same care and attention shapes every session Yana photographs.
Professional Photography sessions are available year-round, with bookings open across Cambridge, Ely, Huntingdon, Peterborough, and further afield — East England, London, the Midlands, and beyond. If you have specific questions about photography social media guide, mention it in your enquiry. Get in touch through the contact form above to check availability and discuss your session. Enquiries are welcomed from anywhere in the UK.
Frequently Asked Questions
What camera settings should I use for outdoor portraits?+
For outdoor portraits, shoot in aperture priority mode. Use a wide aperture (f/1.8–f/2.8) to blur the background and isolate your subject. Keep ISO as low as possible in good light. In bright conditions, use a neutral density filter or switch to manual to avoid overexposure at wide apertures.
What is the golden hour in photography?+
Golden hour is the period roughly 30–60 minutes after sunrise and before sunset. The sun is low in the sky, producing warm, soft, directional light that flatters skin tones and creates beautiful long shadows. It's widely considered the best natural light for portrait and outdoor photography.
How do you get sharp photos in low light?+
In low light, increase your ISO (accepting some grain), use the widest aperture your lens allows, and slow your shutter speed to the slowest you can hand-hold without camera shake (roughly 1/focal length as a guide). Use image stabilisation if available, and consider a tripod for static subjects.
What is the rule of thirds in photography?+
The rule of thirds divides the frame into a 3×3 grid. Placing your subject on one of the four intersection points — rather than dead centre — creates a more dynamic, visually interesting composition. It's a guideline, not a rule: some of the most powerful images break it deliberately.
How do you edit photos to look professional?+
Professional editing starts with shooting in RAW format. In Lightroom or similar software, correct exposure, white balance, and contrast first. Recover shadow and highlight detail. Apply gentle colour grading for mood. Be conservative with skin retouching — the goal is natural enhancement, not transformation. Consistency across a set of images is what separates professional from amateur editing.
Continue Reading
Related Articles

Photography Tips
Photography Gift Vouchers: The Most Personal Present You Can Give
5 min read · Read Article
Photography Tips
Photo Books vs Photo Albums: What Is the Difference and Which Is Better?
5 min read · Read Article
Photography Tips
Photo Gift Ideas: Turning Professional Images into Meaningful Presents
5 min read · Read Article
Get in Touch
Ready to Book Your Session?
Get in touch to discuss your vision — I'll reply within 24 hours.