Yana Skakun

Baby Announcement Photography: A Guide for New Parents
By Yana Skakun·3 April 2026·6 min read
A baby announcement photograph is often the very first image other people see of your child — shared with grandparents, close friends, and increasingly a much wider circle through cards and social media. It deserves to look as meaningful as it actually feels. Here is how I think about planning an announcement session that produces images genuinely worth sharing, rather than something rushed together in the first exhausted week.
Choosing Your Window: Fresh 48 or Home Newborn
Baby announcement photography generally happens in one of two windows, and each produces a genuinely different kind of image. The first is immediately after birth — the first twenty-four to seventy-two hours, often still in the hospital or birth centre, in what is usually called a "fresh 48" session. These are documentary in spirit: first holds, tiny fingers, the raw and slightly overwhelmed emotion of the very first day, captured as it genuinely happens rather than arranged.
The second window is the first two to three weeks at home. This gives the family a little time to find some rhythm, gives the mother a chance to feel somewhat more recovered, and the baby is still small and sleepy enough for the classic curled newborn poses that most people picture when they think of newborn photography. Sessions booked after the first three weeks become progressively harder, simply because babies grow more alert and less willing to settle into those poses.
What Each Style of Session Actually Involves
A fresh 48 session takes place in the hospital or birth centre itself, entirely unposed and documentary, often quite raw emotionally, and it requires a degree of logistical coordination with the facility that a home session does not. A home newborn session is more relaxed and entirely on your own terms — classic curled poses, family portraits together, and much greater flexibility over styling, though it does need to be booked within roughly the first fortnight to make the most of a settled, sleepy baby.
There is also a third option worth knowing about: an outdoor announcement session, with the baby in a pram or carrier in a garden or local outdoor setting. This generally works from around four to eight weeks, once it is safe and comfortable to be outside for a short period, and it produces a more relaxed, lifestyle-oriented set of images rather than the classic studio-style newborn look.
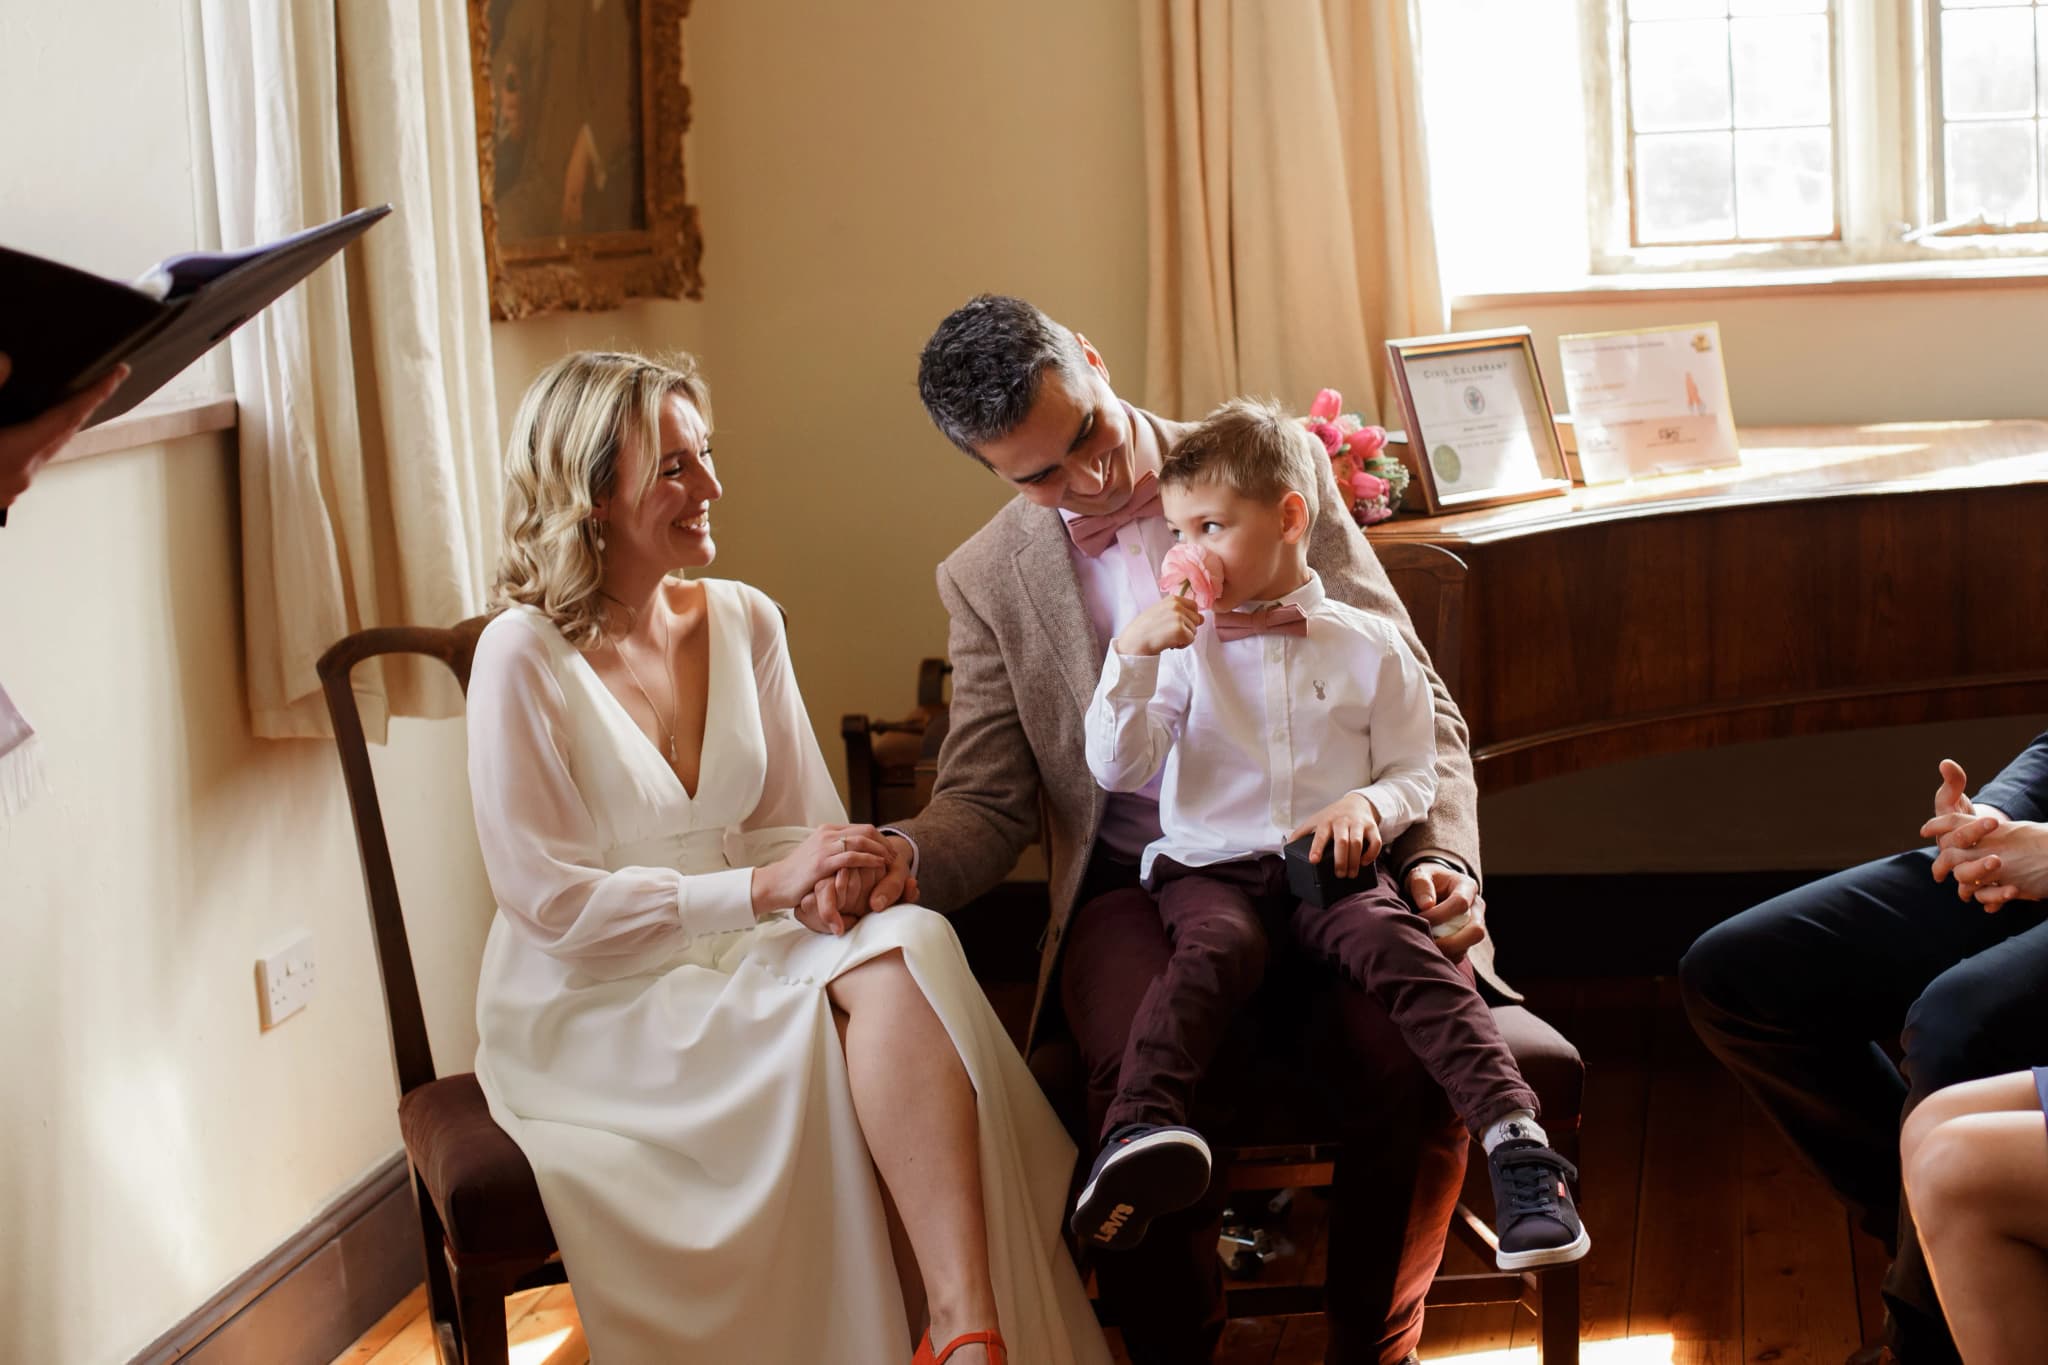
Including Siblings and the Wider Family
Announcement images that include siblings are consistently among the most emotionally powerful in a session — a toddler meeting a new baby for the first time, an older child carefully holding their new sibling, the whole family together in one frame. These images document a genuinely transformative moment in the life of every family member, not just the newest arrival.
If siblings are involved, it is worth building extra time into the session plan for settling, distraction, and gentle coaxing. In my experience the sibling shots reliably take longer than the solo baby images, but they are very often the photographs a family treasures most once everything has calmed down at home.
Book ahead of your due date
The newborn window is narrow, so I recommend enquiring before the baby arrives — I will hold your provisional date and confirm the exact session timing once they are here.
Enquire about your announcement sessionPreparing the Home for a Newborn Session
A little preparation before a home session makes a real difference to how relaxed everyone is on the day. Keeping the nursery or bedroom warm — genuinely warmer than feels comfortable for adults — helps a newborn settle more easily into the loose, curled poses that suit the age best, since babies unsettle quickly if they feel cold. A tidied, decluttered corner of a room with good natural light is generally all that is needed as a setting; elaborate backdrops or props are rarely necessary and can sometimes distract from the baby.
I usually suggest feeding the baby not long before I arrive, since a recently fed, sleepy baby settles far more easily than a hungry or overstimulated one. Building in some flexibility around feeding and settling times, rather than a fixed strict schedule, generally produces a calmer session and better images for everyone involved.
Styling Your Session Without Overcomplicating It
Neutral colours — creams, whites, soft greys, warm taupes — photograph well and keep the visual focus on the baby and family rather than on the clothing itself. I generally steer clients away from busy patterns or very bright colours in announcement photography, since they tend to date the image and pull attention away from the faces.
A few meaningful props can add genuine warmth to a session — an heirloom blanket, personalised name letters, a hand-knitted garment passed down through the family — but it is worth keeping the overall composition uncluttered. The baby is the subject, and the styling should support that rather than compete with it.
Turning the Session Into a Card
Many families use their announcement session images to design a digital or printed announcement card, and it is worth mentioning this at the time of booking so I can compose a few key images with the card format in mind — typically landscape or portrait orientation with clear space left for the baby's name, date of birth, and weight. Planning this in advance saves a great deal of awkward cropping later.
If you know in advance that you will want both a fresh 48 session and a later home newborn session, it is worth booking both at the same time where possible, since this makes it easier to plan the two around each other and to think about how the resulting images will sit together as a single, coherent announcement rather than two unrelated shoots.
What to Expect on the Day Itself
A home newborn session typically runs longer than most people expect — often two to three hours, even though the baby is only actively being photographed for a fraction of that time. Much of the session is spent on gentle settling, feeding breaks, and nappy changes, all of which are a completely normal and expected part of working with a newborn rather than a delay to be rushed through.
I always build this pace into the booking from the outset, so there is no pressure on you or the baby to move faster than feels comfortable. A relaxed, unhurried atmosphere consistently produces calmer babies and better images than trying to power through a fixed shot list on a tight schedule.
Sharing the Announcement Thoughtfully
Once the images are ready, many families choose to share a small selection privately with close family before posting more widely, particularly if some relatives would prefer to hear the news directly rather than see it appear online first. Building a short window between delivery and public sharing into your own plan, even just a day or two, avoids any awkwardness around who found out how.
It is also worth thinking in advance about which images you are comfortable sharing publicly versus keeping within the family gallery, especially for hospital-based fresh 48 sessions, which often include more medically candid moments than a family might want to post online.


Yana Skakun
Photographer · England
Professional wedding, family and portrait photographer based in England. Passionate about capturing authentic emotions and timeless moments.
About Yana →baby announcement photography UKnewborn announcement sessionbaby announcement photosfresh 48 newborn photography
Photography Tips — Professional Photography in Cambridge & England
Yana Skakun is a professional photographer based in Cambridge, specialising in wedding, family, and portrait photography across England. Every session is personal — planned around your story, your people, and the moments that matter most. This guide — Baby Announcement Photography: A Guide for New Parents — is part of the photography journal: practical, experience-based advice drawn from real sessions across England. Whether you arrived searching for baby announcement photography uk or newborn announcement session, the same care and attention shapes every session Yana photographs.
Professional Photography sessions are available year-round, with bookings open across Cambridge, Ely, Huntingdon, Peterborough, and further afield — East England, London, the Midlands, and beyond. If you have specific questions about baby announcement photos, mention it in your enquiry. Get in touch through the contact form above to check availability and discuss your session. Enquiries are welcomed from anywhere in the UK.
Frequently Asked Questions
What camera settings should I use for outdoor portraits?+
For outdoor portraits, shoot in aperture priority mode. Use a wide aperture (f/1.8–f/2.8) to blur the background and isolate your subject. Keep ISO as low as possible in good light. In bright conditions, use a neutral density filter or switch to manual to avoid overexposure at wide apertures.
What is the golden hour in photography?+
Golden hour is the period roughly 30–60 minutes after sunrise and before sunset. The sun is low in the sky, producing warm, soft, directional light that flatters skin tones and creates beautiful long shadows. It's widely considered the best natural light for portrait and outdoor photography.
How do you get sharp photos in low light?+
In low light, increase your ISO (accepting some grain), use the widest aperture your lens allows, and slow your shutter speed to the slowest you can hand-hold without camera shake (roughly 1/focal length as a guide). Use image stabilisation if available, and consider a tripod for static subjects.
What is the rule of thirds in photography?+
The rule of thirds divides the frame into a 3×3 grid. Placing your subject on one of the four intersection points — rather than dead centre — creates a more dynamic, visually interesting composition. It's a guideline, not a rule: some of the most powerful images break it deliberately.
How do you edit photos to look professional?+
Professional editing starts with shooting in RAW format. In Lightroom or similar software, correct exposure, white balance, and contrast first. Recover shadow and highlight detail. Apply gentle colour grading for mood. Be conservative with skin retouching — the goal is natural enhancement, not transformation. Consistency across a set of images is what separates professional from amateur editing.
Continue Reading
Related Articles

Photography Tips
Photography Gift Vouchers: The Most Personal Present You Can Give
5 min read · Read Article
Photography Tips
Photo Books vs Photo Albums: What Is the Difference and Which Is Better?
5 min read · Read Article
Photography Tips
Photo Gift Ideas: Turning Professional Images into Meaningful Presents
5 min read · Read Article
Get in Touch
Ready to Book Your Session?
Get in touch to discuss your vision — I'll reply within 24 hours.