Blend Modes in Photography Editing: The Complete Guide to Multiply, Screen, Overlay, Soft Light, Luminosity, and Using Blend Modes for Dodging, Burning, Colour Grading, and Creative Effects
Blend modes are one of the most powerful yet underutilised tools in Photoshop for photographers. A blend mode determines how the pixels on one layer interact with the pixels on the layers beneath it — instead of simply sitting on top and obscuring the layer below, a blended layer combines with the underlying image in mathematically defined ways that produce effects ranging from subtle tonal refinements to dramatic creative transformations. Understanding even a handful of the most useful blend modes — Multiply, Screen, Overlay, Soft Light, and Luminosity — gives you tools for dodging and burning, contrast enhancement, colour grading, and exposure correction that are faster, more natural, and more controllable than conventional adjustment methods.
The key to using blend modes effectively is understanding the five functional groups they fall into: darkening modes (Multiply, Burn, Darken), lightening modes (Screen, Dodge, Lighten), contrast modes (Overlay, Soft Light, Hard Light), difference modes (Difference, Exclusion), and component modes (Hue, Saturation, Colour, Luminosity). For photographic editing, the most useful are Multiply (darkens), Screen (lightens), Overlay and Soft Light (add contrast), and Luminosity (applies adjustments without colour shifts). This guide covers each of these in detail with practical applications for portrait, wedding, and fine art photography editing.
Multiply: Darkening and Adding Depth
Multiply is the darkening blend mode — it multiplies the brightness values of the blend layer with the base layer, always producing a result darker than either layer alone (white is neutral in Multiply, meaning white pixels on the blend layer have no effect). The practical application is instant: duplicate the Background layer, set the copy to Multiply, and the entire image darkens, as if you had added one stop of underexposure. Reduce the layer opacity to control the strength of the effect. This is a fast, effective way to recover detail in overexposed images — overblown skies, bright windows, and washed-out backgrounds all darken back towards correct exposure.
For selective darkening, add a Multiply layer with a layer mask and paint white on only the areas you want to darken — a bright sky, a distracting light source, the edges of the frame for a natural vignette. Multiply preserves the colour relationships of the original image while darkening, producing results that feel natural and photographically correct. One particularly effective technique is to create a solid colour fill layer (a warm brown or deep blue), set it to Multiply at low opacity (10–20 percent), and use it to add a subtle warm or cool shadow tone throughout the image — this is a quick colour grading technique that emulates the look of expired film.
Screen: Lightening and Lifting Shadows
Screen is the opposite of Multiply — it lightens the image by inverting both the blend and base layers, multiplying them, and inverting the result. Black is neutral in Screen mode (black pixels have no effect). Duplicating the Background layer and setting the copy to Screen brightens the entire image by approximately one stop, making it ideal for quickly recovering underexposed images. Reduce opacity to fine-tune the amount of lightening. For portraits shot in harsh shade or backlit situations where the face is dark, a Screen layer at 30–50 percent opacity can lift the facial exposure without affecting the already-correct background, especially when masked to just the subject.
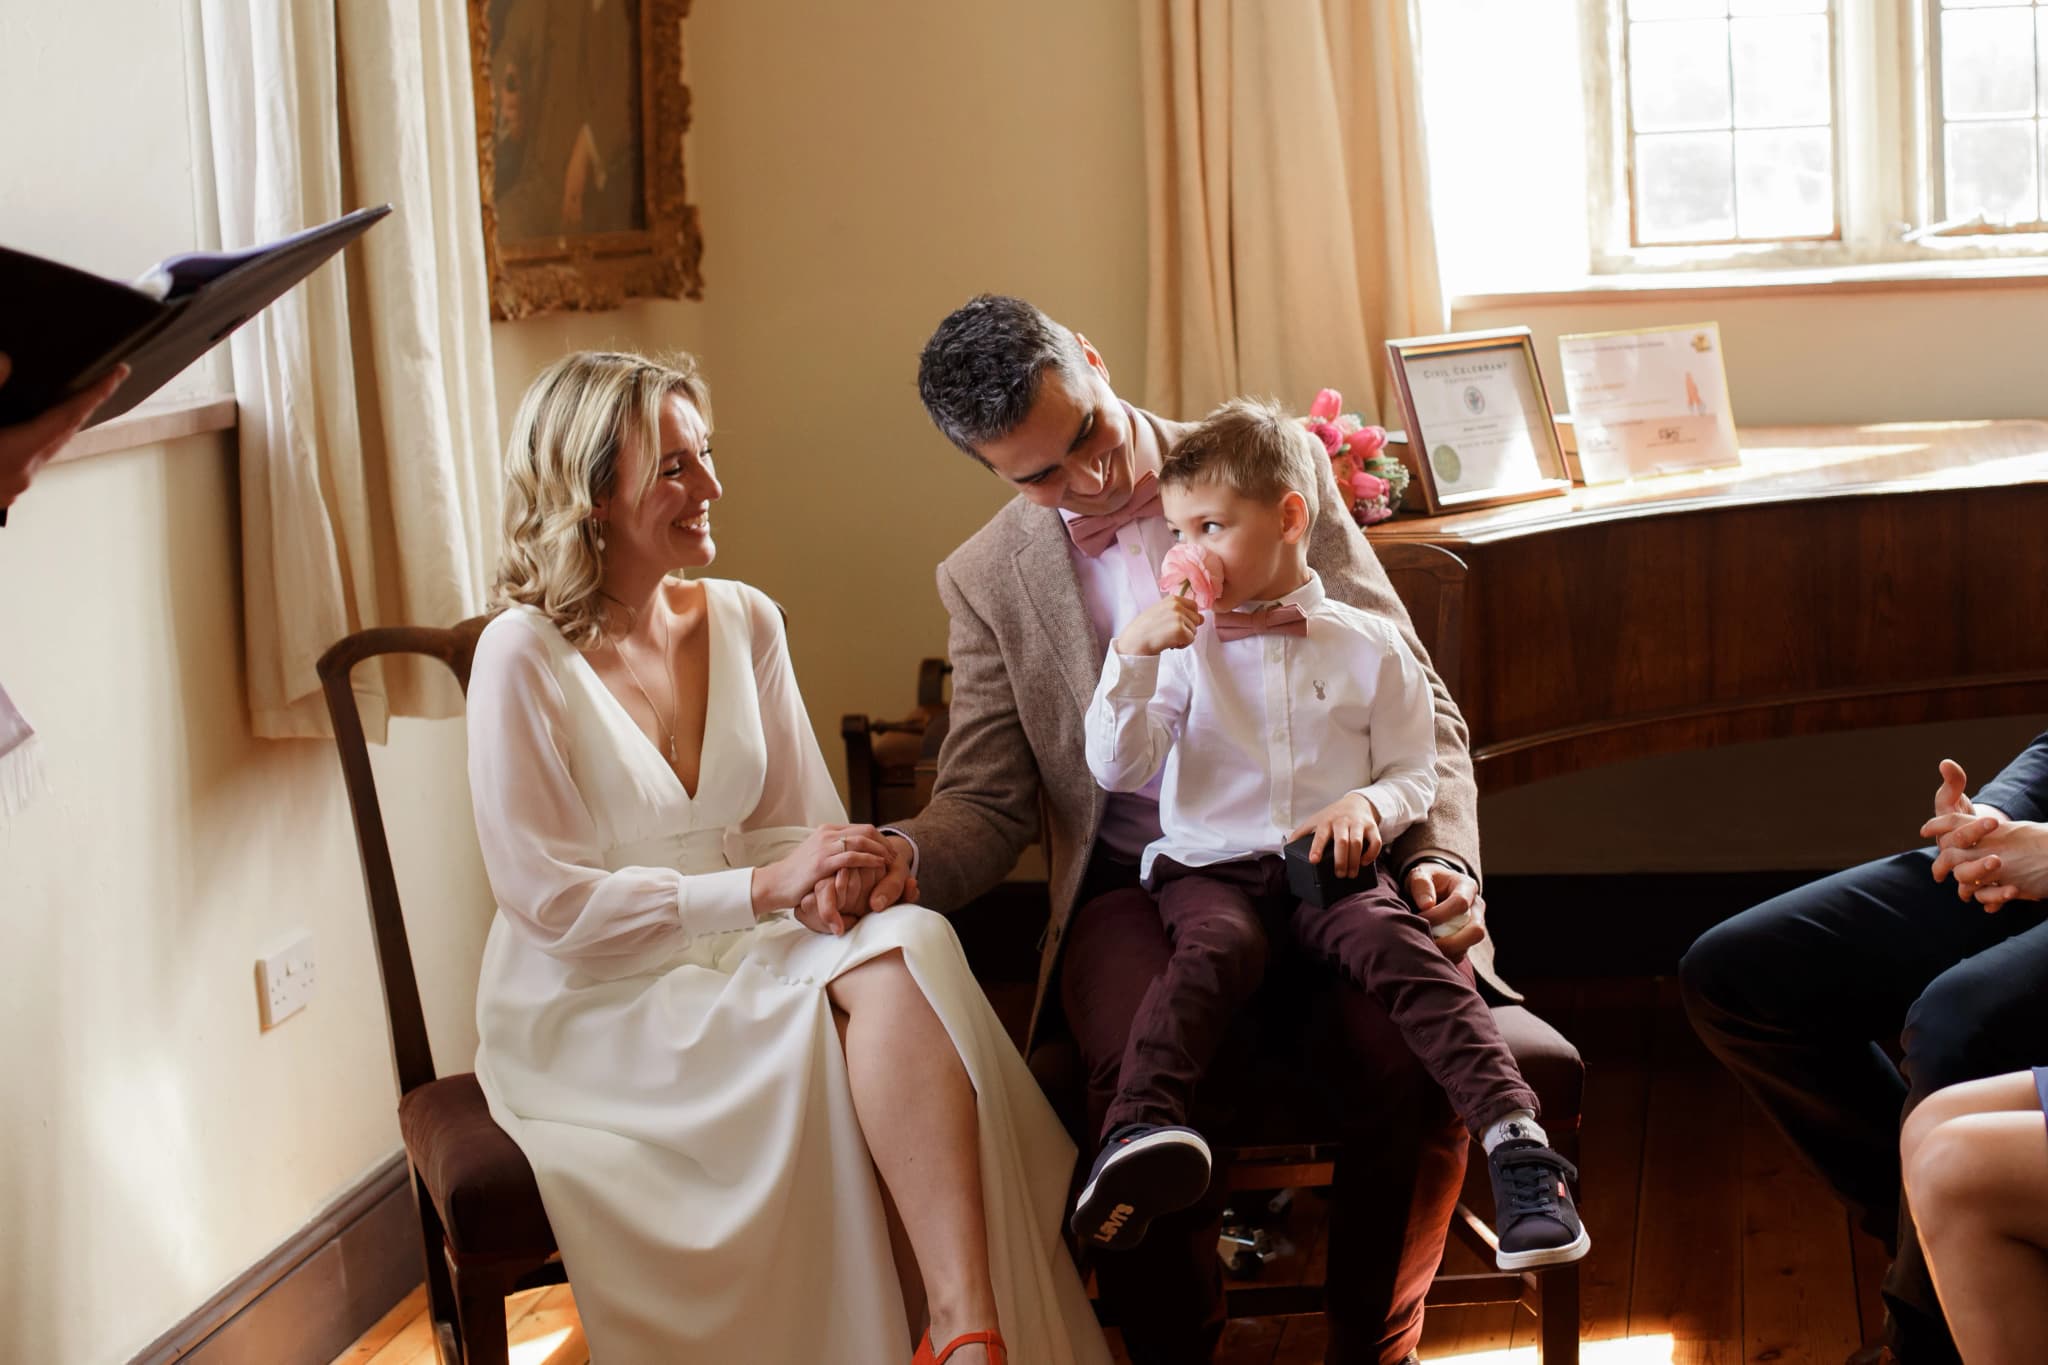
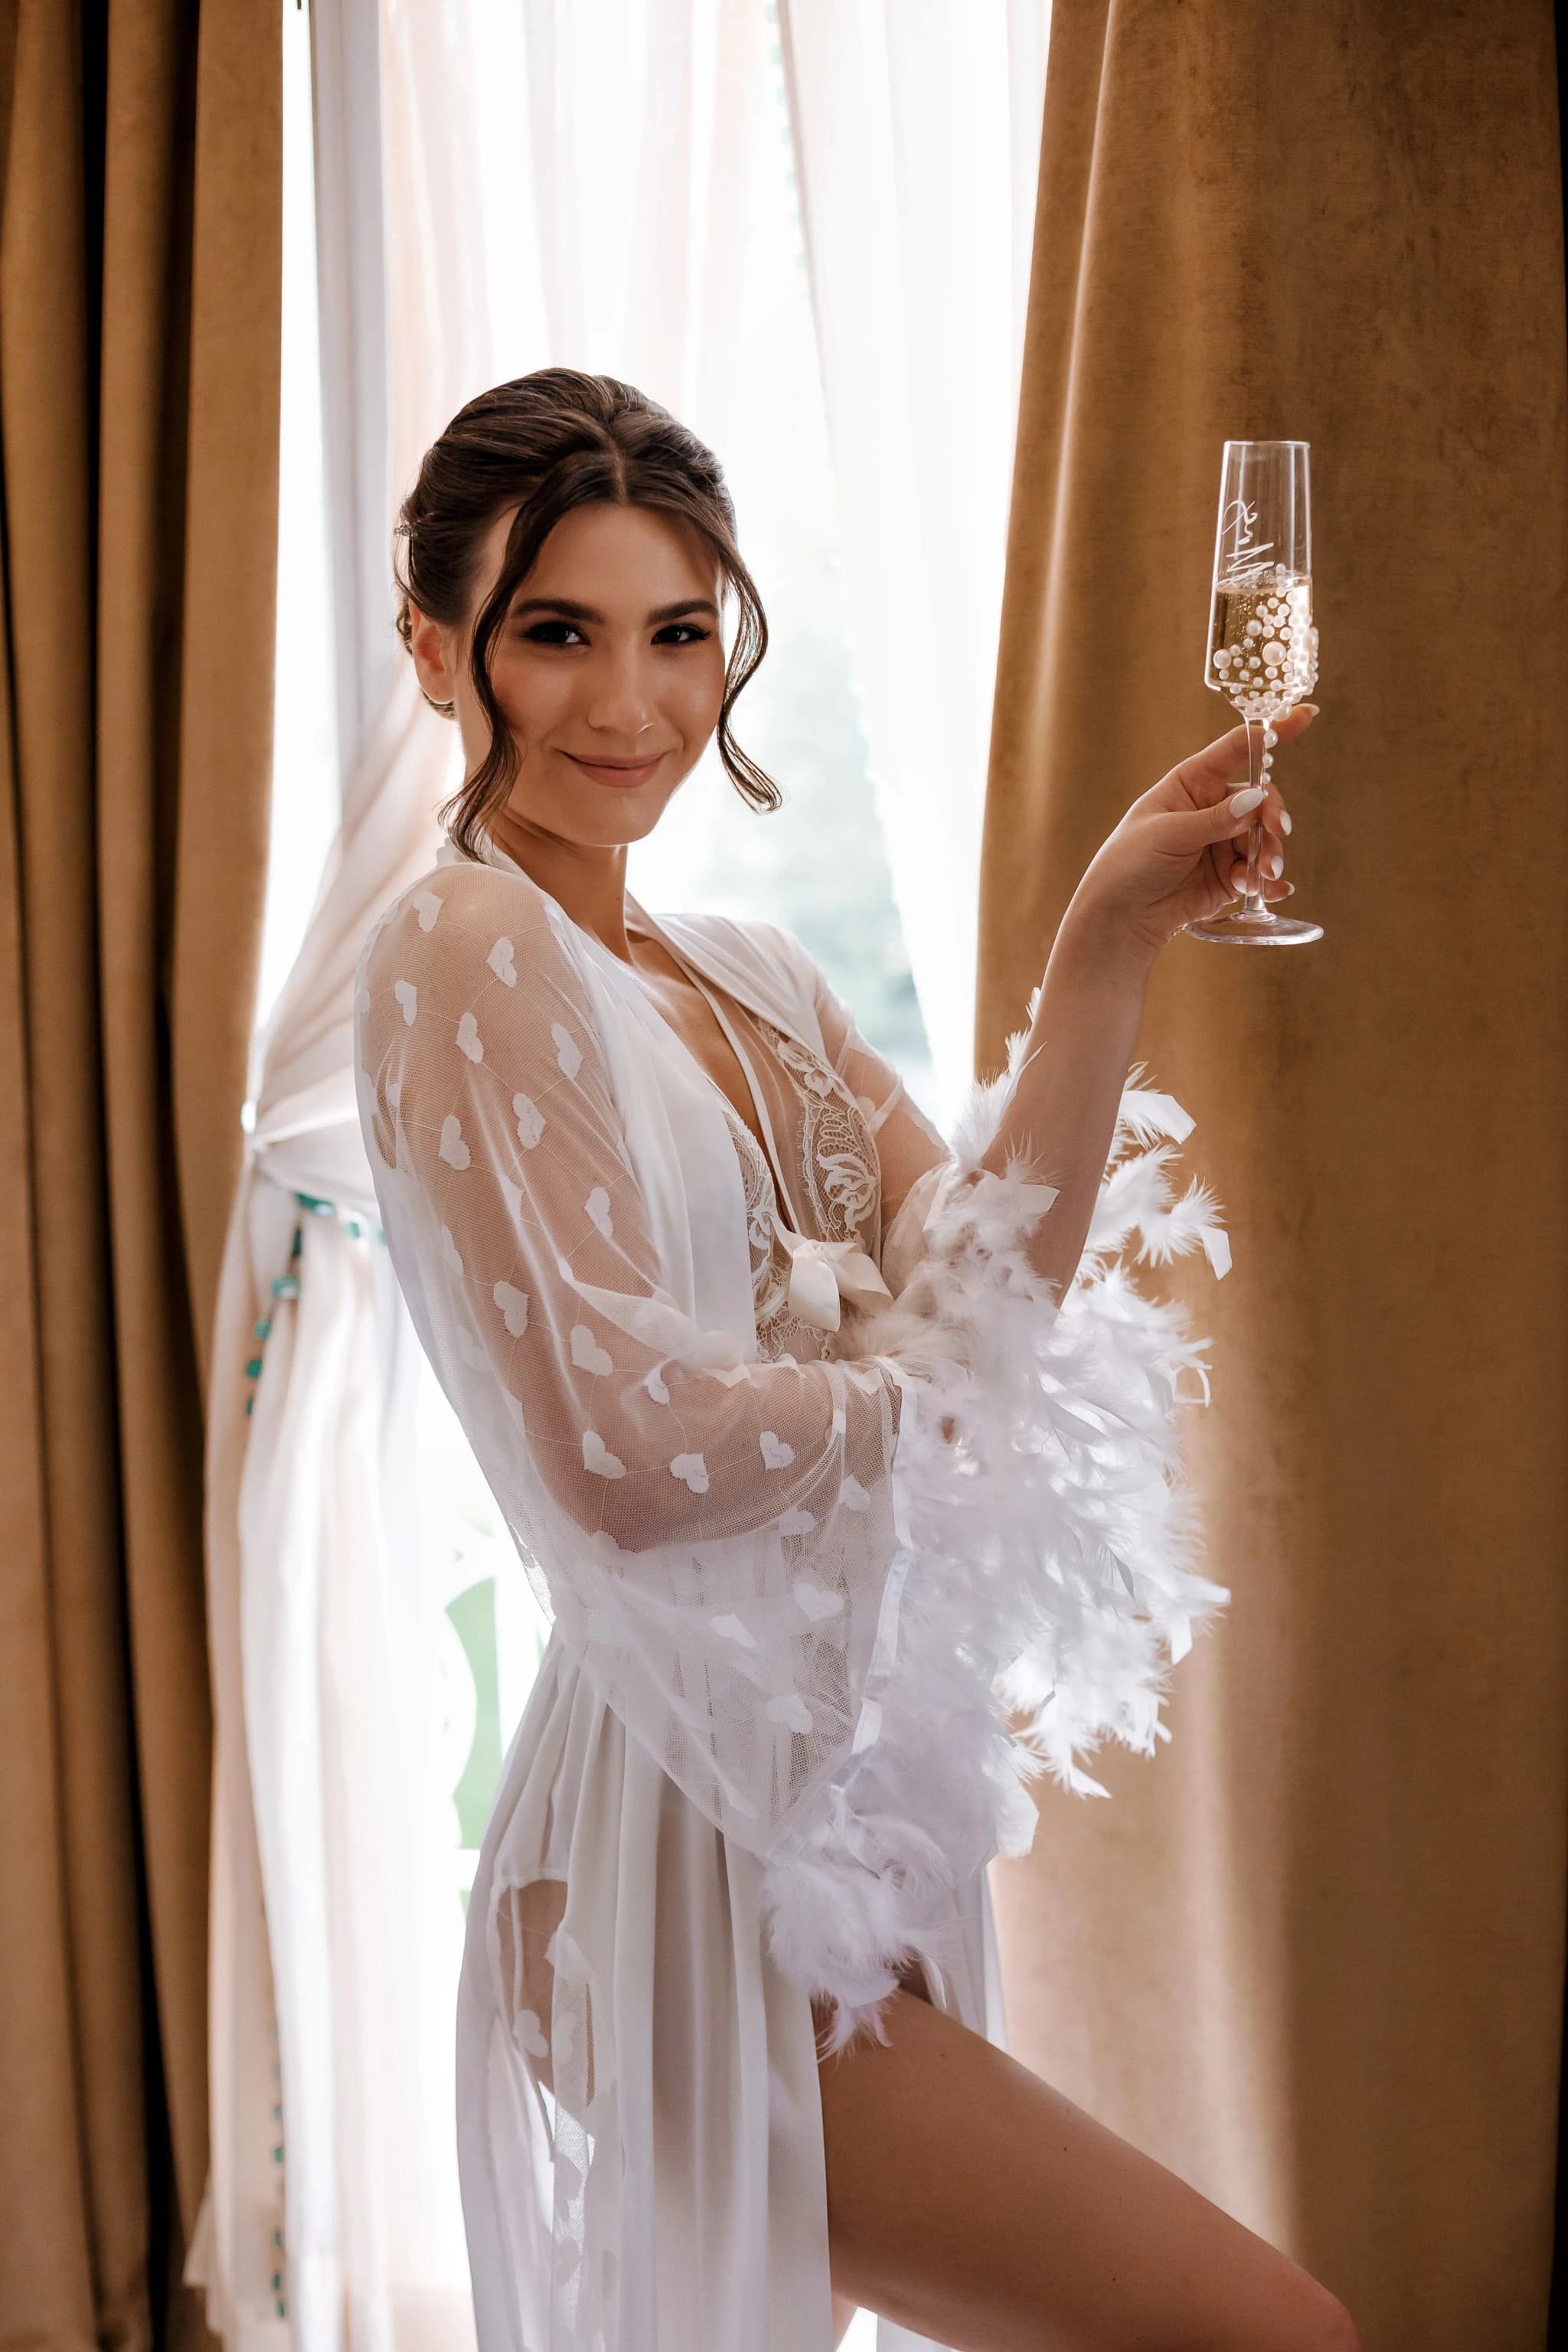
Screen is also excellent for creating a subtle glow or haze effect. Duplicate the image, apply a generous Gaussian Blur (15–25 pixels), and set the blurred layer to Screen at 15–25 percent opacity. The bright areas of the image bloom softly into the darker areas, creating a romantic, ethereal glow that is popular in wedding and boudoir photography. The blurring ensures the glow is diffuse and smooth, and the Screen blend mode ensures it lifts the highlights without making the shadows milky. This effect, often called an Orton effect or glow, is one of the most popular creative blend mode techniques in portrait photography.
Overlay and Soft Light: Contrast and Colour Enhancement
Overlay combines Multiply and Screen — it darkens the dark areas and lightens the bright areas simultaneously, increasing contrast. 50 percent grey is neutral in Overlay mode. This makes Overlay ideal for contrast enhancement: create a new layer filled with 50 percent grey, set it to Overlay, and paint with white to lighten (dodge) and black to darken (burn). This is the classic non-destructive dodging and burning technique — the grey layer serves as a canvas for tonal adjustments, and because it is set to Overlay, grey areas are invisible, white areas lighten, and black areas darken. You can undo individual brush strokes, paint over areas to refine, and adjust the layer opacity to control the overall strength.
Soft Light is a gentler version of Overlay — it applies the same principle (darken darks, lighten lights) but with approximately half the intensity. For portrait retouching, Soft Light is generally preferred over Overlay because the subtler effect is less likely to introduce visible artifacts or harsh transitions. A 50 percent grey layer set to Soft Light, with white and black painting, produces gentle, natural-looking dodging and burning that enhances facial structure without looking heavy-handed. For colour grading, placing a solid colour layer set to Soft Light at 10–20 percent opacity tints the entire image with a subtle colour wash — warm orange for golden-hour warmth, cool blue for moody winter tones — that affects midtones more than shadows or highlights.
Luminosity and Colour Blend Modes: Separating Tone and Colour
Luminosity is one of the most important blend modes for photographers because it applies only the brightness changes of an adjustment, ignoring any colour shifts. When you apply a Curves adjustment to add contrast, it also saturates the colours (because the S-curve stretches colour values as well as brightness). Setting the Curves layer to Luminosity blend mode applies only the contrast change, keeping the original colour saturation intact. This produces cleaner, more controlled results — the contrast you intended without the unintended colour boost. For almost all tonal adjustments (Curves, Levels, Brightness/Contrast), switching the blend mode to Luminosity gives more professional results.
The Colour blend mode is the complement — it applies only the colour of the blend layer, ignoring its brightness. This is useful for colour grading techniques where you want to tint the image without changing its tonal structure — placing a warm colour layer set to Colour blend mode shifts the hue without darkening or lightening. For corrective work, changing an adjustment layer to Colour mode lets you modify colours without shifting exposure. The combination of Luminosity and Colour modes gives you the ability to completely separate tonal adjustments from colour adjustments, which is the foundation of precise, professional colour correction.
Practical Blend Mode Workflow for Portrait Photography
A professional portrait retouching workflow using blend modes might include: a Curves adjustment on Luminosity mode for contrast (preserving original colours), a 50 percent grey layer on Soft Light for dodging and burning (enhancing facial structure), a solid warm-tone layer on Soft Light at 10 percent opacity for colour warmth (adding a subtle golden cast), and a blurred duplicate on Screen at 15 percent opacity for a subtle glow (creating the soft, flattering light effect). Each of these layers has a mask for selective control, and each blend mode ensures the layer affects the image in exactly the intended way without side effects.
The efficiency of this approach becomes apparent when editing a full wedding gallery — once you understand the blend mode workflow, each technique takes seconds to set up and produces consistently professional results. Blend modes replace multiple complex adjustment panels with a simple, intuitive system: need to darken something? Multiply. Lighten? Screen. Add contrast? Overlay or Soft Light. Adjust without colour shift? Luminosity. Tint without exposure change? Colour. These six blend modes, combined with layer masks, provide 90 percent of the creative control you need for professional photographic editing.
Professional Editing That Elevates Every Image
My post-processing workflow uses advanced techniques to bring out the very best in every photograph — subtle enhancements that make a dramatic difference in the final result, while keeping everything naturally beautiful.
Experience the difference professional editing makes — enquire today →