Yana Skakun

Cosplay Photography: Tips for Epic Character Shoots
By Yana Skakun·30 March 2026·6 min read
Cosplay photography is one of the most technically demanding and creatively rewarding portrait genres I photograph. The subject has often spent months creating their costume — sewing, sculpting armour, building props, sourcing the exact right wig and styling it to match a character precisely. My job as the photographer is to produce images that do justice to that work, and to tell a story within the character's world rather than simply documenting a person standing in an elaborate outfit.
What Makes Cosplay Photography Different
The most important shift, coming from standard portrait work, is that the subject is performing a character rather than being themselves. Expressions, poses, and framing should reference the source material — how that character stands, what their default expression looks like, what they would be doing in a given moment — rather than the standard conventions of a flattering portrait. A softly smiling three-quarter pose that works beautifully for a headshot can look completely wrong for a stern warrior character or an aloof antihero, and part of preparing for a session is talking through the character's personality, not just their appearance.
Detail matters enormously too, because months of craftsmanship went into the costume and that effort deserves to be documented properly. Close-up shots of armour panels, fabric work, embroidery, and prop construction are often just as important to a cosplayer as full-body portraits, and I always build time into a session specifically for these detail images rather than treating them as an afterthought squeezed in at the end.
Location functions as world-building rather than simple backdrop. A forest setting suits fantasy characters, urban architecture suits cyberpunk or modern settings, open sky and dramatic landscape suit science fiction. Event halls at conventions work as a backdrop-agnostic alternative when a specific outdoor location is not available, and post-processing often extends the storytelling further — digital backgrounds, atmospheric fog or particle overlays, and creative colour grading to create the sense of a subject genuinely existing inside their fictional world rather than standing in front of it.
Session Planning
A good cosplay session starts well before the day itself. I like to agree a mood board with the cosplayer in advance — reference images from the source material, screenshots from the game or anime or comic, that define the visual target we are aiming for together. This means we arrive with a shared understanding of the character's key poses and expressions rather than working it out from scratch on the day, which wastes time and often produces a less focused set of images.
Scouting the location in advance matters just as much as it does for any other portrait genre, but with additional considerations specific to cosplay: access permissions if the location requires them, light conditions at the planned time of day, and any terrain considerations for elaborate costumes that might make walking any distance, sitting down, or climbing over uneven ground genuinely difficult. Armour and heavy costume pieces change what a location can practically offer in a way that ordinary clothing does not.
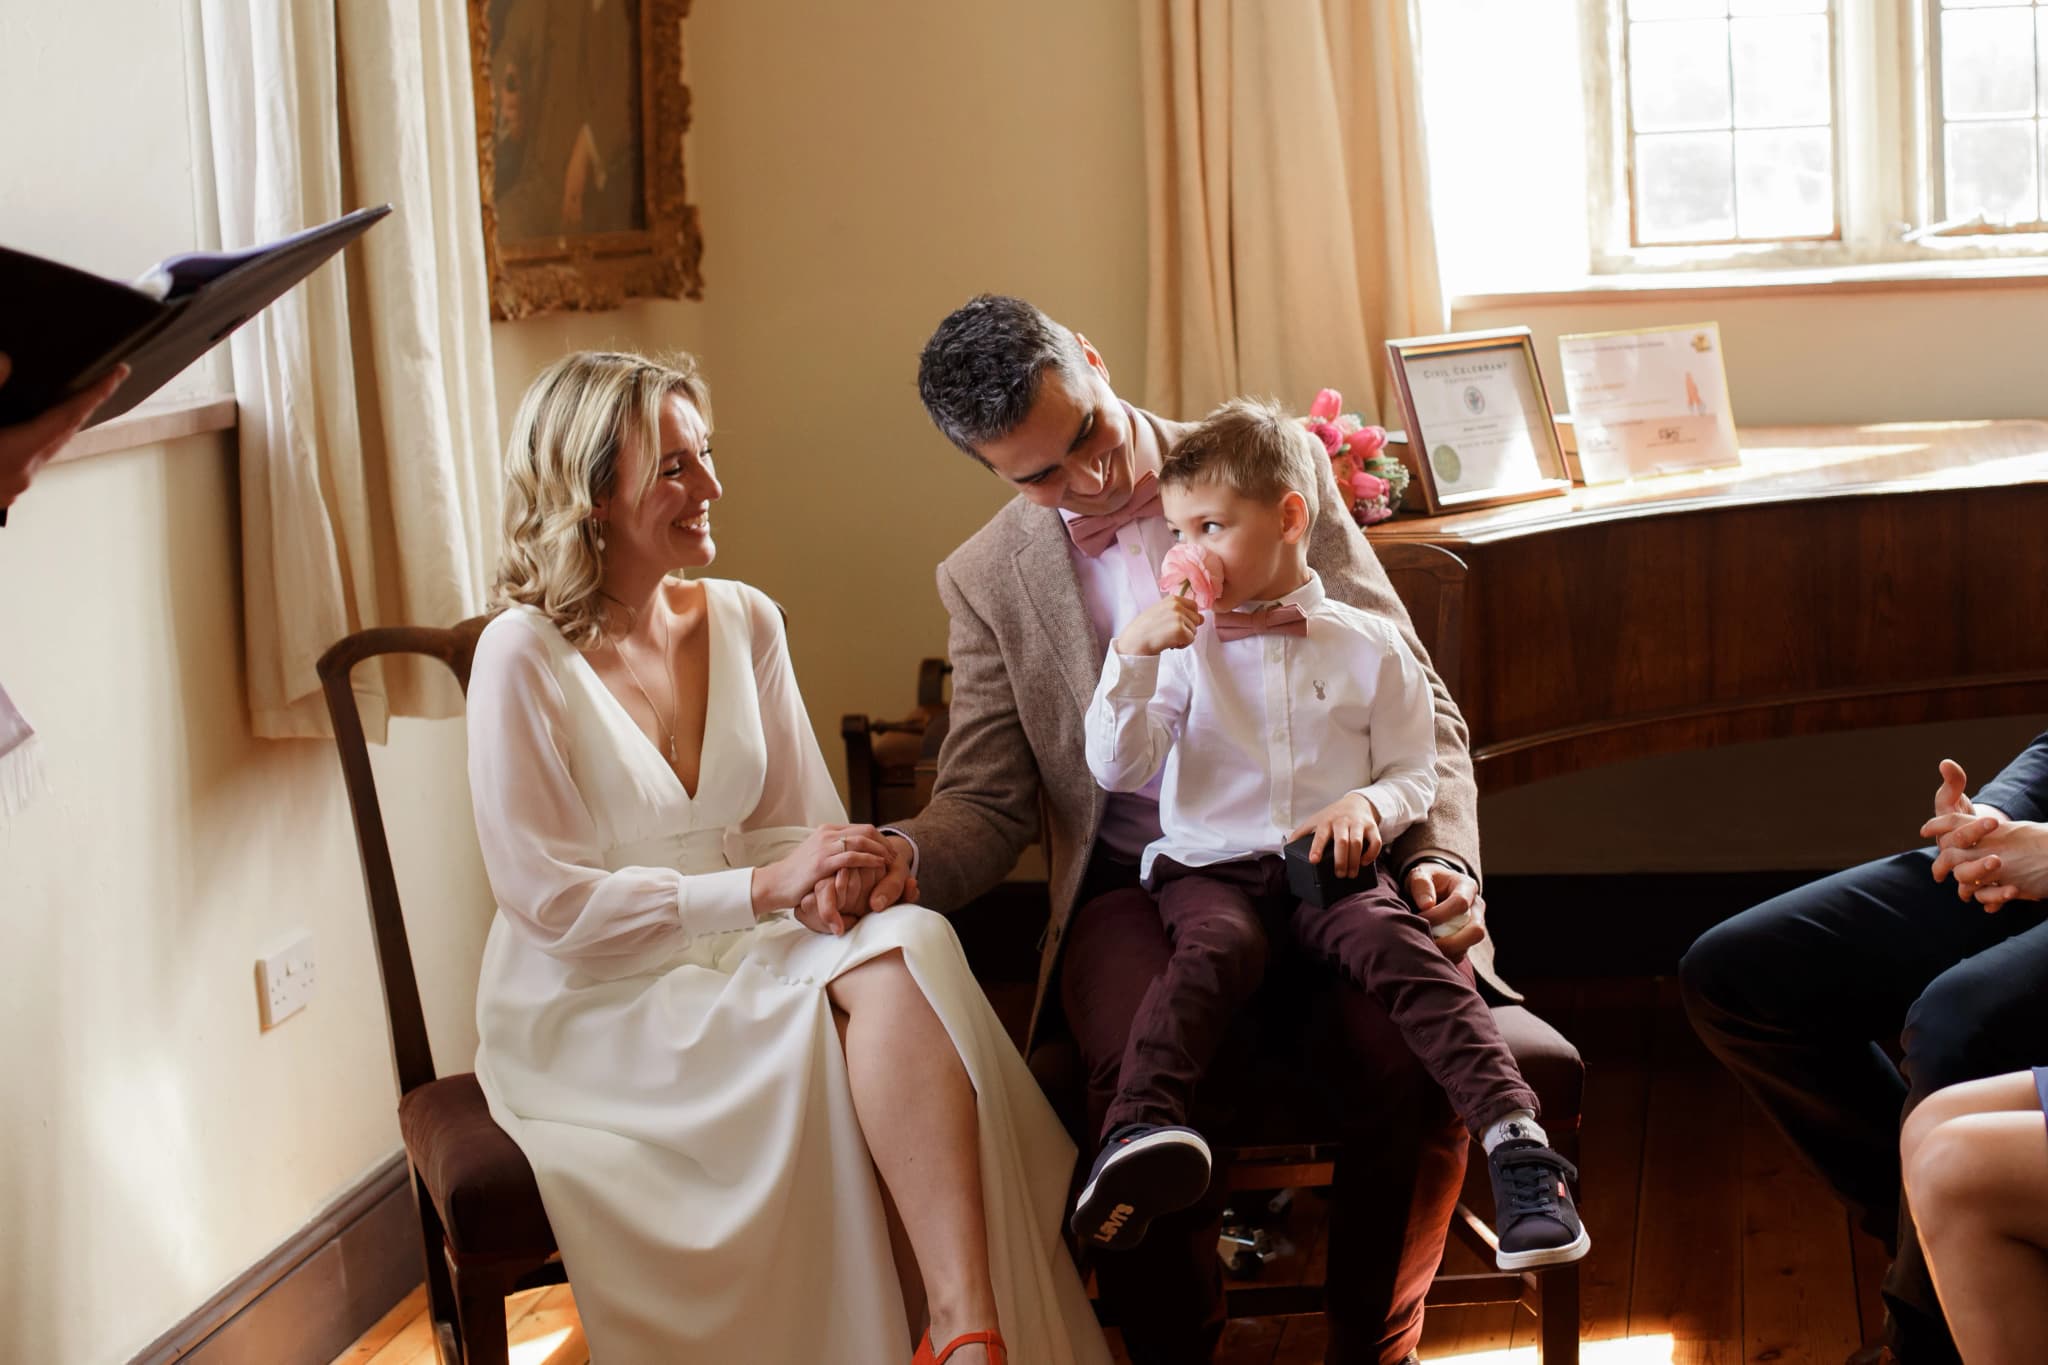
Costume logistics deserve real planning too. Wigs require protected travel and often a final styling pass once on location. Armour may arrive in separate parts and need assembly time before the session can begin, and I always build that time into the schedule rather than treating a fully-costumed arrival as the default assumption. As a general rule, I ask for thirty to sixty minutes of dressing and readying time for complex costumes, and I encourage cosplayers to carry character-relevant props into the session — they add depth to a composition and give the subject something natural to hold or interact with rather than posing with empty hands.
Conventions offer background activity, other cosplayers, and a genuine sense of event energy, but they also mean less control over crowds and light. A dedicated location session offers isolation and control, and usually produces the cleaner, more considered images that cosplayers want for their portfolio. Many of the sessions I photograph combine both — a planned location shoot around a convention date, giving a cosplayer both the atmosphere of the event and a set of properly controlled portraits from the same costume.
Lighting for Cosplay
Lighting choices in cosplay photography are led by the character as much as by technical convenience. Harsh midday light, which portrait photographers usually avoid, can be used quite deliberately for warrior or combat-oriented characters, where hard shadows and strong contrast suit the mood. Soft, overcast light is more versatile and works well across most genres, giving even, flattering coverage across detailed costume work without harsh shadow lines cutting across armour or fabric.
A single off-camera flash positioned at roughly ninety degrees to the subject creates dramatic shadow emphasis and is particularly effective for action poses, dark fantasy characters, or villains, where a moodier, more theatrical lighting style suits the character far better than flat, even light. Coloured gels take this further still — matching a character's established colour palette with coloured light, teal for science fiction settings, warm amber for period or historical characters, purple for fantasy mages or mystical characters, deepens the sense that the image belongs to that specific fictional world rather than reading as a generic portrait with a costume attached.
Weather, Terrain, and Costume Practicalities
Elaborate costumes come with practical constraints that ordinary clothing does not, and it is worth thinking these through before booking a location. Long trailing fabric, wide wings, or tall headpieces need genuinely open space to move in without catching on branches, doorways, or uneven ground. Heavy armour, particularly homemade pieces built from foam or resin, can be surprisingly restrictive in terms of how far a cosplayer can comfortably walk or how long they can stand before needing a break, and I always build rest periods into longer sessions with this in mind.
Weather deserves particular attention too. Wind is often the biggest practical enemy of cosplay photography, catching wigs, capes, and any lightweight costume elements in ways that can ruin an otherwise good shot, so I keep a close eye on forecasts in the days before an outdoor session and am always ready to suggest a rescheduled date if conditions look genuinely unworkable. Rain is less of an automatic problem than people expect for some genres — a damp, moody atmosphere can actually suit certain dark fantasy or post-apocalyptic characters rather well — but it is not something to plan around casually for costumes that cannot get wet without damage.
Working with Groups and Duos
Group cosplay sessions, photographing several characters from the same series together, add a layer of coordination beyond single-subject work. Establishing the relationships between characters — who stands protectively near whom, who would be in conflict, who would be laughing together — gives group images narrative coherence rather than a simple lineup of costumes. I usually spend a few minutes at the start of a group session talking through these dynamics so everyone has a shared sense of how to interact once we start shooting.
Timing also becomes more complex with groups, since multiple costumes each need their own readying time and multiple people need to be coordinated for group shots before splitting off for individual portraits. I generally recommend scheduling more time than feels strictly necessary for a group session — costume adjustments and prop coordination between shots take longer than people expect, and a rushed group session rarely produces the considered images that months of collective costume work deserve.
Post-Processing and Editing Cosplay Images
Editing plays a larger role in cosplay photography than in most other portrait genres, and it is worth discussing expectations before the session rather than leaving it as an afterthought. Colour grading to match a character's established palette, subtle digital touch-ups to costume seams or prop edges that did not quite sit right on the day, and occasionally composited backgrounds all fall within reasonable, standard cosplay editing practice. I always agree the intended level of post-processing with the cosplayer beforehand, since some prefer a more documentary, true-to-life edit while others want the fuller, more stylised treatment that makes an image feel like a still from within the character's world.
Black and white conversions work particularly well for detail shots and dramatic character portraits where colour might otherwise distract from texture and form, while full colour, carefully graded to match source material, tends to suit hero shots and full-body character portraits best. Either way, I try to keep editing in service of the character and the story rather than applying a single house style indiscriminately across every cosplay image regardless of genre.
A note on preparing your character brief
The more reference material and character context you can share before a session, the more precisely I can plan lighting, location, and posing around your specific character. If you are new to cosplay photography and unsure what to send over, a handful of key reference images and a short description of the character's personality is more than enough to start from.
Get in touch about a cosplay sessionCosplay photography rewards genuine collaboration between photographer and subject — the more I understand about a character before the session, the better I can help bring that character to life in the images. If you are planning a cosplay session, whether for a single character or a group, get in touch and we can talk through the details.


Yana Skakun
Photographer · England
Professional wedding, family and portrait photographer based in England. Passionate about capturing authentic emotions and timeless moments.
About Yana →cosplay photography tipscosplay portrait photographer ukcharacter photoshoot tipscreative cosplay shoot guide
Photography Tips — Professional Photography in Cambridge & England
Yana Skakun is a professional photographer based in Cambridge, specialising in wedding, family, and portrait photography across England. Every session is personal — planned around your story, your people, and the moments that matter most. This guide — Cosplay Photography: Tips for Epic Character Shoots — is part of the photography journal: practical, experience-based advice drawn from real sessions across England. Whether you arrived searching for cosplay photography tips or cosplay portrait photographer uk, the same care and attention shapes every session Yana photographs.
Professional Photography sessions are available year-round, with bookings open across Cambridge, Ely, Huntingdon, Peterborough, and further afield — East England, London, the Midlands, and beyond. If you have specific questions about character photoshoot tips, mention it in your enquiry. Get in touch through the contact form above to check availability and discuss your session. Enquiries are welcomed from anywhere in the UK.
Frequently Asked Questions
What camera settings should I use for outdoor portraits?+
For outdoor portraits, shoot in aperture priority mode. Use a wide aperture (f/1.8–f/2.8) to blur the background and isolate your subject. Keep ISO as low as possible in good light. In bright conditions, use a neutral density filter or switch to manual to avoid overexposure at wide apertures.
What is the golden hour in photography?+
Golden hour is the period roughly 30–60 minutes after sunrise and before sunset. The sun is low in the sky, producing warm, soft, directional light that flatters skin tones and creates beautiful long shadows. It's widely considered the best natural light for portrait and outdoor photography.
How do you get sharp photos in low light?+
In low light, increase your ISO (accepting some grain), use the widest aperture your lens allows, and slow your shutter speed to the slowest you can hand-hold without camera shake (roughly 1/focal length as a guide). Use image stabilisation if available, and consider a tripod for static subjects.
What is the rule of thirds in photography?+
The rule of thirds divides the frame into a 3×3 grid. Placing your subject on one of the four intersection points — rather than dead centre — creates a more dynamic, visually interesting composition. It's a guideline, not a rule: some of the most powerful images break it deliberately.
How do you edit photos to look professional?+
Professional editing starts with shooting in RAW format. In Lightroom or similar software, correct exposure, white balance, and contrast first. Recover shadow and highlight detail. Apply gentle colour grading for mood. Be conservative with skin retouching — the goal is natural enhancement, not transformation. Consistency across a set of images is what separates professional from amateur editing.
Continue Reading
Related Articles

Photography Tips
Photography Gift Vouchers: The Most Personal Present You Can Give
5 min read · Read Article
Photography Tips
Photo Books vs Photo Albums: What Is the Difference and Which Is Better?
5 min read · Read Article
Photography Tips
Photo Gift Ideas: Turning Professional Images into Meaningful Presents
5 min read · Read Article
Get in Touch
Ready to Book Your Session?
Get in touch to discuss your vision — I'll reply within 24 hours.