Yana Skakun
Golden hour photography: Timing, locations & what to expect
By Yana Skakun·30 June 2026·7 min read
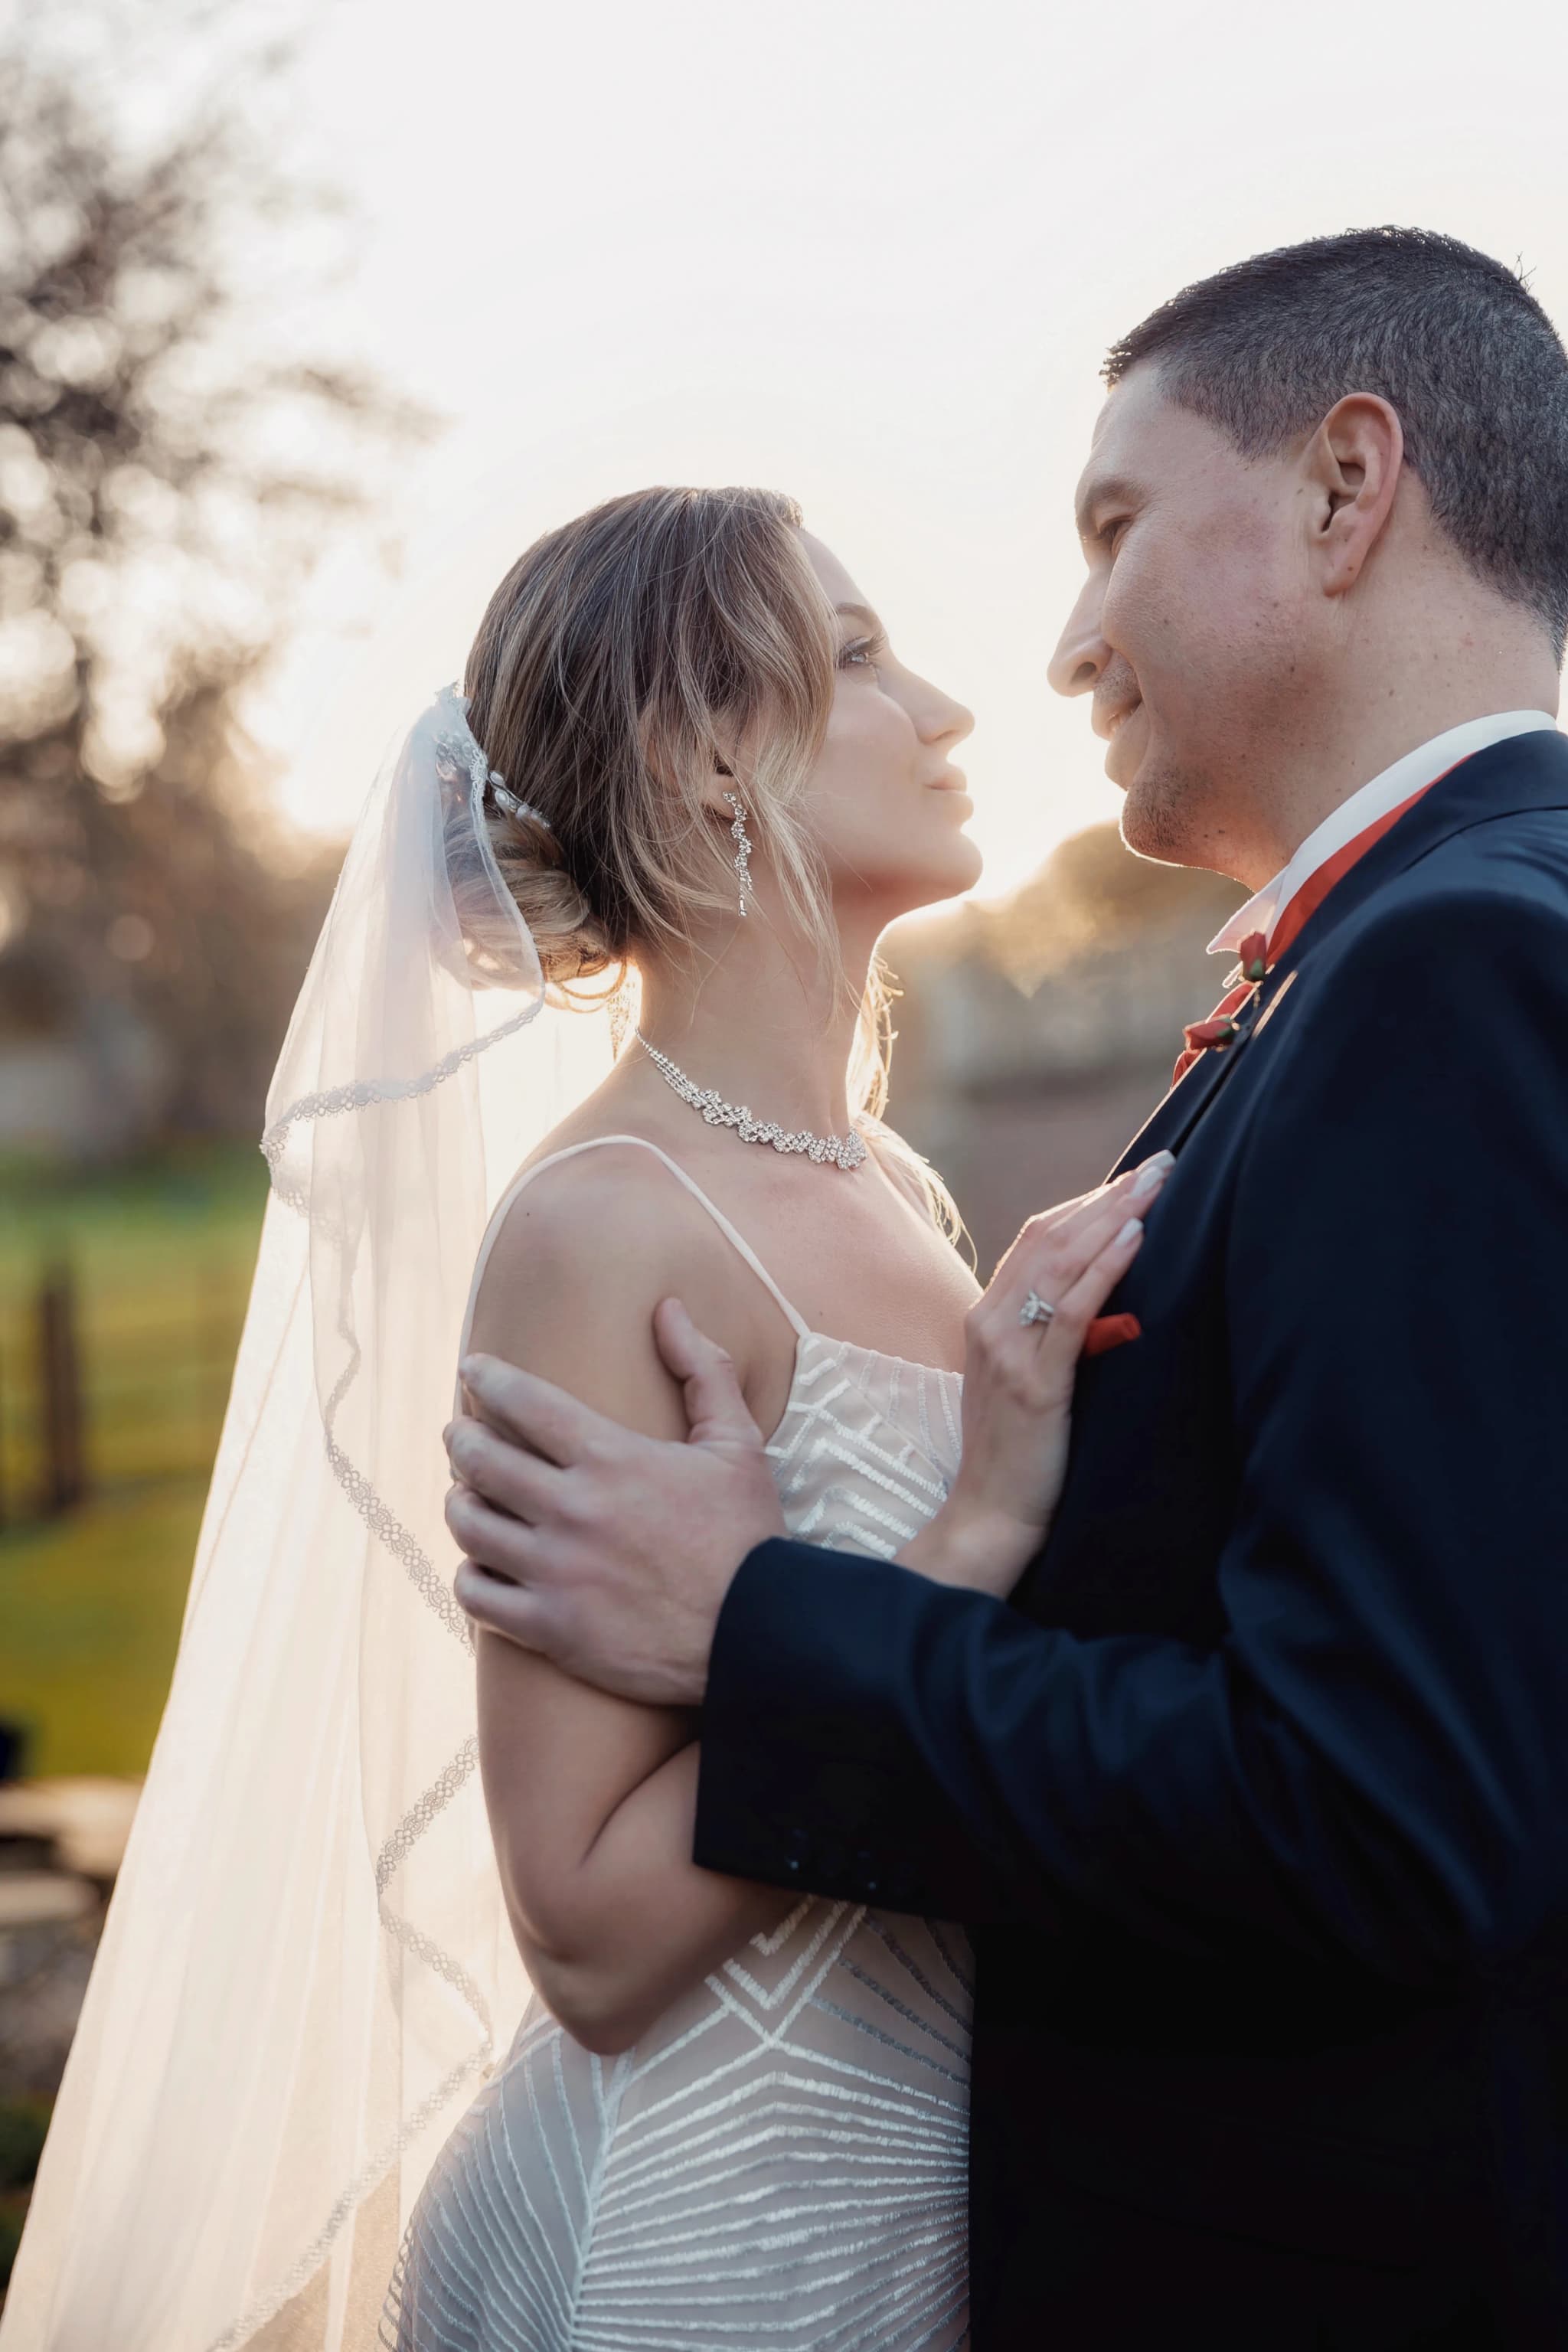
Golden hour — the thirty to sixty minutes after sunrise and before sunset — produces the most sought-after natural light in photography. Warm, low, directional, and diffused, it makes skin glow, colours deepen, and landscapes look as though they have been lit by a Baroque master rather than by the sun sitting at a particular angle in the sky. Planning a session around it well requires understanding both the physics of why it happens and the practical logistics of finding the right spot at the right time, so here is how I approach both.
What Exactly Is Golden Hour?
The term describes the period when the sun sits within roughly ten degrees above the horizon. At this angle, light travels through a much greater thickness of atmosphere than it does at midday, scattering the short blue wavelengths and allowing warm amber and gold tones to reach the subject instead. The light is also directional rather than overhead at this point in the day, creating natural shadow and depth on a face or a landscape that midday light, arriving from almost straight above, simply cannot produce in the same way.
It is worth distinguishing golden hour from the closely related blue hour, the short period just before sunrise and just after sunset when the sky takes on a cool, deep blue tone rather than a warm one. The two are often used together in a single session — golden hour for warmth and directional portrait light, blue hour immediately afterwards for a cooler, moodier set of images with the sky doing most of the visual work.
Timing Golden Hour in the UK
The UK's latitude means golden hour is remarkably variable between seasons, more so than in many countries closer to the equator. In December, sunset in Cambridge falls at approximately 3:50pm, with golden hour beginning around 3:20pm and lasting perhaps half an hour before the light fades toward dusk. In June, sunset is around 9:20pm, with golden hour beginning around 8:45pm and the summer version of it noticeably longer and more intense than its winter counterpart. Apps such as PhotoPills, Sun Surveyor, or Golden Hour One can calculate exact times for any specific location and date, and I use these routinely when planning sessions well in advance.
Because the timing shifts by a few minutes every day, and because cloud cover can significantly change how golden the light actually looks even when the sun's position is technically correct, I treat the calculated time as a strong starting point rather than an absolute guarantee. Checking the forecast a day or two out and being ready to adjust slightly is part of getting genuinely good golden hour results rather than just technically correct ones.
Best Golden Hour Locations Near Cambridge
The Gog Magog Hills south of Cambridge offer a low ridge above the flat Cambridgeshire landscape; the view west from the top of the Gogs at golden hour is exceptional, with the light catching the open grassland and, on clear evenings, the distant city skyline as well. Wicken Fen offers a vast, level horizon for sunrise and sunset over open water and reed beds, ideal for wide, atmospheric landscape-led portraits. The River Cam near Grantchester Meadows provides reflective water, overhanging willows, and a classic English pastoral setting that photographs beautifully at either end of the day. Byron's Pool near Grantchester is a wooded, sheltered spot where dappled golden light filtering through the trees is particularly beautiful and less exposed to wind than the more open riverside meadows.
Best Golden Hour Locations Across England
Box Hill in Surrey offers views across the Surrey Hills at sunset that are among the best in southern England, with a genuinely dramatic drop away from the summit viewpoint. Seven Sisters in East Sussex, where the chalk cliffs are extraordinary at sunset facing west back toward Seaford, gives a completely different, more coastal character to golden hour photography. The Lake District rewards patience — Derwentwater at sunrise and Ullswater at sunset are consistently outstanding, with the surrounding fells adding scale that flatter landscapes cannot match. Dartmoor, particularly Haytor and Hound Tor at golden hour, silhouetted against a vast open sky, is among the most dramatic natural portrait settings anywhere in England.
A note on planning your golden hour session
I plan all my outdoor portrait sessions around the best available light for the date and location, whether that is golden hour, blue hour, or soft overcast diffused light where seasonal and logistical conditions make that the more reliable choice. If you have a particular location or a particular kind of light in mind, it is worth mentioning early so we can plan the timing properly around it.
Enquire about outdoor portraitsHow to Prepare for a Golden Hour Session
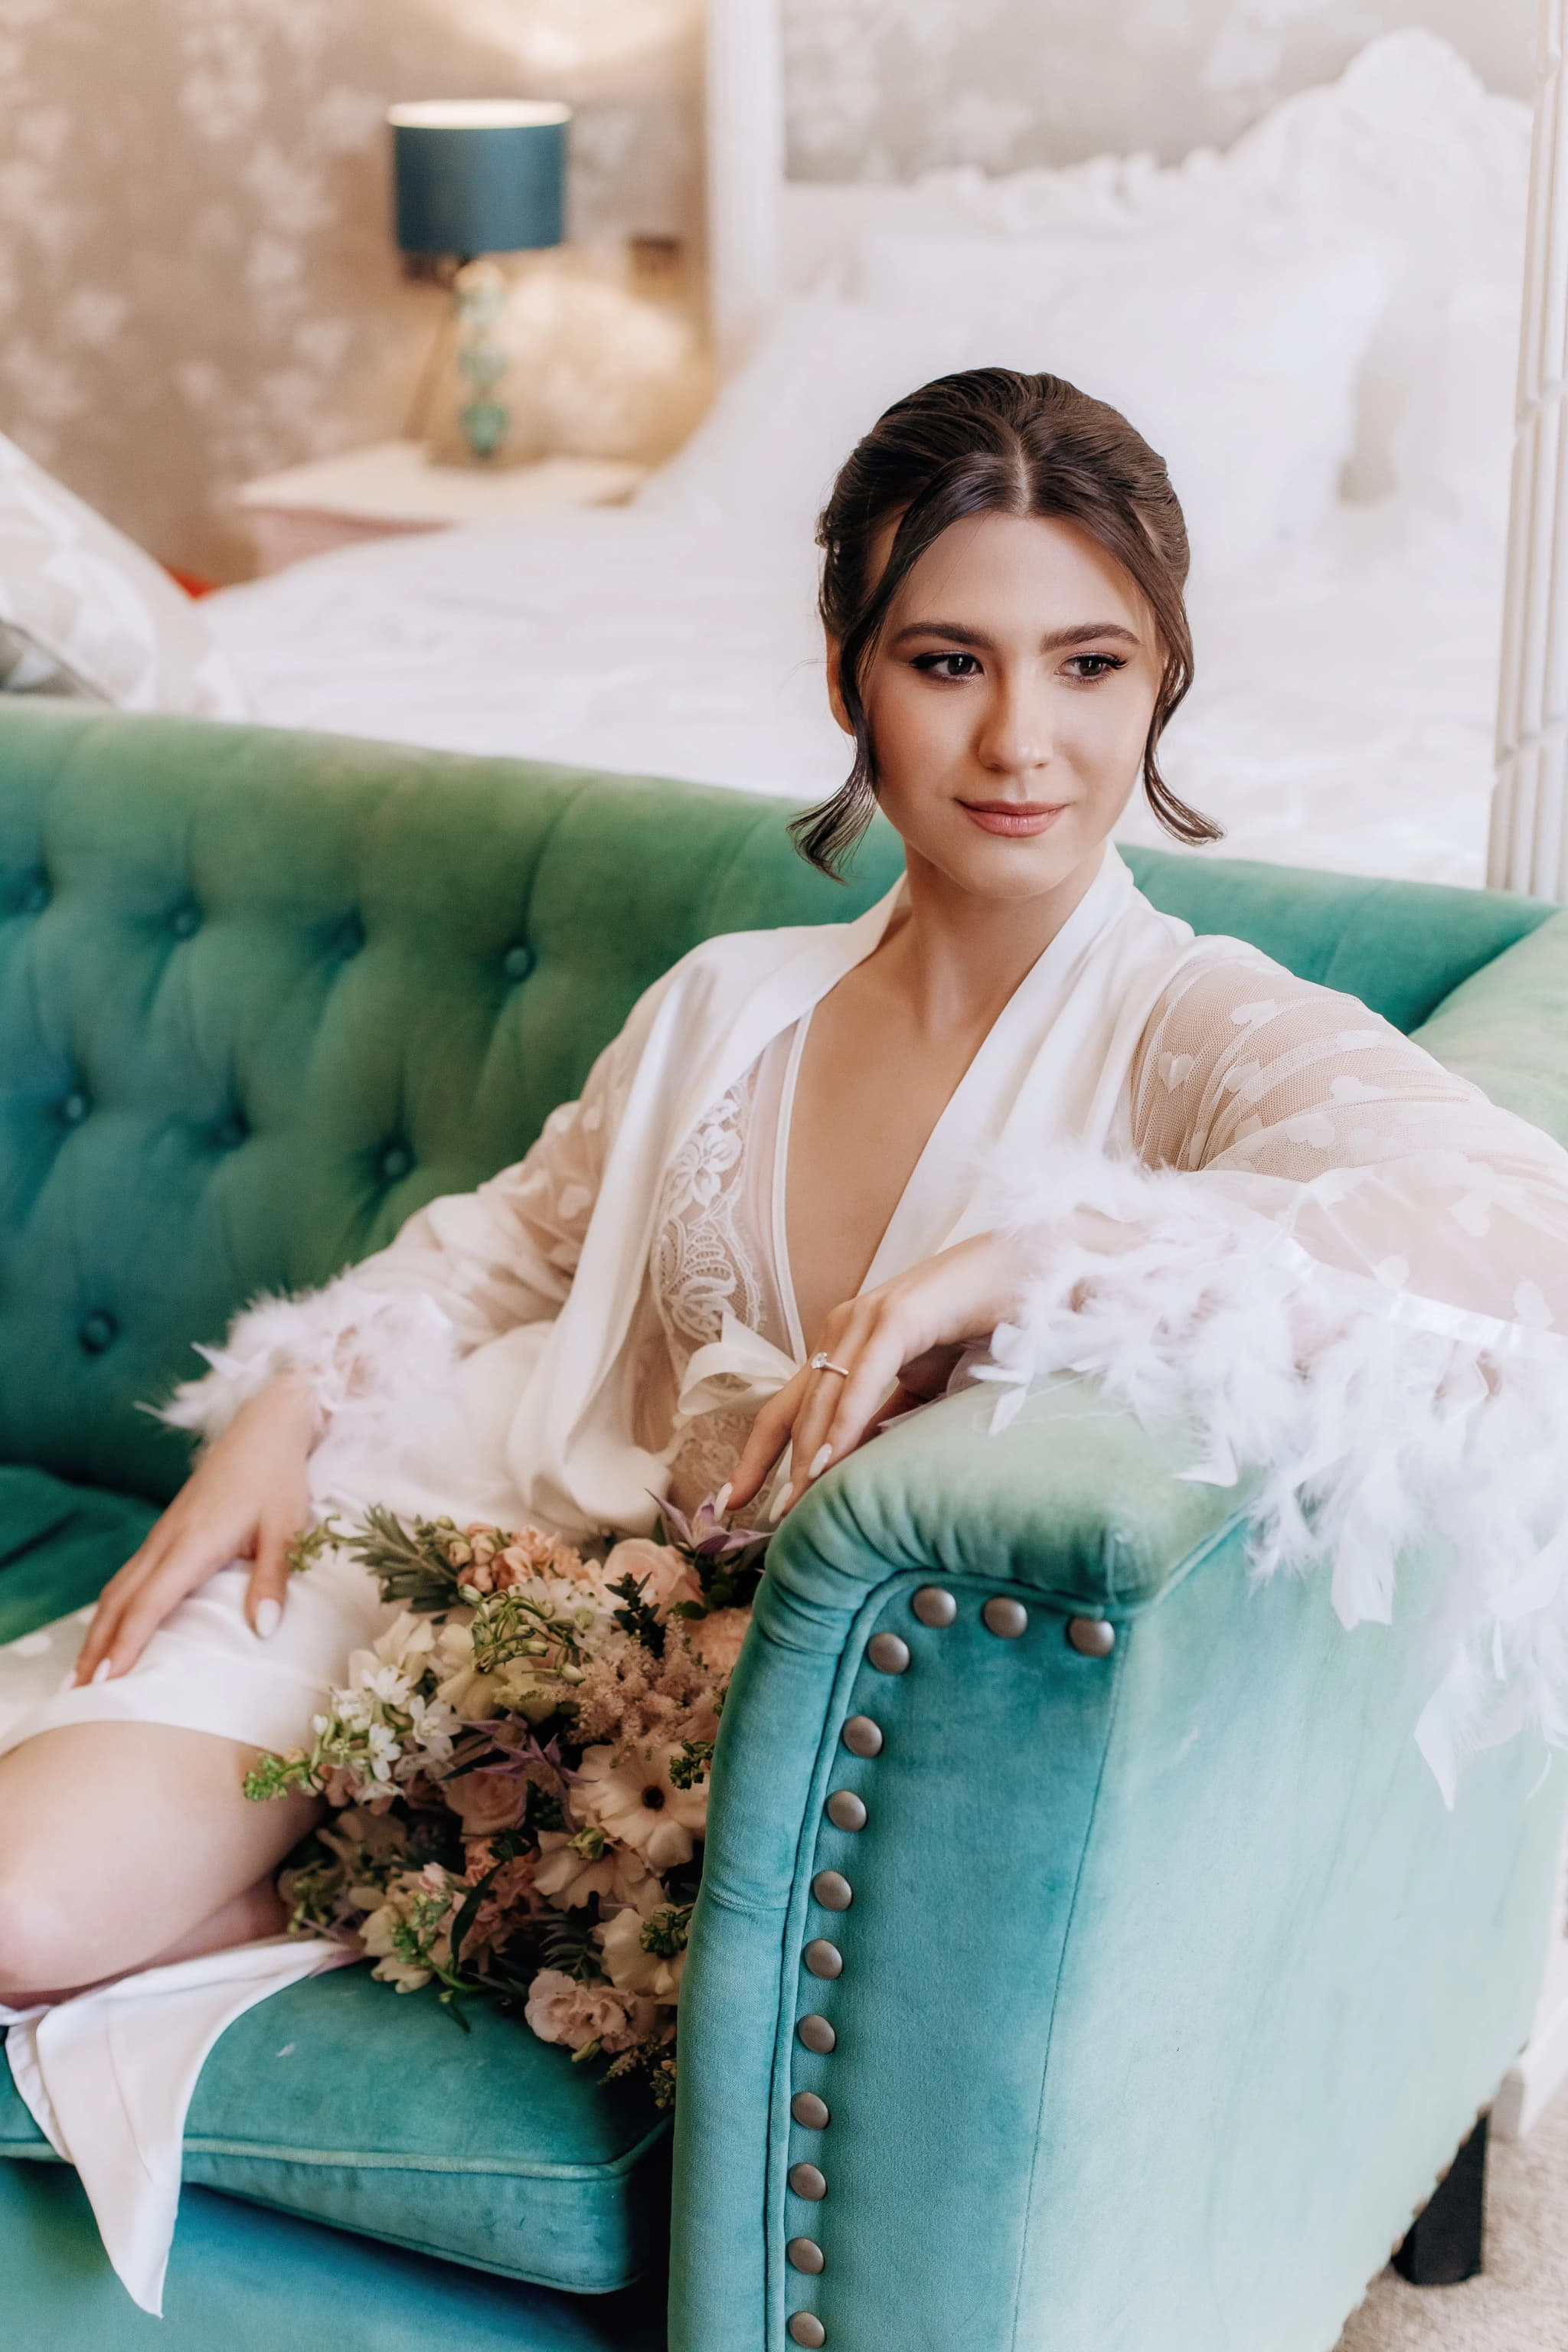
Arrive around thirty minutes before golden hour officially begins — light changes quickly through this window, and the period just before golden hour proper is often beautiful in its own quieter way, giving useful extra time for a session rather than leaving it all to a narrow, pressured slot. Wear colours that complement warmth where possible; terracotta, burnt orange, rich burgundy, and forest green all resonate well with the golden tones of the light rather than fighting against them.
Do not plan to start a session precisely at the calculated golden hour time. Build in a margin for travel, parking, and simply getting comfortable and settled at the location before the best light arrives, because those last few minutes of good light disappear fast once the sun actually reaches the horizon, and there is nothing more frustrating than still finding your footing in a new location just as the light peaks.
Common Mistakes with Golden Hour Sessions
The most common mistake I see is treating golden hour as a single fixed moment rather than a gradually shifting window. The light at the very start of golden hour is quite different from the light in its final ten minutes, and both are usable, but they produce noticeably different moods — brighter and more golden earlier, deeper and more amber toward the very end. Arriving with a rigid plan for exactly what the light should look like can mean missing genuinely beautiful conditions simply because they arrived a few minutes earlier or later than expected.
Another frequent issue is choosing a location with an obstructed western horizon without realising it until the light is already fading. Trees, buildings, or even a distant hill can block the sun well before it technically sets, cutting a session's useful golden hour window shorter than the calculated time would suggest. Scouting a location in advance, or at least checking a map for what lies to the west, avoids this fairly common disappointment.
Golden Hour Versus Blue Hour
It is worth planning specifically around whether you want golden hour, blue hour, or a combination of both, since the two produce quite different results and the transition between them happens quickly. Golden hour gives warmth, directional shadow, and a sense of gentle drama; blue hour, which follows immediately after sunset or precedes sunrise, gives a cool, deep, almost cinematic tone with the sky itself often becoming the most striking part of the image. Photographing both within a single session, moving from the warm light into the cool one as the sun disappears, gives a genuinely varied set of images from a single evening's work.
This transition period is short, generally no more than twenty to thirty minutes between the end of usable golden light and the deepening of blue hour, so it requires a location where both work well and a plan for moving quickly between compositions rather than lingering too long on any single shot. Open locations with a clear view of both the western horizon, for the last of the golden light, and the eastern sky, where blue hour often deepens first, tend to work best for capturing this full transition.
Golden hour rewards preparation more than almost any other kind of natural light, and the results, when the timing and location come together properly, are consistently the most atmospheric images a session can produce. If you would like help planning a golden hour session anywhere from central Cambridge to further afield in England, get in touch and we can work out the details together.


Yana Skakun
Photographer · England
Professional wedding, family and portrait photographer based in England. Passionate about capturing authentic emotions and timeless moments.
About Yana →golden hour photographybest light for photography UKgolden hour locations Cambridgesunset photography tipsoutdoor portrait lighting
Photography Tips — Professional Photography in Cambridge & England
Yana Skakun is a professional photographer based in Cambridge, specialising in wedding, family, and portrait photography across England. Every session is personal — planned around your story, your people, and the moments that matter most. This guide — Golden hour photography: Timing, locations & what to expect — is part of the photography journal: practical, experience-based advice drawn from real sessions across England. Whether you arrived searching for golden hour photography or best light for photography uk, the same care and attention shapes every session Yana photographs.
Professional Photography sessions are available year-round, with bookings open across Cambridge, Ely, Huntingdon, Peterborough, and further afield — East England, London, the Midlands, and beyond. If you have specific questions about golden hour locations cambridge, mention it in your enquiry. Get in touch through the contact form above to check availability and discuss your session. Enquiries are welcomed from anywhere in the UK.
Frequently Asked Questions
What camera settings should I use for outdoor portraits?+
For outdoor portraits, shoot in aperture priority mode. Use a wide aperture (f/1.8–f/2.8) to blur the background and isolate your subject. Keep ISO as low as possible in good light. In bright conditions, use a neutral density filter or switch to manual to avoid overexposure at wide apertures.
What is the golden hour in photography?+
Golden hour is the period roughly 30–60 minutes after sunrise and before sunset. The sun is low in the sky, producing warm, soft, directional light that flatters skin tones and creates beautiful long shadows. It's widely considered the best natural light for portrait and outdoor photography.
How do you get sharp photos in low light?+
In low light, increase your ISO (accepting some grain), use the widest aperture your lens allows, and slow your shutter speed to the slowest you can hand-hold without camera shake (roughly 1/focal length as a guide). Use image stabilisation if available, and consider a tripod for static subjects.
What is the rule of thirds in photography?+
The rule of thirds divides the frame into a 3×3 grid. Placing your subject on one of the four intersection points — rather than dead centre — creates a more dynamic, visually interesting composition. It's a guideline, not a rule: some of the most powerful images break it deliberately.
How do you edit photos to look professional?+
Professional editing starts with shooting in RAW format. In Lightroom or similar software, correct exposure, white balance, and contrast first. Recover shadow and highlight detail. Apply gentle colour grading for mood. Be conservative with skin retouching — the goal is natural enhancement, not transformation. Consistency across a set of images is what separates professional from amateur editing.
Continue Reading
Related Articles

Photography Tips
Photography Gift Vouchers: The Most Personal Present You Can Give
5 min read · Read Article
Photography Tips
Photo Books vs Photo Albums: What Is the Difference and Which Is Better?
5 min read · Read Article
Photography Tips
Photo Gift Ideas: Turning Professional Images into Meaningful Presents
5 min read · Read Article
Get in Touch
Ready to Book Your Session?
Get in touch to discuss your vision — I'll reply within 24 hours.