A reflector is the simplest, cheapest, and most effective lighting tool in photography. It doesn't produce light — it redirects it. A single reflector can fill harsh shadows under eyes, add a catch light to dead-looking irises, warm up skin tones, and transform flat overcast light into sculpted, directional illumination. Every wedding photographer, portrait photographer, and event photographer should know how to use one. This guide covers every type, every technique, and every practical application.
What a Reflector Does
A reflector bounces existing light — sunlight, window light, studio light — back toward the subject from a different angle. This fills shadows, adds dimension, and creates catch lights in the eyes. It's essentially a free second light source, powered by whatever light already exists in the scene.
Types of Reflectors and Their Effects
White Reflector
The most natural and versatile option. White surfaces bounce soft, neutral light that fills shadows gently without being obvious. The fill looks natural because white produces diffused reflection — the light spreads evenly rather than creating a hotspot.
- Best for: portraits, bridal close-ups, any situation where natural-looking fill is needed.
- Intensity: low-to-medium. Effective within 1-2 metres of the subject.
- Colour: neutral. Does not shift colour temperature.
Silver Reflector
Silver reflects more light than white — roughly 2-3 times as much. The reflection is more specular (mirror-like), creating stronger highlights and a more visible fill effect. Silver is the default choice outdoors in overcast conditions where there's less light to work with.
- Best for: outdoor portraits in overcast light, group shots where the reflector is further from the subjects.
- Intensity: high. Can overpower in bright sunshine — use at a distance or angle away to reduce intensity.
- Colour: cool neutral. Slightly cooler than white.
- Caution: in bright sun, silver can be blinding for the subject at close range. Watch for squinting.
Gold Reflector
Gold bounces warm, golden-toned light that mimics late-afternoon sunlight. It warms skin tones and can simulate golden-hour lighting even on overcast days or in shade. However, the warmth can look unnatural if applied heavily — use sparingly or at a distance.
- Best for: warm-toned portraits, simulating golden hour, outdoor sessions in shade or overcast.
- Intensity: medium-high.
- Colour: warm gold. Significantly shifts colour temperature toward amber.
- Caution: the warm tone can look artificial on very fair skin or in already-warm lighting conditions.
Sunfire / Soft Gold Reflector
A mix of silver and gold striping or blending. Produces warm light without the extreme colour shift of pure gold. Often called "zebra" or "sunfire." This is the compromise choice — warmth and intensity without going too far in either direction.
Black Reflector (Negative Fill)
Black doesn't reflect light — it absorbs it. A black panel held near the subject removes bounced light, deepening shadows and adding contrast. This is "negative fill" and it's invaluable for:
- Creating dramatic, moody portraits with strong shadow contrast.
- Sculpting jawlines and cheekbones by removing the fill that softens them.
- Counteracting overly bright environments (white walls, snow, sand) that bounce too much ambient light into the shadows.
Translucent Diffuser Panel
Most 5-in-1 reflector kits include a translucent white panel that transmits light rather than reflecting it. Held between the sun and the subject, it softens harsh direct sunlight into a diffused, even glow — like creating a portable soft box above the subject.
Reflector Positions and Their Effects
Below the Face (45 Degrees Up)
The most common position for portrait work. Held at waist or chest height, angled up toward the face, the reflector fills the shadows under the eyes, nose, and chin that overhead light creates. This produces flattering, even lighting with visible catch lights in the lower portion of the eyes.
Beside the Subject (Side Fill)
Held to one side of the subject, the reflector fills the shadow side of the face — useful when the main light source is strongly directional (a window, side sunlight). The result is a more even lighting ratio, with both sides of the face visible. Adjust the distance: closer for stronger fill, further for subtle fill.
Behind or Above the Subject (Hair/Rim Light)
Positioned above and behind the subject, a silver or gold reflector can bounce sunlight down onto the hair and shoulders, creating a rim light or hair light effect. This separates the subject from the background and adds a luminous glow to the hair.
On the Ground
Simply laying a white reflector flat on the ground in front of a standing subject bounces ground-level light up into under-chin shadows. This is the lowest-effort technique — no assistant needed, no hands occupied. The fill is subtle but effective.
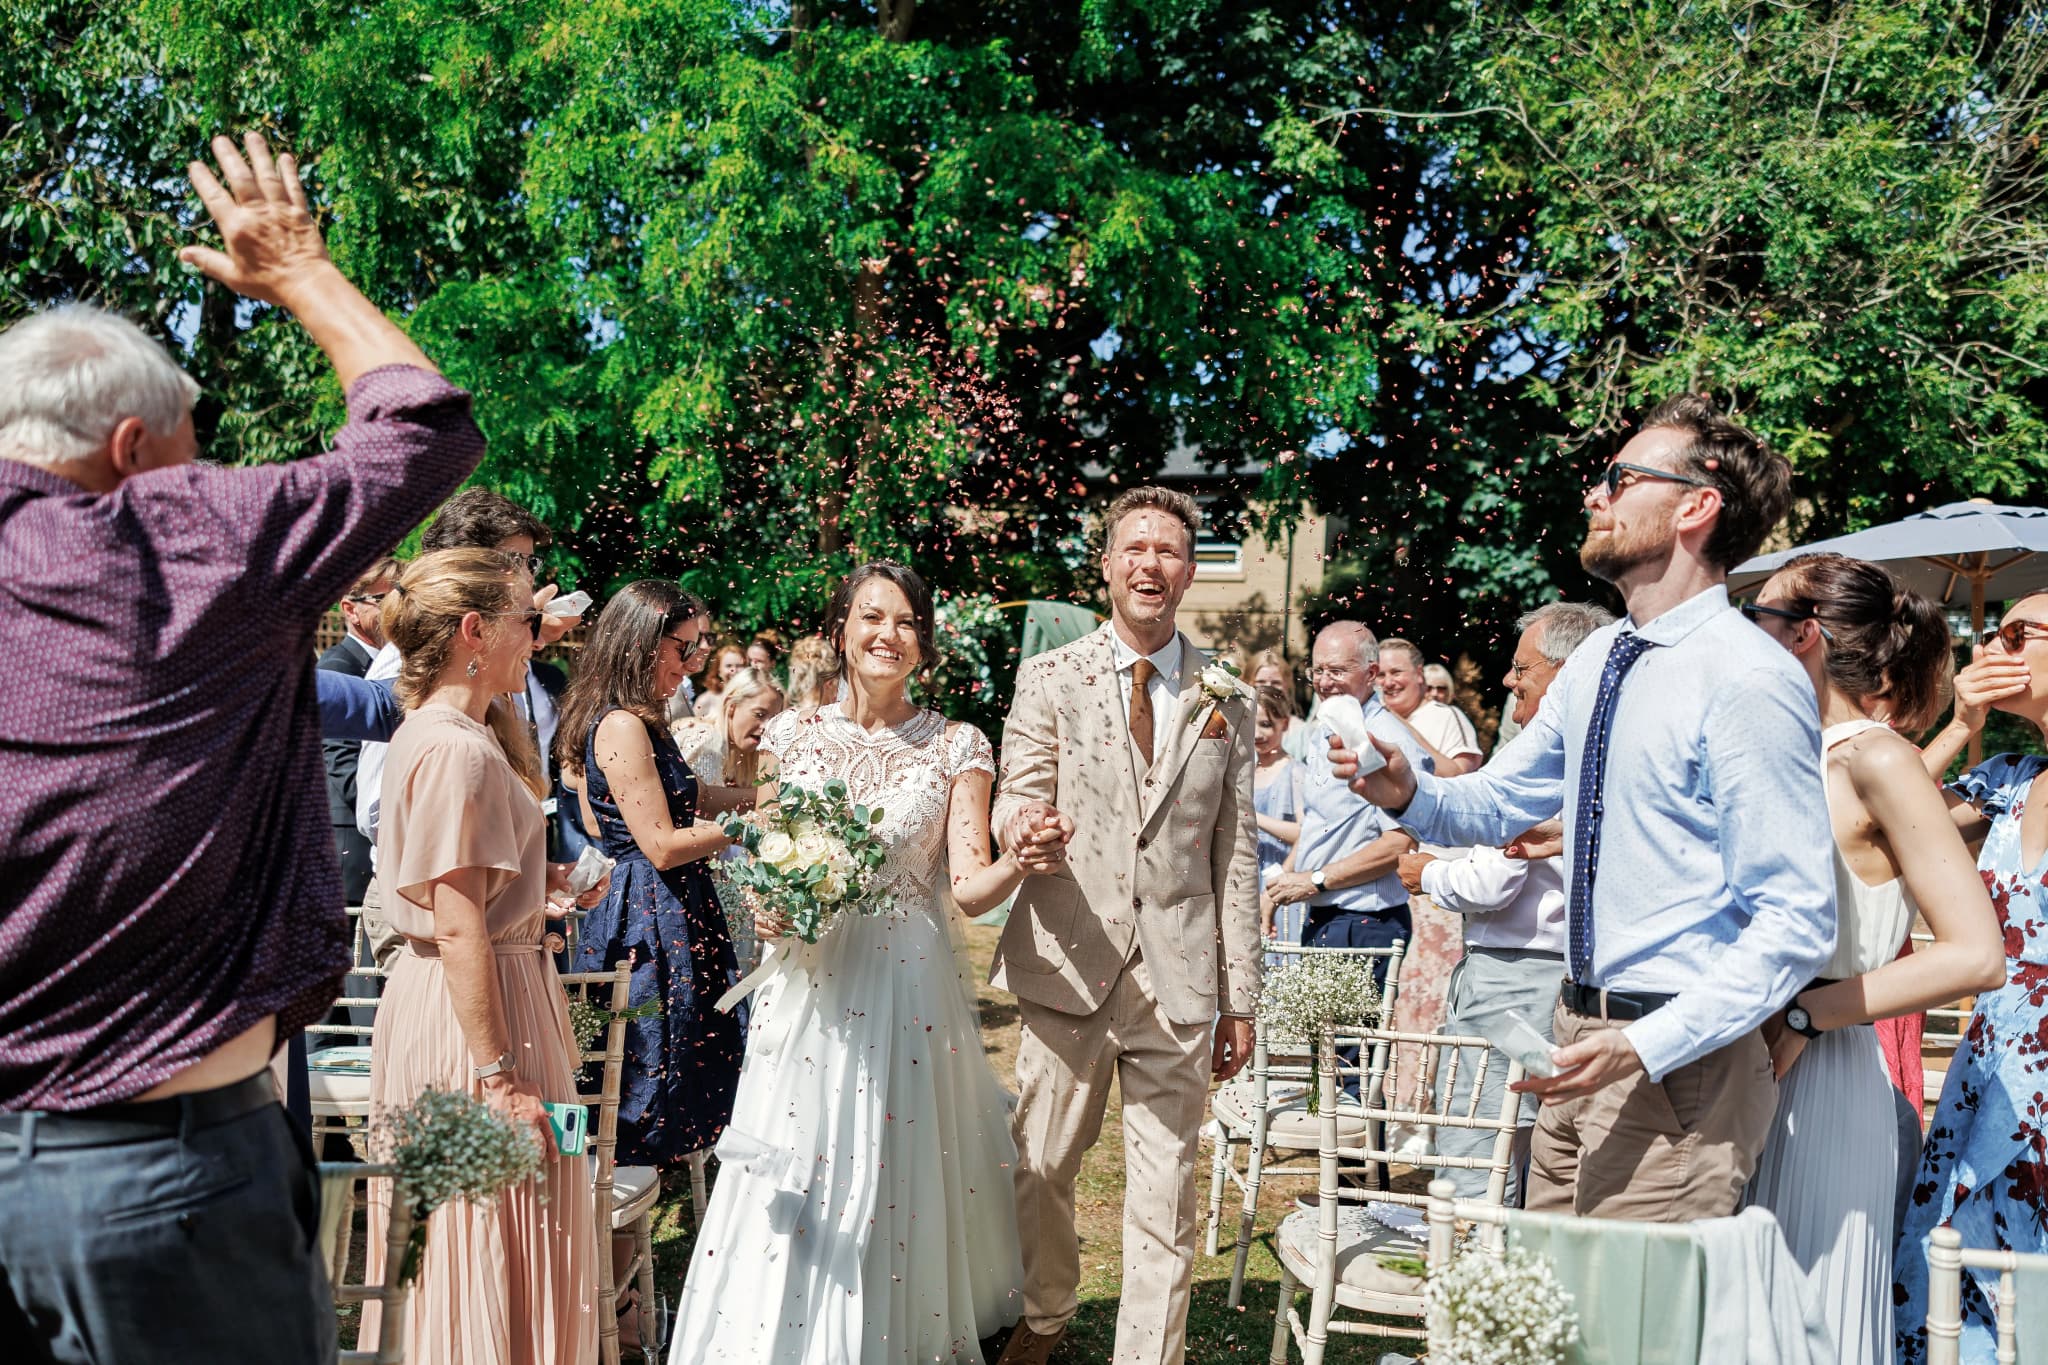
Using Reflectors at Weddings
- Portraits between ceremony and reception: the couple's portrait session typically happens in mixed lighting conditions. A reflector opens shadows, adds catch lights, and balances light — all without the weight, setup time, or batteries of an off-camera flash.
- Getting-ready shots near windows: a white reflector opposite the window fills the shadow side of the bride's face during preparation shots. Handheld by an assistant, or propped against a chair.
- Under trees: dappled tree shade creates patchy light on faces. A reflector from below smooths out the blotchy shadows and creates even illumination.
- Group photos: a large reflector (120cm or more) positioned in front of a group fills the eye shadows that overhead sun creates — eliminating raccoon-eye shadows from every face.
- Ring and detail shots: a small reflector (or a white piece of card) bouncing light into a ring, invitation, or shoe from the shadow side adds dimension and eliminates harsh contrast.
Practical Tips and Common Mistakes
- Size matters: a larger reflector produces softer, more wrapping light. A small reflector produces harder, more directional fill. For portraits, 80-110cm is ideal. For details and rings, a 30cm white card is sufficient.
- Distance matters: moving the reflector closer increases fill intensity dramatically. If the fill is too strong (the subject squints, or the fill creates its own shadows), move the reflector further away.
- Angle matters: the reflector obeys the law of reflection — the angle of incidence equals the angle of reflection. If the sun is coming from above-right, angle the reflector to bounce that light up and into the subject's face from below-left.
- Wind is the enemy: collapsible reflectors act as sails in wind. Have an assistant grip firmly, or use a reflector with a handle or a stand with a clamp.
- Don't over-fill: the goal is to reduce shadow intensity, not eliminate shadows entirely. Flat, shadowless lighting looks unnatural. Keep the reflector far enough, or angle it slightly off-target, to maintain some shadow for dimension.
- Catch lights: a reflector from below creates a catch light in the lower portion of the eye. A reflector from the side creates a side catch light. These are visible in close-up portraits — consider their position and appearance.
DIY Reflectors
Any reflective surface works:
- A sheet of white foam board from an art shop — lightweight, rigid, large.
- Aluminium foil on cardboard — crinkled for a silver-reflector effect.
- A white bed sheet — held by two assistants, it creates a huge, soft reflector.
- A white T-shirt or jacket — in an emergency, a white garment held at the right angle bounces enough light to fill harsh shadows.
Beautifully shaped light in every portrait — using reflectors, diffusers, and natural light with intention.
Professional lighting knowledge that makes every face look its best, in any condition. See portrait gallery and book.