Yana Skakun

Silhouette Photography: Creative Techniques for Dramatic Portraits
By Yana Skakun·12 April 2026·6 min read
Silhouette photography strips a portrait to its essential shape — the outline of two people against a burning horizon, the profile of a bride in a doorway, the gesture of a groom lifting his partner off the ground as the sky behind them turns from orange to violet. The reduction to pure form gives silhouette images a graphic power and emotional resonance that no fully-lit photograph can achieve in quite the same way, and it is one of the most requested specific shots in UK wedding and portrait photography today. It also happens to be one of the most misunderstood techniques among couples booking their photography — people assume it is a matter of luck with the weather, when in fact it is a deliberate, controllable technique that I plan for on almost every wedding day and many portrait sessions where the light and location allow it. This guide sets out how silhouettes actually work, when to shoot them, how to compose them so they read clearly, and how I use them across weddings, couples, and family sessions.
The Principle Behind Silhouettes
A silhouette photograph is made by placing a much brighter light source behind the subjects than in front of them, and exposing the camera for that bright background rather than for the subjects themselves. The result is that the background — the sky, the window, the doorway — is correctly exposed and full of colour and detail, while the subjects, which receive far less light on the side facing the camera, render as dark, near-solid outlines with no visible facial features or clothing detail. The principle is exactly the same as casting a shadow puppet on a wall with a torch behind your hands: the light source is stronger than the object, the object blocks it, and what remains is shape.
Technically, this comes down to dynamic range and exposure choice. A camera sensor can only render a certain range of brightness values correctly in a single exposure. When the difference between the background brightness and the subject brightness is large enough — which a bright sunset sky against a person's shaded front side usually is — something has to give. Expose for the subject and the sky burns out to white, losing all its colour. Expose for the sky and the subject drops into near-total darkness. Silhouette photography deliberately chooses the second option and treats the loss of subject detail as the entire point of the image, not a failure of exposure.
When to Make Silhouettes
Sunset and sunrise are the most reliable conditions for silhouette work, and for good reason. A low sun creates a naturally bright, colourful background with warm gradients running from gold through orange to deep pink or violet, and it sets off a dark outline beautifully because the light ratio between sky and subject is already extreme without any additional effort. I watch the sky closely in the final hour before sunset on every wedding day, because the window where the colour is at its richest but the sun itself is not so low that it causes lens flare or squinting typically lasts only ten to fifteen minutes.
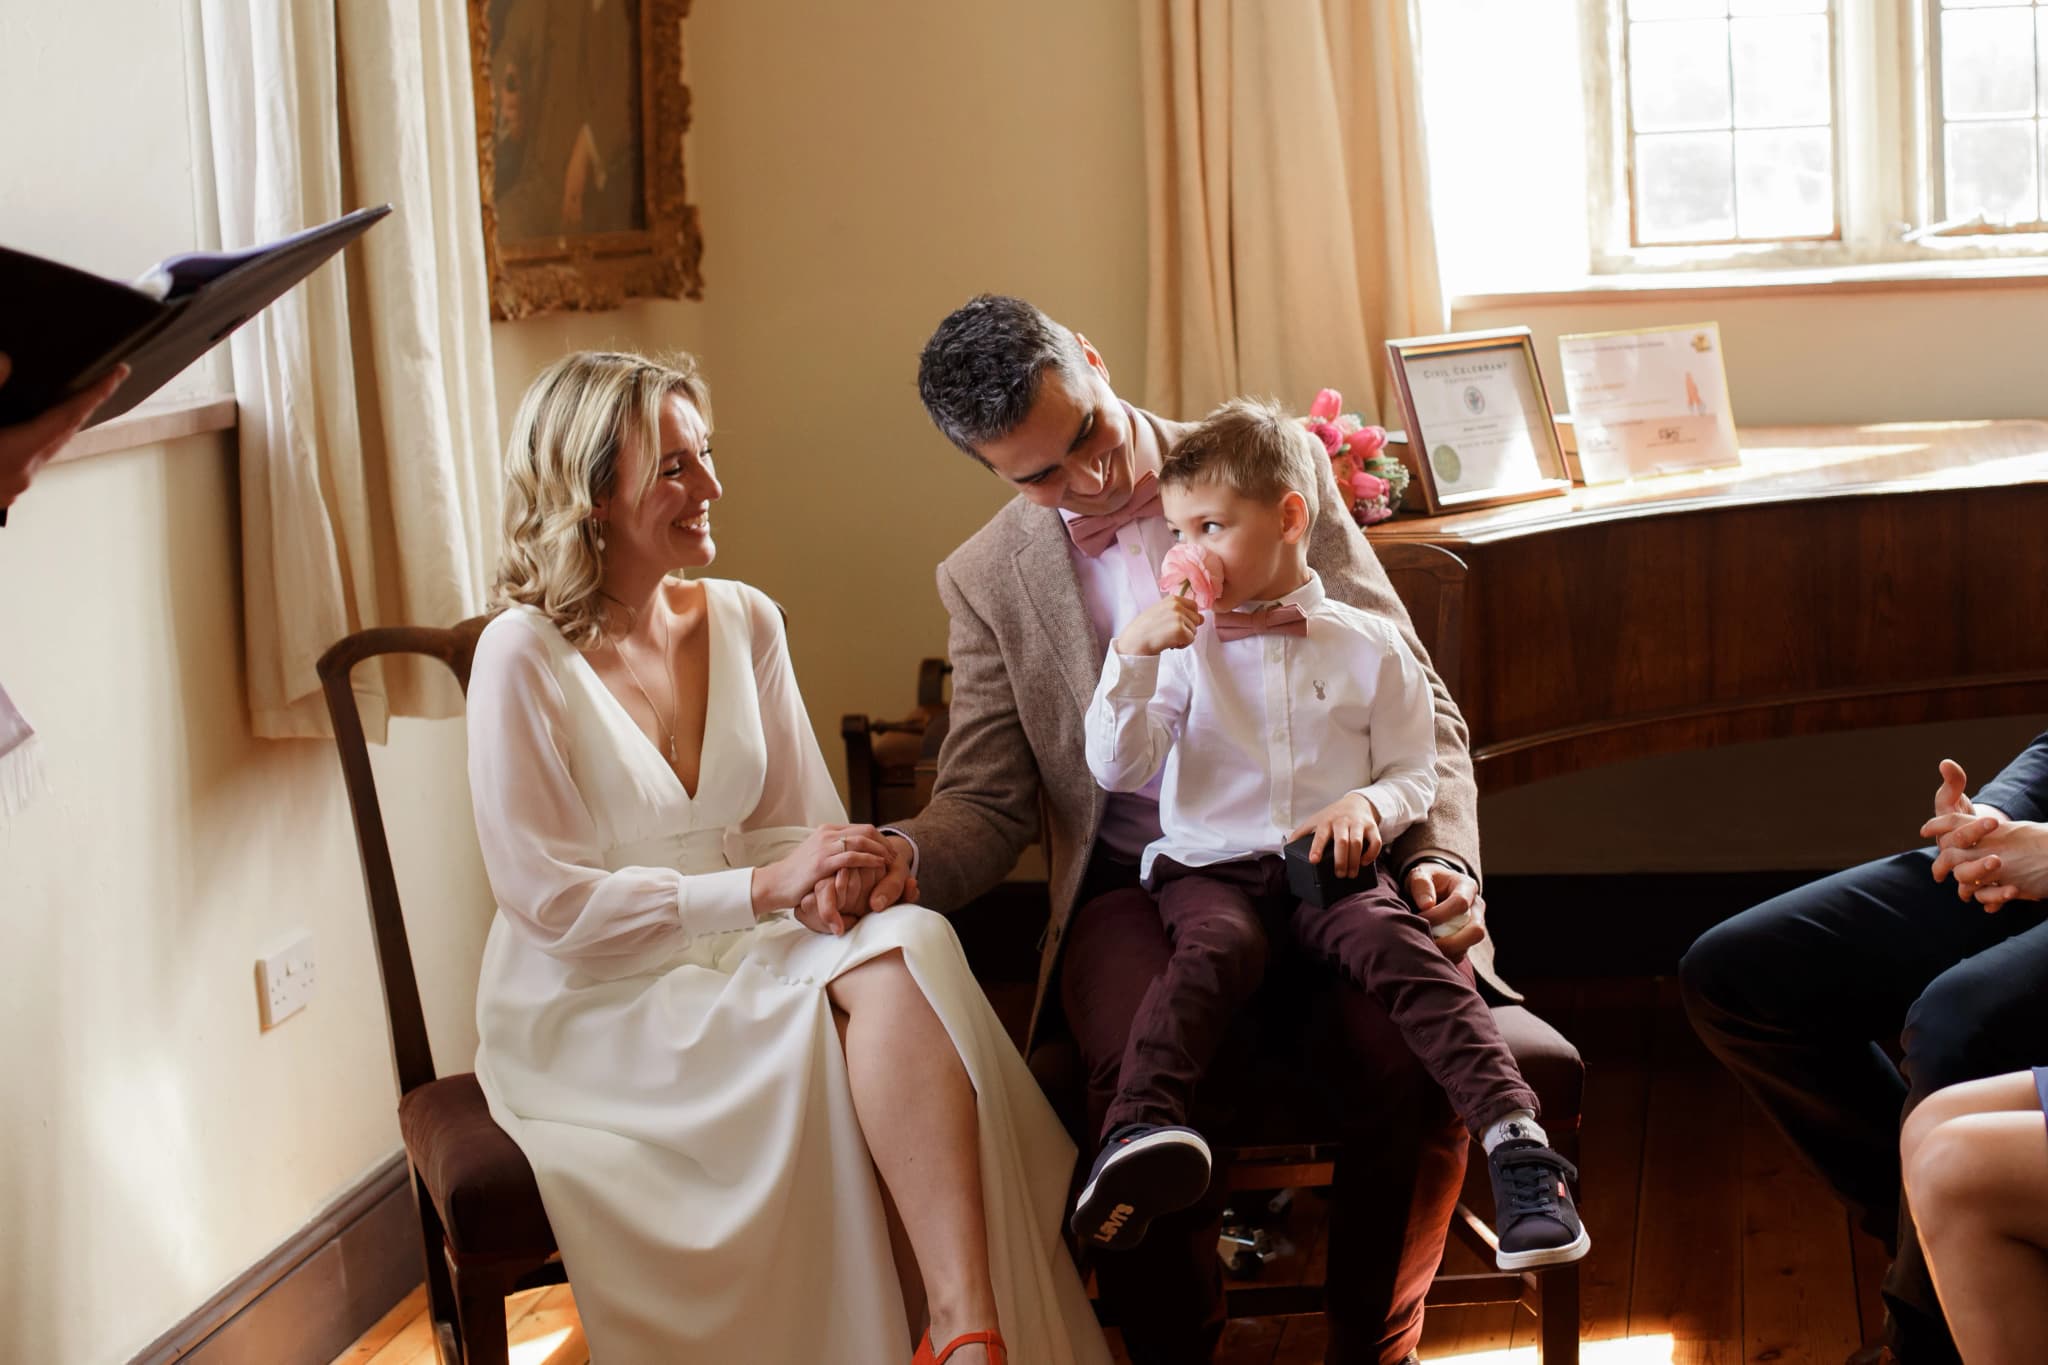
Sunset is not the only option, though it is the most dramatic. A bright, evenly lit window indoors with minimal fill light in front of the subject creates the same effect in an architectural or documentary style, useful for getting-ready photographs or portraits inside a venue on an overcast day when there is no usable outdoor light. Doorways during the daytime work similarly — a couple standing just inside a doorway with bright daylight behind them and shade in front of them will render as a silhouette almost automatically, which is why church porches and marquee entrances are locations I keep an eye on throughout a wedding day. A bright, overcast sky above a dark foreground — a hedge line, a hillside, a row of trees — can also produce a soft, more muted silhouette even without direct sun, which is a useful option on a day when the weather has not cooperated with a clean sunset.
The constant across every one of these situations is the light ratio: the background has to be meaningfully brighter than the subjects, and the subjects have to be positioned so that no direct light spills onto the side of them facing the camera. Even a small amount of fill light — a bright white shirt catching stray sun, a flash left on by accident, a nearby window lighting one side of a face — is usually enough to break the effect and leave a muddy half-silhouette rather than a clean one.
Composition and Gesture
Because facial expression, clothing detail, and colour are all removed from a silhouette, the outline itself has to carry the entire communicative weight of the image, which means gesture and pose matter more in silhouette photography than in almost any other style I shoot. The subjects' relationship has to read clearly through shape alone: hands intertwined and held slightly away from the body so the fingers separate visibly against the sky, bodies leaning into one another rather than standing parallel and upright, a dip or a lift that creates a dynamic diagonal line, a forehead resting against a shoulder, a veil lifted by the breeze. Static, symmetrical poses — two people standing side by side facing the camera — tend to produce flat, illegible silhouettes because there is no separation between the two outlines and no sense of movement or connection.
Profiles generally work far better than full-frontal positions, because a face turned to the side reads instantly and unmistakably as a face even reduced to solid black, while a face looking directly at the camera in silhouette often reads as a featureless oval. I direct couples to turn slightly toward each other rather than toward the lens, which has the added benefit of producing a more intimate, candid-feeling image rather than a posed one. Keeping a clear gap of visible sky or light between two outlines is equally important — when two silhouetted bodies overlap and merge into a single ambiguous dark mass, the eye cannot separate the two people and the image loses its clarity. A few inches of daylight between a bride and groom's outlines, even while their hands are joined, is usually enough to keep both figures distinct.
Props and accessories read surprisingly well in silhouette and are worth using deliberately. A wide-brimmed hat, a flowing veil caught mid-movement, a bouquet held at arm's length, a suit jacket slung over one shoulder, a dog on a lead trotting alongside a couple — all of these add shape and narrative interest to an outline that would otherwise be two fairly similar dark forms. I often ask couples to bring a coat or a jacket they can hold or toss over a shoulder specifically because of how well loose fabric silhouettes against a bright sky.
Practical Camera Technique
On the technical side, I meter directly for the sky rather than for the subjects, usually by spot-metering on the brightest part of the horizon just above where the sun has dropped, then locking that exposure and recomposing. Shooting in manual exposure mode is essential for silhouette work, because a camera left on an automatic metering mode will almost always try to brighten the dark subjects, which drags the sky toward overexposure and washes out the very colour the image depends on. A relatively narrow aperture, in the region of f/8 to f/11, keeps both the horizon and the subjects' outlines acceptably sharp, and shooting slightly underexposed relative to what the camera suggests — a third to a full stop under — tends to deepen the sky's colour and guarantee the subjects render as true black rather than a slightly translucent dark grey.
Positioning matters as much as exposure. I look for a clean horizon line with no trees, buildings, or poles rising directly out of a subject's head, and I get low to the ground where possible — shooting slightly upward toward the subjects places more sky behind them and less foreground clutter, which is often the difference between a striking silhouette and a messy one. Autofocus can struggle in these conditions because there is so little contrast on the subject itself, so I frequently switch to manual focus or focus on the subjects' edge against the bright sky just before the light drops too low to focus reliably at all.
Planning a sunset silhouette on your wedding day
A sunset silhouette takes one or two minutes and a clear horizon or window — achievable at virtually any venue with a little planning around the day's timeline. I build this window into the schedule wherever the light and location permit it.
Get in touch about your wedding timelineUsing Silhouettes in Wedding Photography
A sunset silhouette during the couple portrait session is one of the most consistently requested specific images in UK wedding photography, and it is worth understanding why it works so well as a wedding image in particular. Weddings are, by their nature, full of colour, detail, and busyness — dresses, suits, flowers, guests, decor, the texture of a marquee or a stone archway. A silhouette strips all of that away for a single frame and leaves only the shape of two people together against the sky, which gives the wedding gallery a moment of visual and emotional quiet amid everything else. Couples often tell me afterwards that the sunset silhouette is one of the images they return to most, precisely because it feels timeless rather than tied to a particular dress style, venue, or decade.
I plan for this specifically on every wedding day where the light and location permit it, which means checking sunset time and cloud forecast in advance, building a short window into the day's timeline — typically pulled from the couple portrait session or the drinks reception — and knowing the venue's grounds well enough to identify a clean horizon or an elevated spot in advance rather than searching for one in the ten minutes before the light disappears. At venues without an open horizon, a west-facing window, a hilltop, or even a gap between trees can serve the same purpose. The image is almost always one of the couple's favourites from the entire gallery, and it prints beautifully as a large piece of wall art precisely because the simplicity of the shape holds up at scale in a way that a busy, detail-heavy image sometimes does not.
Silhouettes Beyond Weddings
The technique is not limited to bridal couples. Family sessions at golden hour lend themselves naturally to silhouette shots, particularly of children running or jumping, where the freeze of motion against a bright sky produces a joyful, energetic outline that a fully-lit image of the same moment often cannot match for impact. Maternity sessions at sunset, with a hand resting on a bump and the low sun behind, are another situation where the technique reliably produces one of the standout images from the whole shoot. Couples' engagement sessions timed for the last hour of daylight give more freedom than a wedding day timeline does, since there is no schedule of speeches or first dances to work around, which means more time to experiment with different poses and framing until the shape reads exactly right.
Corporate and portrait clients occasionally ask for a silhouette-style image as well, most often for a striking cover photograph, a piece of promotional artwork, or a personal image with more mood than a conventional headshot allows. In these cases a large window with strong daylight behind the subject, or an open doorway at the right time of day, can produce the same effect indoors without needing to wait for sunset at all.
Silhouette photography rewards planning far more than it rewards luck — knowing the sunset time, scouting a clean horizon in advance, understanding how to meter and expose for the sky rather than the subject, and directing a pose that reads clearly as two connected shapes rather than one ambiguous mass. Done well, it produces some of the most striking and enduring images in a wedding or portrait gallery, the kind that still feels fresh and meaningful decades after the day itself. If you are planning a wedding, an engagement session, or a portrait shoot and would like to build a sunset silhouette into the timeline, get in touch and we can talk through your venue, your date, and the light you will have to work with.


Yana Skakun
Photographer · England
Professional wedding, family and portrait photographer based in England. Passionate about capturing authentic emotions and timeless moments.
About Yana →silhouette photography techniquessilhouette portrait photography guidehow to photograph silhouettesdramatic silhouette wedding portraits
Photography Tips — Professional Photography in Cambridge & England
Yana Skakun is a professional photographer based in Cambridge, specialising in wedding, family, and portrait photography across England. Every session is personal — planned around your story, your people, and the moments that matter most. This guide — Silhouette Photography: Creative Techniques for Dramatic Portraits — is part of the photography journal: practical, experience-based advice drawn from real sessions across England. Whether you arrived searching for silhouette photography techniques or silhouette portrait photography guide, the same care and attention shapes every session Yana photographs.
Professional Photography sessions are available year-round, with bookings open across Cambridge, Ely, Huntingdon, Peterborough, and further afield — East England, London, the Midlands, and beyond. If you have specific questions about how to photograph silhouettes, mention it in your enquiry. Get in touch through the contact form above to check availability and discuss your session. Enquiries are welcomed from anywhere in the UK.
Frequently Asked Questions
What camera settings should I use for outdoor portraits?+
For outdoor portraits, shoot in aperture priority mode. Use a wide aperture (f/1.8–f/2.8) to blur the background and isolate your subject. Keep ISO as low as possible in good light. In bright conditions, use a neutral density filter or switch to manual to avoid overexposure at wide apertures.
What is the golden hour in photography?+
Golden hour is the period roughly 30–60 minutes after sunrise and before sunset. The sun is low in the sky, producing warm, soft, directional light that flatters skin tones and creates beautiful long shadows. It's widely considered the best natural light for portrait and outdoor photography.
How do you get sharp photos in low light?+
In low light, increase your ISO (accepting some grain), use the widest aperture your lens allows, and slow your shutter speed to the slowest you can hand-hold without camera shake (roughly 1/focal length as a guide). Use image stabilisation if available, and consider a tripod for static subjects.
What is the rule of thirds in photography?+
The rule of thirds divides the frame into a 3×3 grid. Placing your subject on one of the four intersection points — rather than dead centre — creates a more dynamic, visually interesting composition. It's a guideline, not a rule: some of the most powerful images break it deliberately.
How do you edit photos to look professional?+
Professional editing starts with shooting in RAW format. In Lightroom or similar software, correct exposure, white balance, and contrast first. Recover shadow and highlight detail. Apply gentle colour grading for mood. Be conservative with skin retouching — the goal is natural enhancement, not transformation. Consistency across a set of images is what separates professional from amateur editing.
Continue Reading
Related Articles
Photography Tips
Photography Gift Vouchers: The Most Personal Present You Can Give
5 min read · Read Article
Photography Tips
Photo Books vs Photo Albums: What Is the Difference and Which Is Better?
5 min read · Read Article
Photography Tips
Photo Gift Ideas: Turning Professional Images into Meaningful Presents
5 min read · Read Article
Get in Touch
Ready to Book Your Session?
Get in touch to discuss your vision — I'll reply within 24 hours.