The bridal veil is one of the most photographically powerful accessories in any wedding. It catches light, creates movement, frames the bride's face, and adds an ethereal, almost cinematic quality to portraits. A cathedral-length veil flowing behind the bride as she walks, a blusher lifted for the first kiss, a windswept veil against a dramatic sky — these images are often the most iconic in the entire gallery. This guide covers how photographers use veils creatively, the technical considerations for different veil types, and how brides can plan to maximise their veil's photographic potential.
Why Veils Matter in Photography
- Movement and drama: veils catch wind and movement. Even a gentle breeze creates flowing fabric that adds dynamism to otherwise static poses.
- Light diffusion: sheer veils diffuse light beautifully when backlit, creating a soft, glowing effect around the bride's head and shoulders.
- Framing: veils can be used to frame the bride's face — pulled forward, wrapped around, or shot through for a dreamy, soft-focus effect.
- Emotional symbolism: the lifting of the veil at the ceremony, the moment it's pinned in during preparations — these are emotionally charged moments that photograph powerfully.
- Texture and depth: lace-edged veils, embroidered veils, and veils with scattered crystals or pearls add texture that enriches close-up portrait detail.
Veil Types and How They Photograph
Cathedral Veil (9+ feet)
The most dramatic option. Cathedral veils trail far behind the bride, creating sweeping compositions when photographed from behind or from a distance. They're spectacular on church steps, long pathways, and in wide-angle outdoor portraits. The challenge is managing them in wind — they can tangle, blow sideways, or wrap around the bride's dress.
Chapel Veil (6–7.5 feet)
Slightly shorter than cathedral length but still creates beautiful trailing lines. More manageable in wind while retaining the dramatic sweep. Ideal for outdoor portraits with moderate space.
Fingertip Veil (waist to fingertip length)
The most versatile and popular length. Long enough to create movement and flowing lines, short enough to be manageable in every setting. Works well for portraits, ceremony shots, and group photos without getting in the way.
Elbow or Shoulder Veil
Short veils that sit close to the face and shoulders. Less dramatic in wide shots but excellent for close-up portraits, especially when backlit or used as a framing element around the face.
Blusher Veil
A short veil that covers the face, traditionally lifted by the groom during the ceremony. The blusher creates beautiful "through the veil" portraits during preparations and the ceremony — the bride's face visible but softened through the sheer fabric. The lifting moment is one of the ceremony's most photographed instants.
Drop Veil / Circle Veil
Falls from a comb to create equal length all around. Can be brought forward over the face as a blusher or swept back. Extremely versatile for photography because it creates volume and fullness around the bride.
Creative Veil Photography Techniques
The Veil Toss
The bride (or a helper standing out of frame) throws the veil into the air. The photographer captures it at its peak — billowing, spread wide, catching light. This requires multiple attempts, back-curling wind direction, and burst shooting. The results are dramatic and editorial.
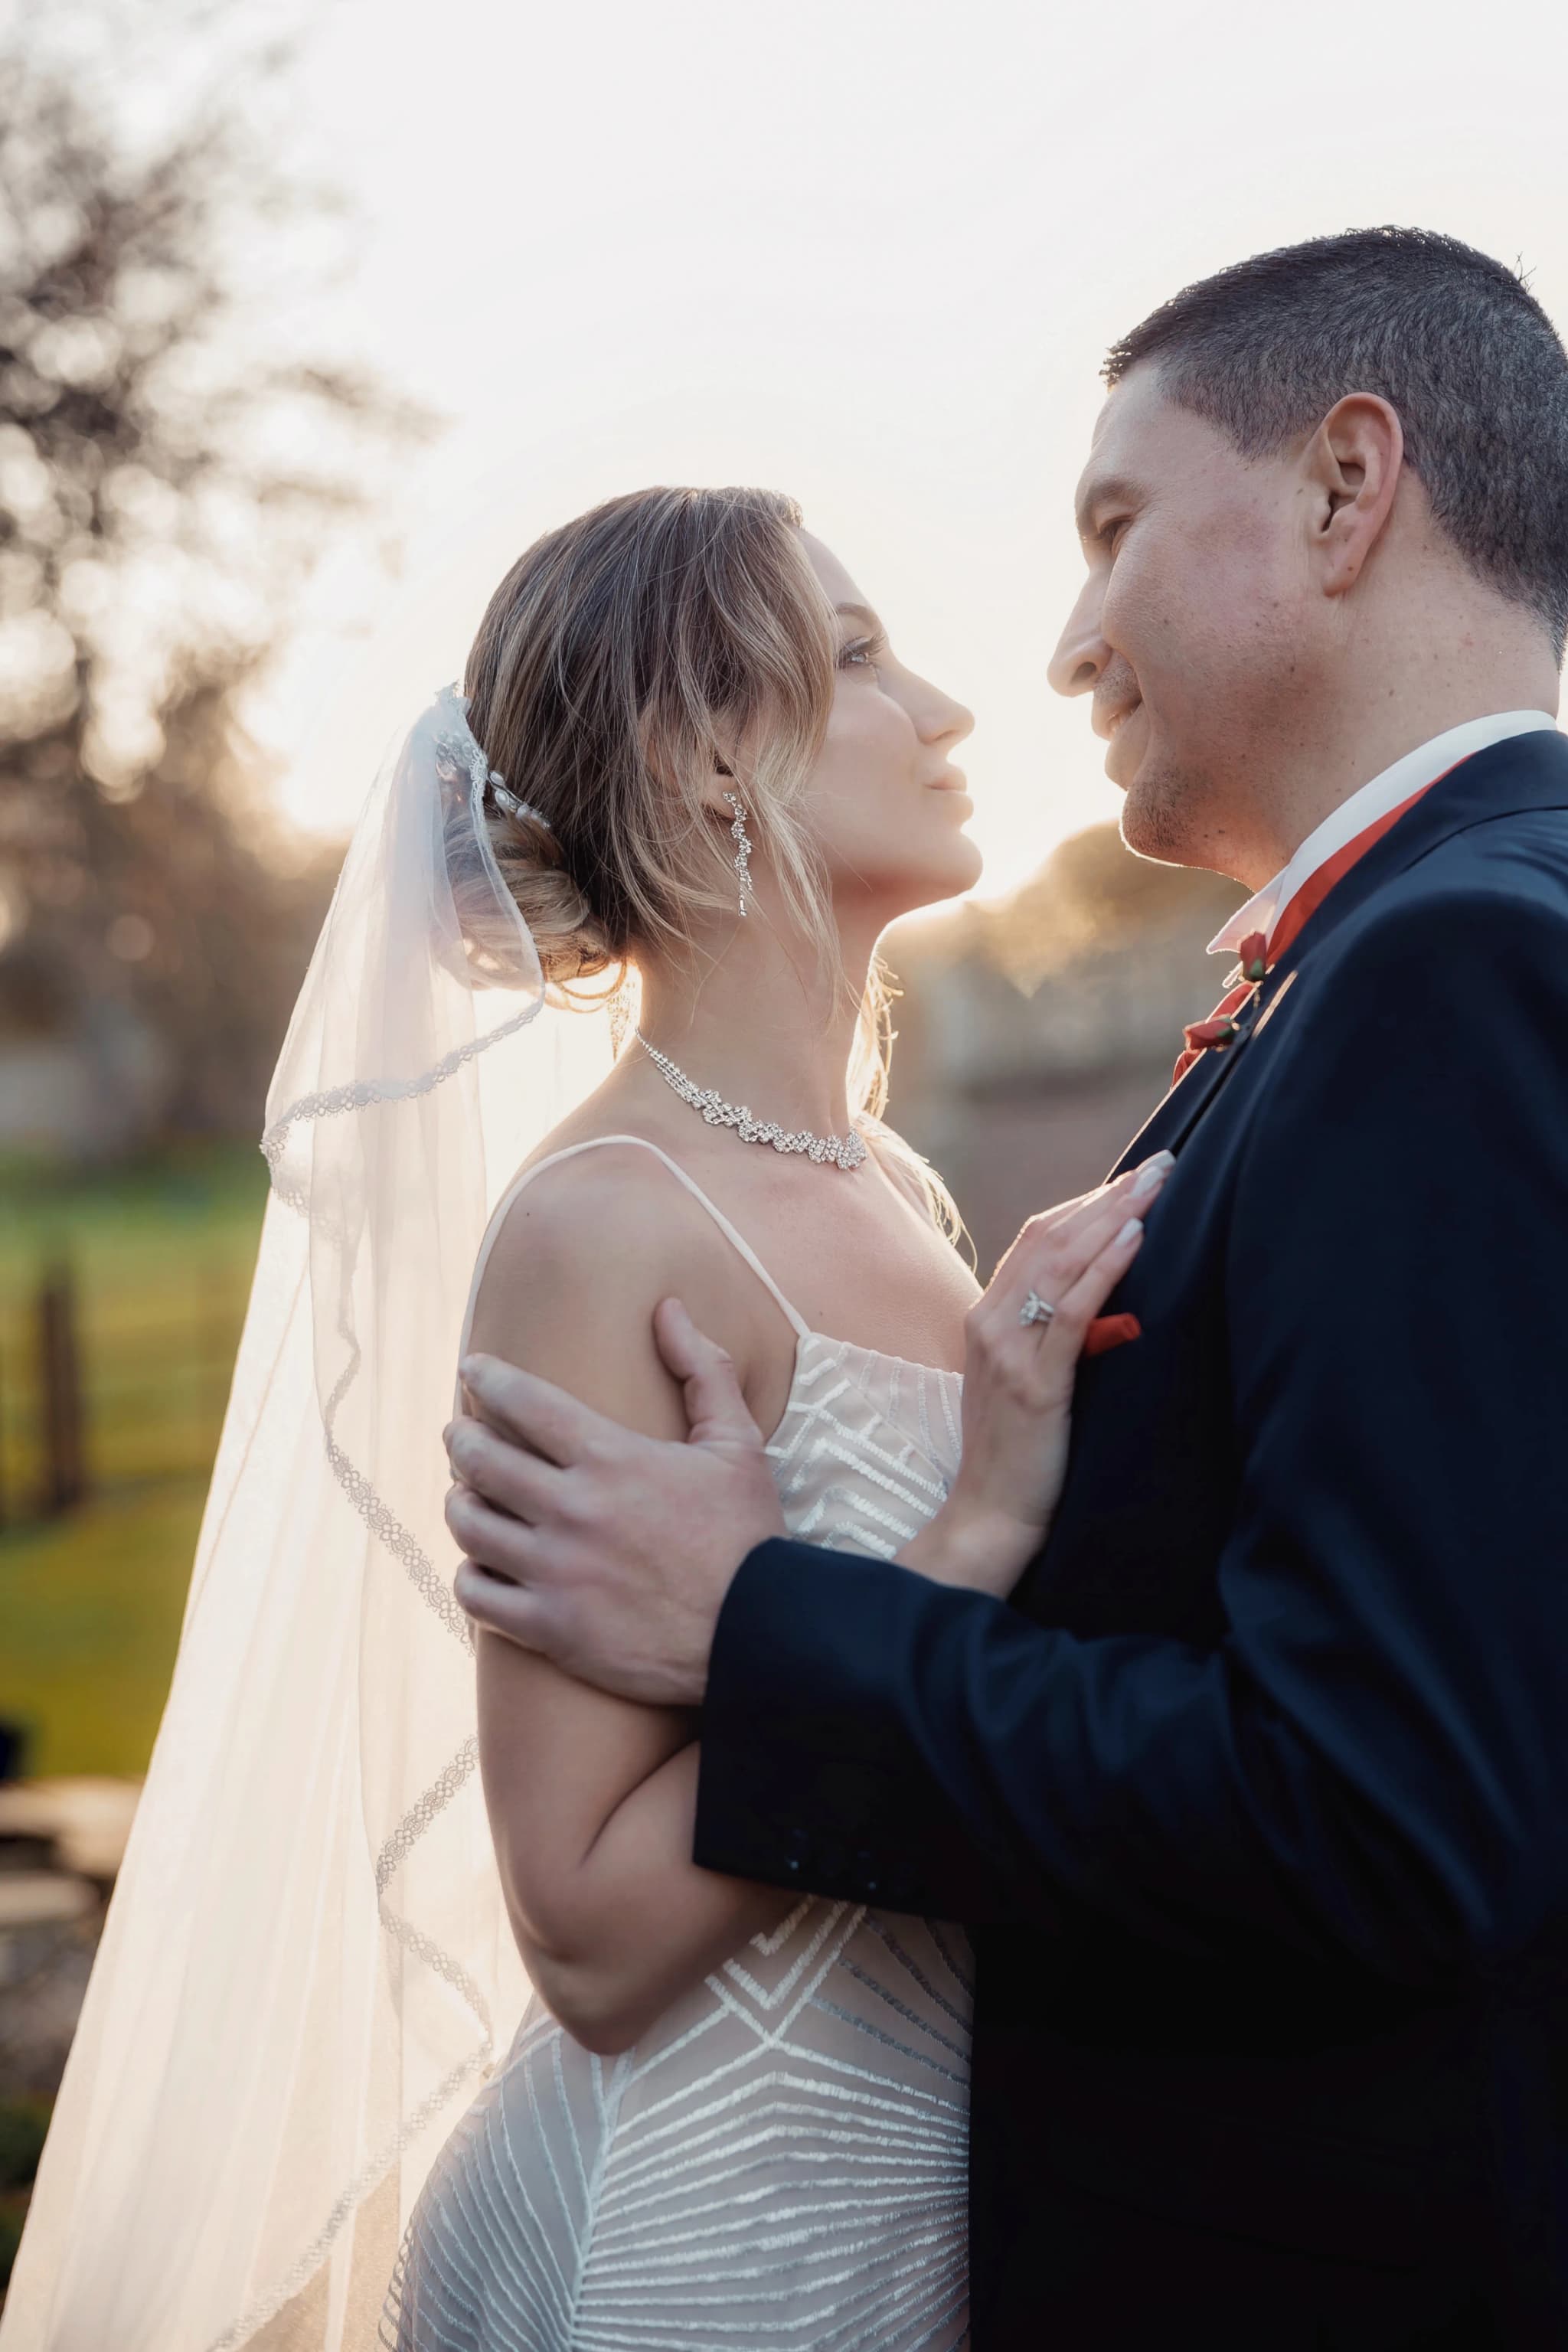
Backlit Veil Glow
Positioning the bride with the sun or a light source behind her causes the veil to glow — the sheer fabric becomes luminous, creating a halo effect. This works best during golden hour (the hour before sunset) when the light is warm and low-angled. Expose for the bride's face and let the veil bloom with light.
Through-the-Veil Portraits
Drape the veil over the bride's face and photograph through it. The veil acts as a soft-focus filter, creating a dreamy, romantic quality. Use a wide aperture (f/1.4–f/2.0) and focus on the eyes through the fabric. The texture of the veil adds a layered, painterly quality to the image.
Veil as a Canopy
For couple portraits, drape the veil over both the bride and groom, creating a private canopy. Photograph from outside the veil, showing the couple embracing underneath the sheer fabric. This creates intimacy and visual separation from the background.
Wind-Caught Veil
On a windy day, let the veil fly naturally. The bride faces into or across the wind, and the veil streams behind her. This creates powerful, dynamic images — particularly effective on clifftops, open fields, or elevated locations. The key is positioning so the veil streams toward the camera or at an angle, not away from it where it's invisible.
Detail and Texture Close-Ups
Lace-edged veils, embroidered veils, and veils with beading or crystal details deserve close-up documentation. Photograph the edge detail against the bride's dress, draped over her hand, or laid flat on a surface in a flat lay composition alongside rings and other accessories.
Camera Settings for Veil Photography
- Aperture: f/1.4–f/2.8 for portraits where the veil is a background or framing element. f/4.0–f/5.6 for detail shots where the veil texture itself is the subject and needs to be sharp throughout.
- Shutter speed: 1/500s or faster for veil toss and wind-caught shots — the fabric is moving quickly and must be frozen sharp. Slower speeds (1/200s) are fine for static posed portraits.
- Backlight metering: when shooting into the sun with a backlit veil, meter for the bride's face (not the overall scene). This may mean the sky is blown out, but the bride and veil will be correctly exposed.
- White balance: veils are typically white or ivory. Auto white balance can sometimes render ivory veils slightly grey. Set to daylight or slightly warm (shade preset) to keep the veil's true colour.
Tips for Brides
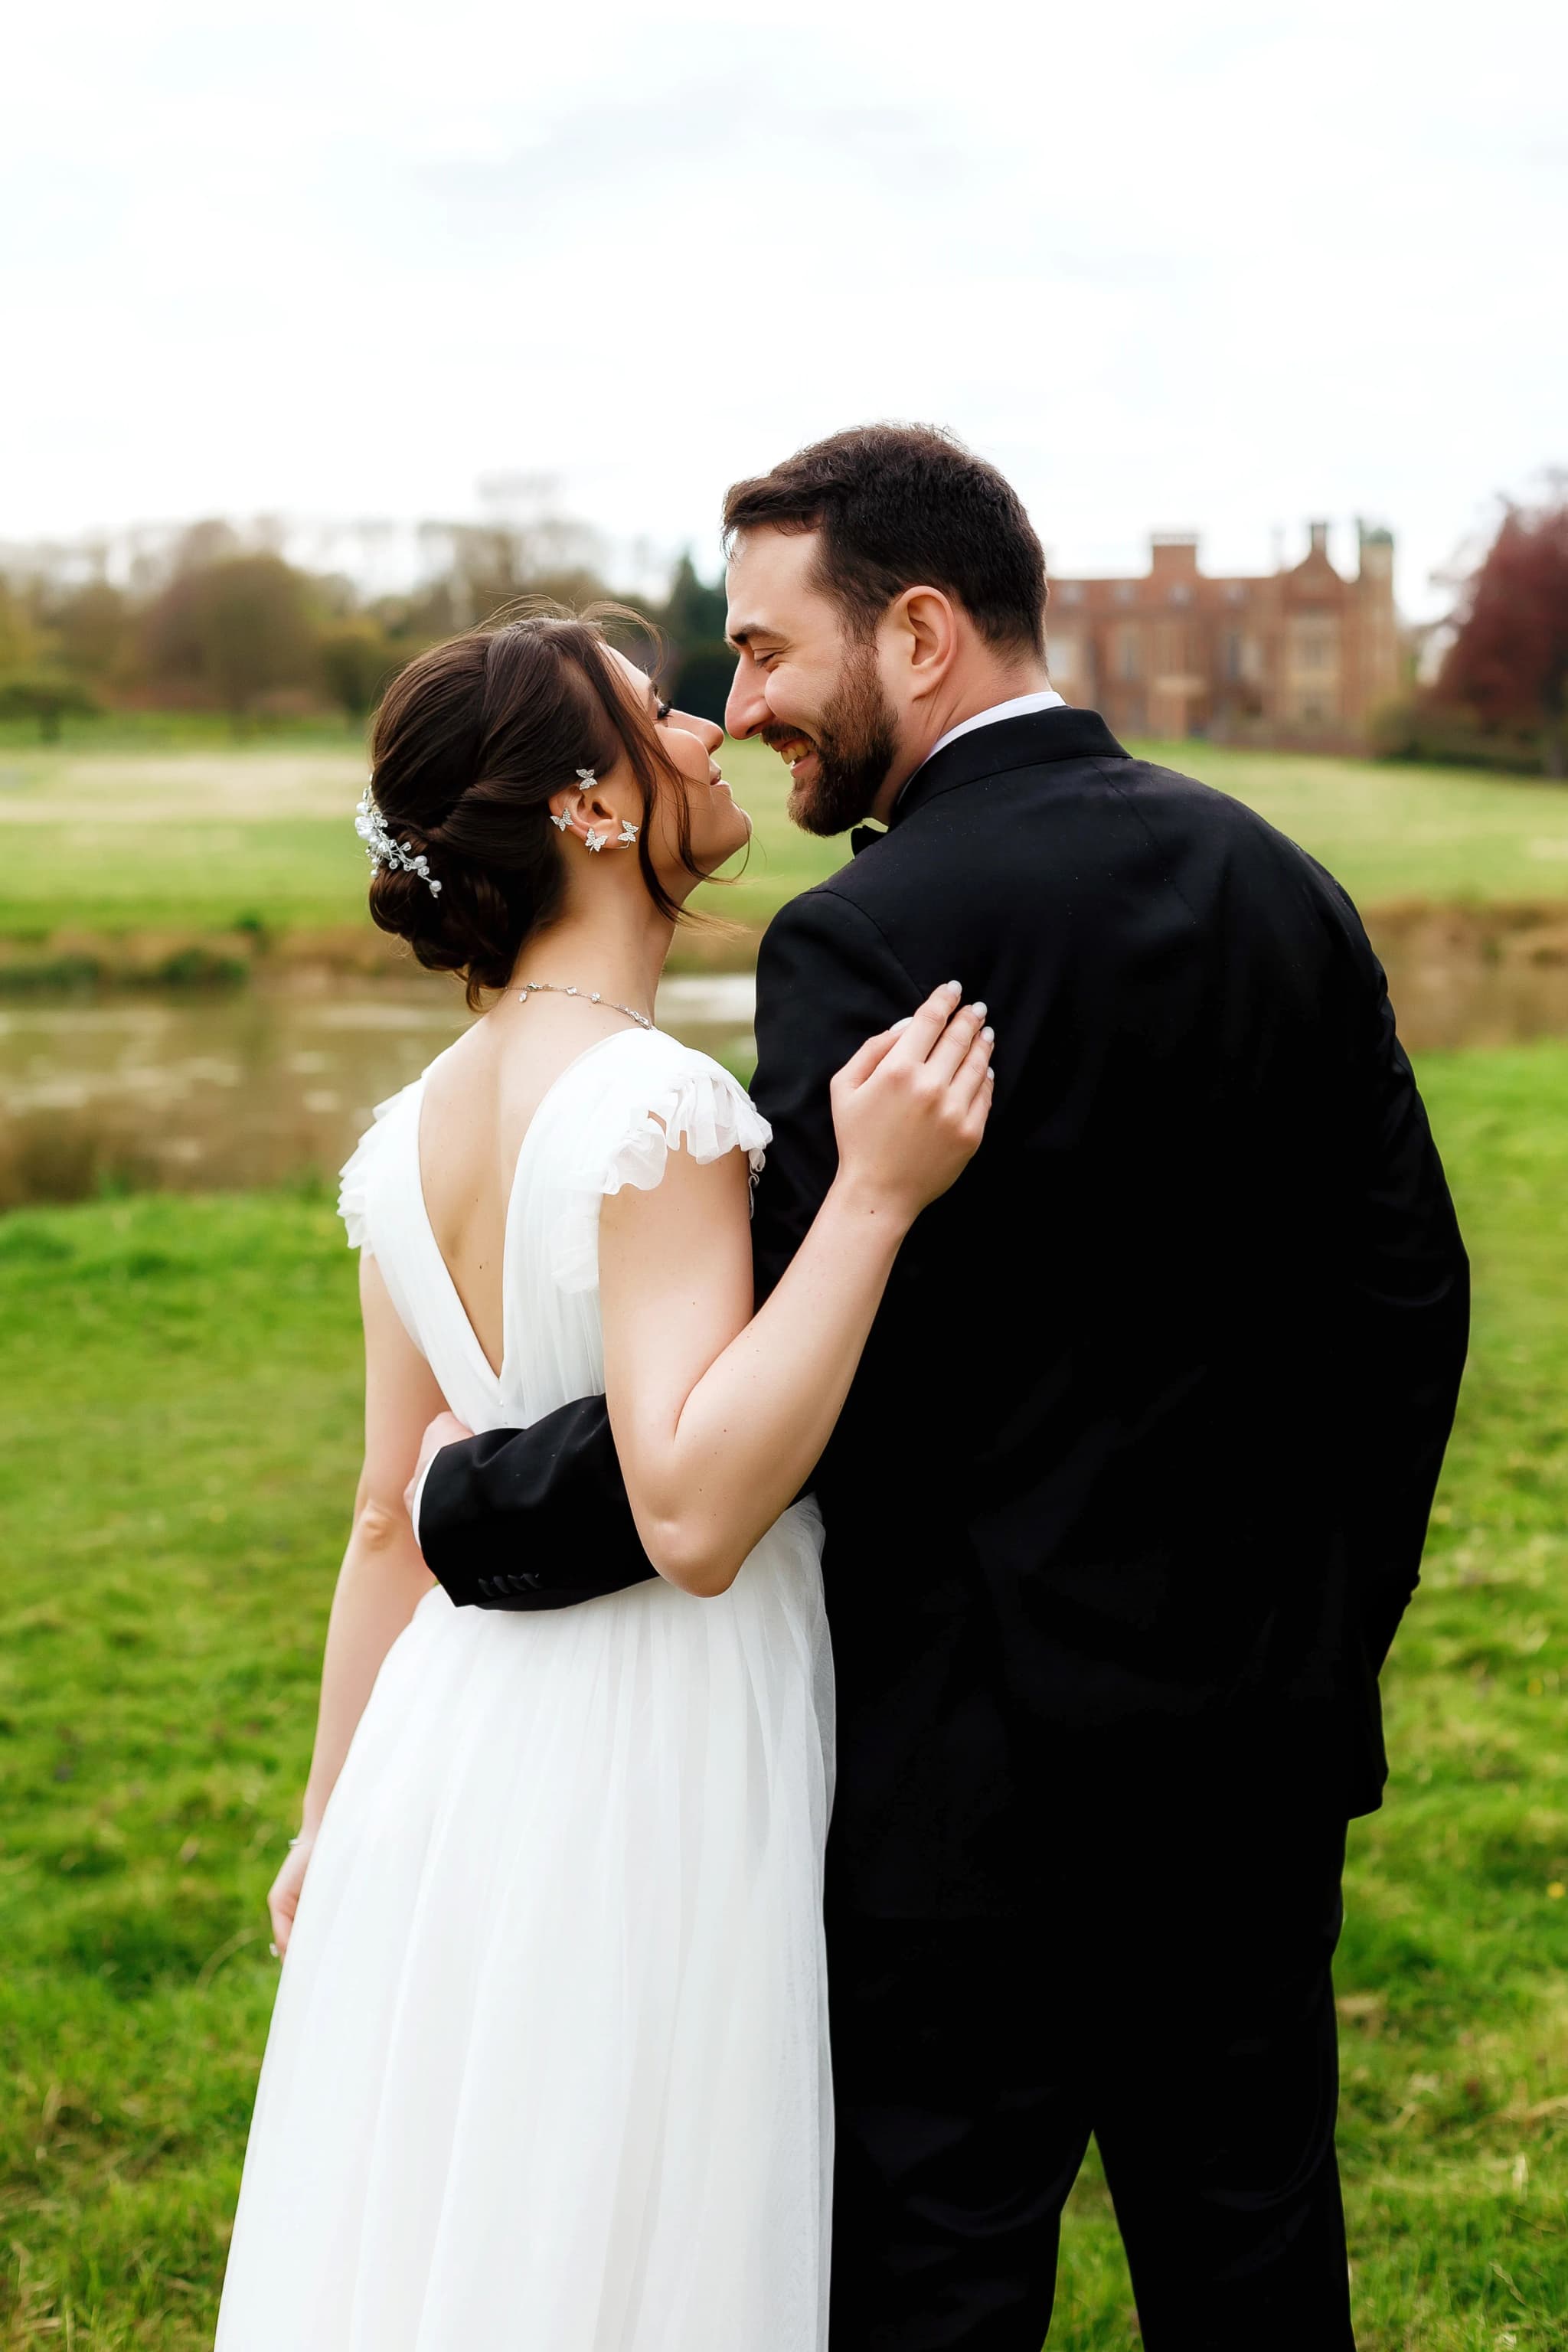
- Keep the veil on for portraits. Some brides remove the veil after the ceremony to avoid fussing with it. But the veil creates some of the most stunning portrait images — consider keeping it on at least through the couple's portrait session.
- Tell your photographer your veil type and length. A photographer who knows you're wearing a cathedral veil will plan different compositions than one expecting a shoulder-length veil.
- Practice with it before the day. Walk, turn, and sit with the veil during a dress fitting. Understanding how it moves helps you feel comfortable and natural during the photo session.
- Assign a veil wrangler. A bridesmaid or wedding planner who can adjust, smooth, and spread the veil between shots makes the portrait session significantly smoother.
- Consider having a "second" veil. If you want a blusher for the ceremony and a long dramatic veil for portraits, some brides have two — switching between them. Your hairstylist should know about this in advance.
- Embrace the wind. If it's breezy, don't fight it. Windswept veil images are often the most dramatic and beautiful in the entire gallery.
Veil photography that captures the drama, movement, and light of your bridal look.
From backlit golden-hour glow to windswept cathedral-length drama — every veil moment documented beautifully. View bridal portrait galleries.