Your wedding gallery might contain 500, 800, or even 1,200 images. Your album will hold 80 to 120. The selection process — deciding which images make the final cut, how they sequence, and how they sit on each spread — is one of the most important creative decisions you'll make after the wedding itself.
This guide walks through the entire album design process: how to select images, how to sequence a narrative, what to prioritise when you can't include everything, and how to work with your photographer or album designer to produce something that genuinely tells the story of your day.
Why Album Design Is Harder Than You Expect
Most couples approach their album with enthusiasm that quickly turns into decision paralysis. The problem is emotional — every image represents a real moment, and cutting any of them feels like dismissing that moment. The truth is that a curated album is more powerful than a comprehensive one. Including everything dilutes the strongest images.
Think of your album as a film, not a database. Films are edited aggressively — a two-hour movie might use ten hours of footage. The story becomes clearer through what's removed, not what's added.
The Selection Process: A Step-by-Step Method
Step 1: The Emotional First Pass
Go through every image in your gallery and mark anything that creates an emotional response — a smile, a tear, a memory of exactly what was happening at that moment. Don't worry about duplicates, technical quality, or whether it "fits" in an album. Just mark the moments that move you.
This pass typically produces 200–400 selections from a gallery of 600+. That's normal and expected — you're casting a wide net intentionally.
Step 2: Remove Duplicates
Now review your selections and identify groups of similar images — three versions of the same speech moment, four angles of the first kiss, six variations of a walking portrait. For each group, choose the single strongest image. This is the hardest step because you can see technical or emotional differences between similar shots. Trust your instinct — pick the one that stops you, and let the others go.
Step 3: Ensure Story Coverage
Organise your remaining selections chronologically and check for gaps. A complete wedding story typically needs images from each of these chapters:
- Preparation: getting ready details (dress, shoes, flowers), people helping, emotional moments (letters, first mirror check)
- Pre-ceremony: venue details before guests arrive, arriving guests, the anticipation
- Ceremony: processional, vows, rings, first kiss, recessional, key emotional reactions from guests
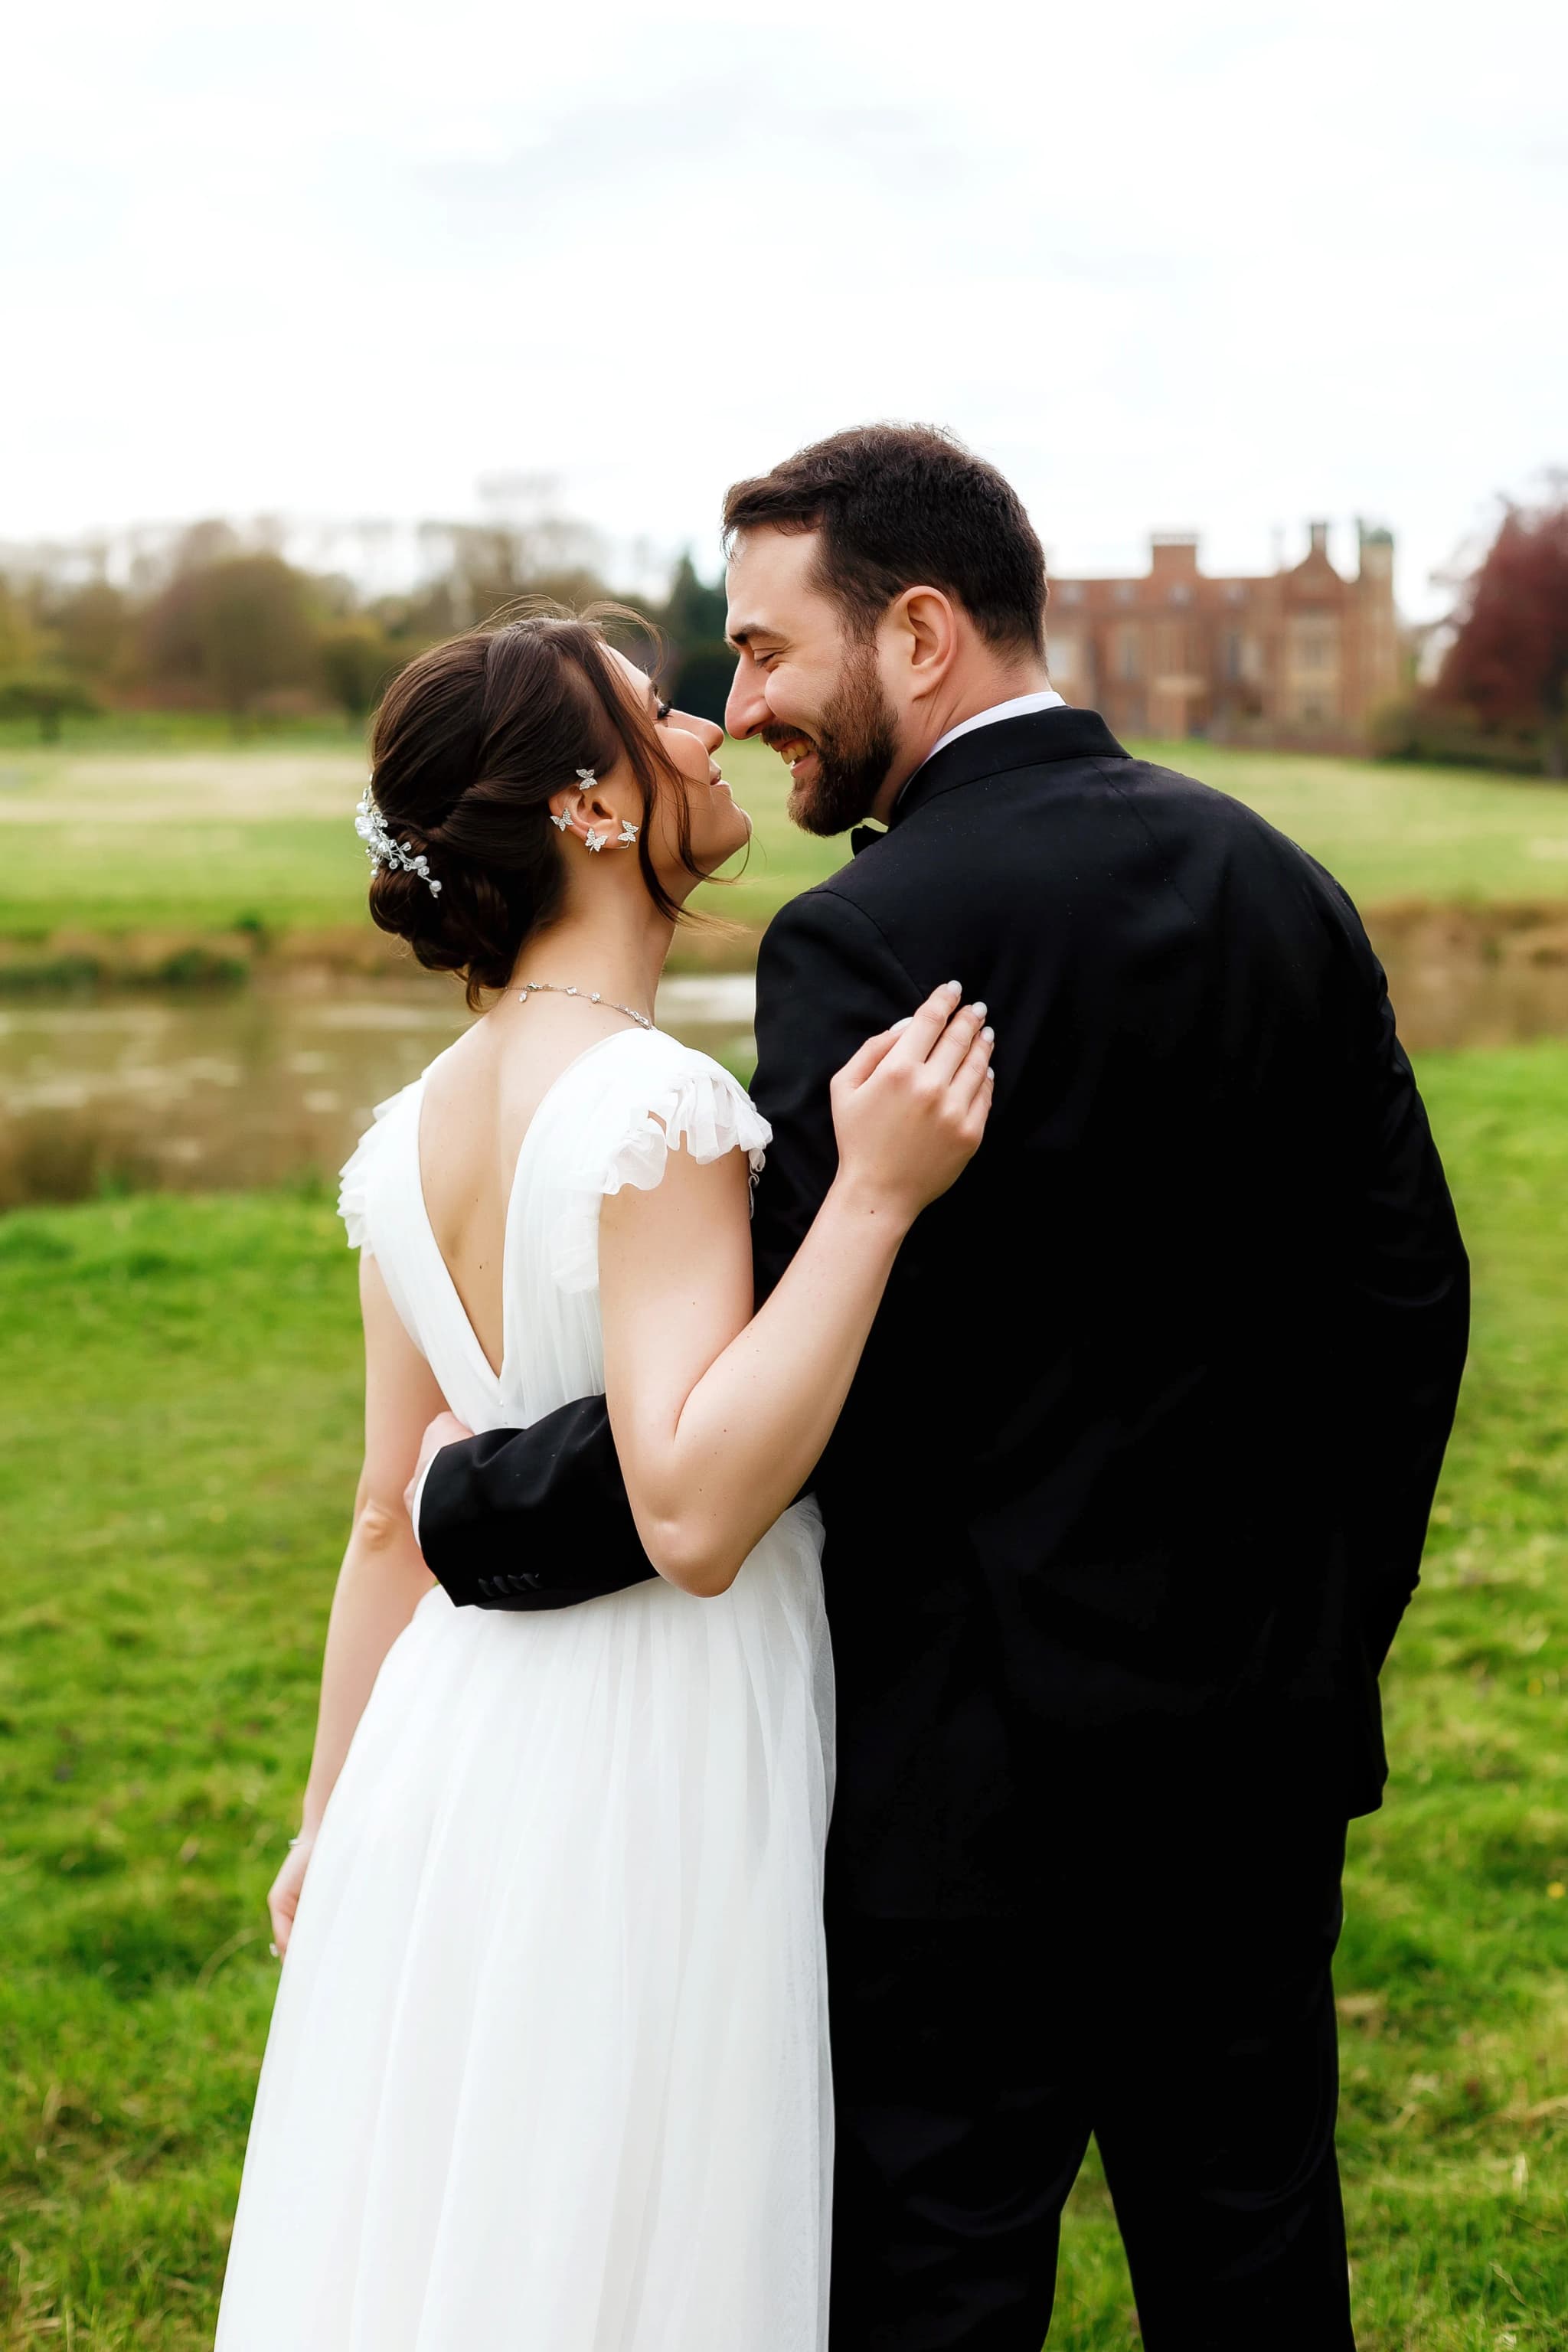
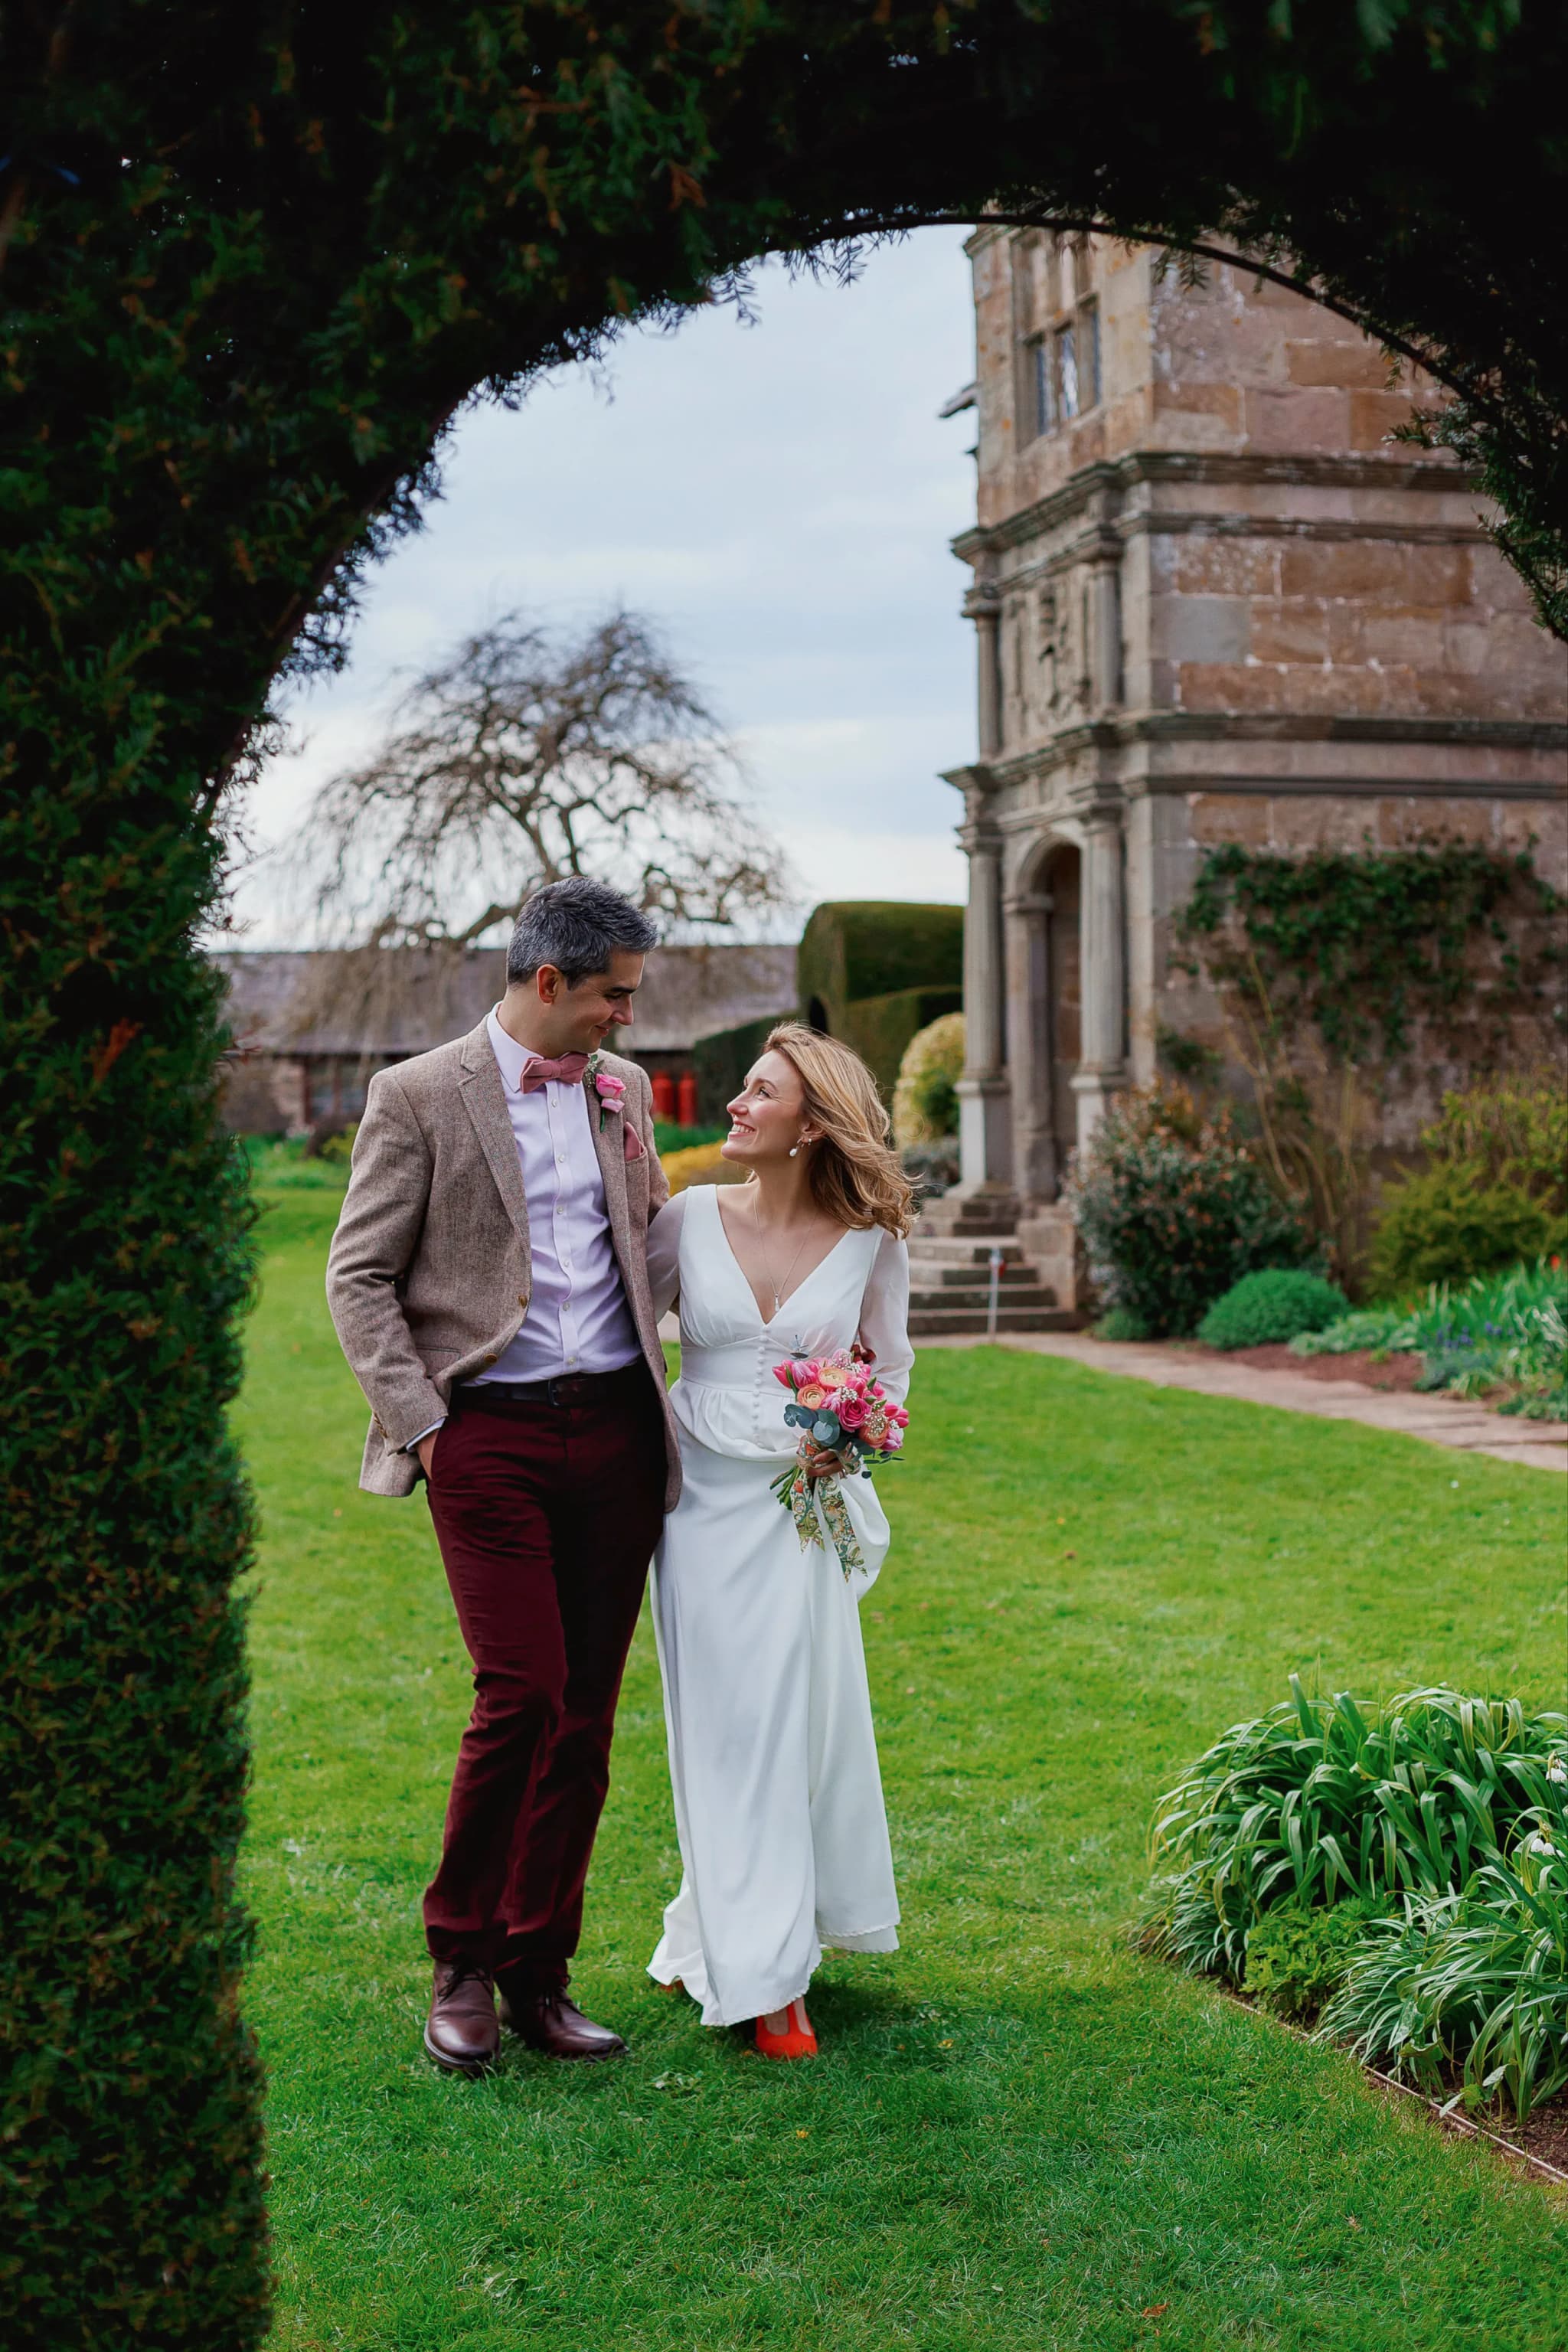
- Portraits: couple portraits, wedding party, family formals
- Reception: room details, first dance, speeches, cake, candid interactions, dancefloor energy
- End of night: sparkler exit, final dancefloor shot, departure, last quiet moment
If any chapter is under-represented, pull additional images from your gallery to fill the gap. If a chapter is over-represented (speeches often are — so many great reaction shots), trim it.
Step 4: The Final Cut
Aim for 80–120 images for a standard album. Under 80 and the album can feel thin — over 120 and spreads become crowded. At this stage, ask yourself for each remaining image: "Does this advance the story or repeat a moment I've already included?" If it repeats, remove it.
Sequencing: Building a Visual Narrative
Chronological order is the default — and usually the right choice. Your wedding day had a natural arc: quiet anticipation, building energy, the emotional peak of the ceremony, the social warmth of the reception, the joyful release of the evening party. Following this arc in the album creates a narrative that readers experience intuitively.
Opening Spread
The first spread sets the tone. Choose a strong detail image or an environmental shot of the venue — something that establishes place and mood without immediately showing faces. The anticipation of seeing the couple builds through these early pages.
Pacing: Fast Moments and Slow Moments
Alternate between spreads with multiple smaller images (conveying energy, activity, busyness) and spreads with one or two large images (creating pause, weight, emotional focus). The ceremony's first kiss might occupy an entire spread by itself. The getting-ready sequence might use four images across one spread to convey the flurry of activity.
This pacing creates rhythm. A page turn from a busy multi-image spread to a single, full-bleed emotional portrait creates a visual intake of breath — the same effect that a pause in music creates.
Transitions Between Chapters
When the story moves from preparation to ceremony, or from ceremony to reception, mark the transition with an establishing shot — a wide angle of the new location, a detail of the new space, or a moment of physical movement (walking to the car, entering the reception room).
Spread Design Principles
Less Is More
The most common album design mistake is overcrowding. Fitting six or seven images onto a single spread creates a collage effect that reduces the impact of every image. Two to four images per spread is optimal for most albums. Some spreads should contain just one image — especially for the strongest portraits and the most emotional moments.
Matching Tones Across a Spread
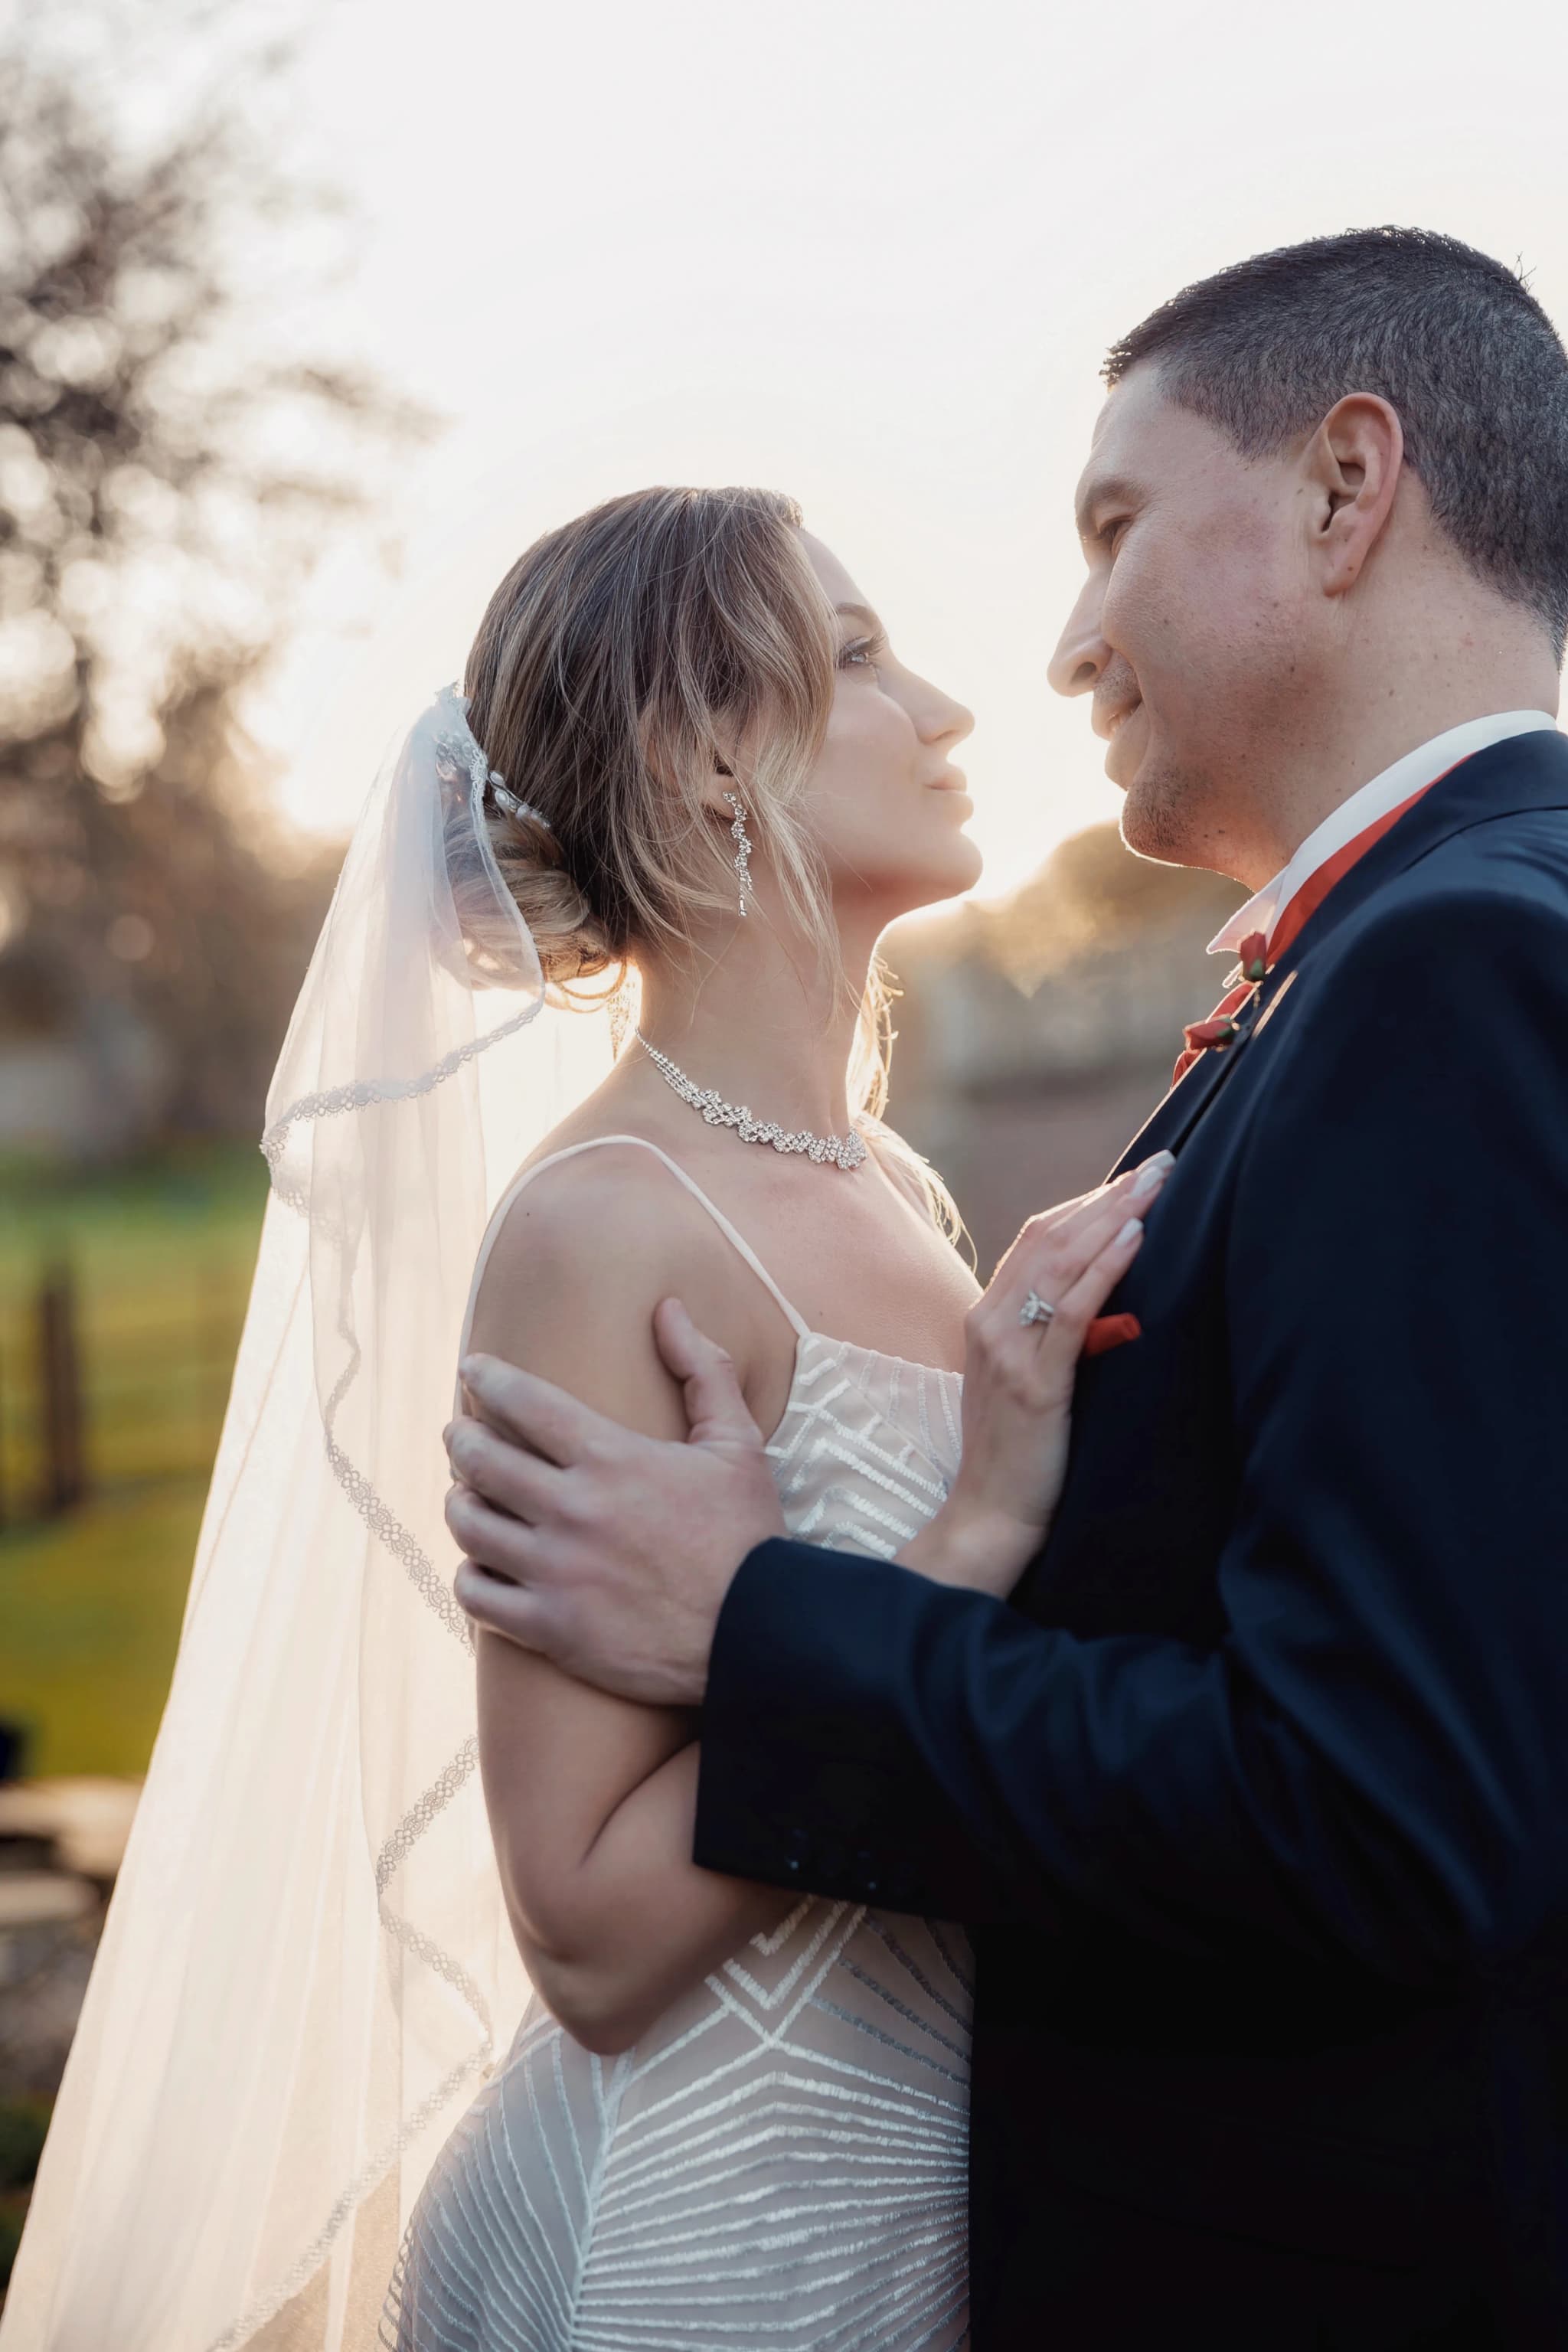
Images on the same spread should share a similar tonal quality. Mixing a bright outdoor portrait with a dark indoor dancefloor shot on the same page creates visual discord. Group images by lighting environment: outdoor preparation photos together, indoor ceremony images together, golden-hour portraits together.
Orientation and Flow
The reader's eye moves left to right, top to bottom. Place images so that the visual flow follows this natural path. If a portrait shows the subject looking to the right, place it on the left page — the subject's gaze draws the eye across the spread rather than off the edge.
White Space
White space (or coloured margins) around images creates breathing room. Not every image needs to be full-bleed. Smaller images with generous margins feel intentional and gallery-like. Large images with thin or no margins feel immersive and cinematic. Alternating between these treatments adds variety.
Album Specifications: What to Choose
Size
- 10×10 inches (25×25cm): the most popular size. Large enough to showcase images beautifully, compact enough to handle comfortably.
- 12×12 inches (30×30cm): premium size that gives images more room. Best for couples with many wide-angle or landscape-orientation shots.
- 8×8 inches (20×20cm): a smaller, more affordable option — excellent for parent albums.
Page Type
Lay-flat pages are non-negotiable for a quality wedding album. They open completely flat with no gutter (the crease where pages meet), meaning panoramic images span across both pages without distortion. Flush-mount pages — where the image is printed directly onto the page surface — produce the most vivid colour reproduction.
Cover Material
- Leather: classic, durable, ages beautifully. The most popular choice for principal albums.
- Linen/fabric: textured, contemporary, available in many colours. Suits modern weddings particularly well.
- Photo cover: a favourite wedding image printed directly onto the cover. Immediately identifies the album but shows wear faster than leather or linen.
Working With Your Photographer on Album Design
Most photographers who offer album services handle the design after you've provided your image selections. The typical workflow:
- You provide your selected images (80–120)
- The photographer designs the layout and sends a digital proof
- You review and request changes (usually 2–3 rounds of revisions)
- Final approval and the album goes to print
- Delivery in 4–8 weeks
If the selection process feels overwhelming, many photographers offer a guided selection service — they create a first-draft selection based on their professional judgement, and you refine it. This is often the most efficient approach and produces excellent results because photographers understand image quality, narrative flow, and print reproduction in ways that non-professionals don't.
Common Mistakes to Avoid
- Including too many similar shots: one great image of the first dance is worth more than five okay versions
- Ignoring the detail shots: rings, flowers, table settings, and textures provide visual variety and pacing between emotional portraits
- Over-representing one chapter: speeches are often captured beautifully, but they shouldn't occupy a third of the album
- Skipping the candids: posed group photos are necessary, but candid moments between guests carry more narrative power
- Waiting too long: the longer you delay the album, the less likely it gets done. Start the selection process within two months of receiving your gallery
I design every wedding album personally — not outsourced, not automated.
Albums are included in premium packages or available as an add-on. Ask about album options.