Yana Skakun

How to Pose Large Groups Effectively at Your Wedding
By Yana Skakun·10 June 2026·6 min read
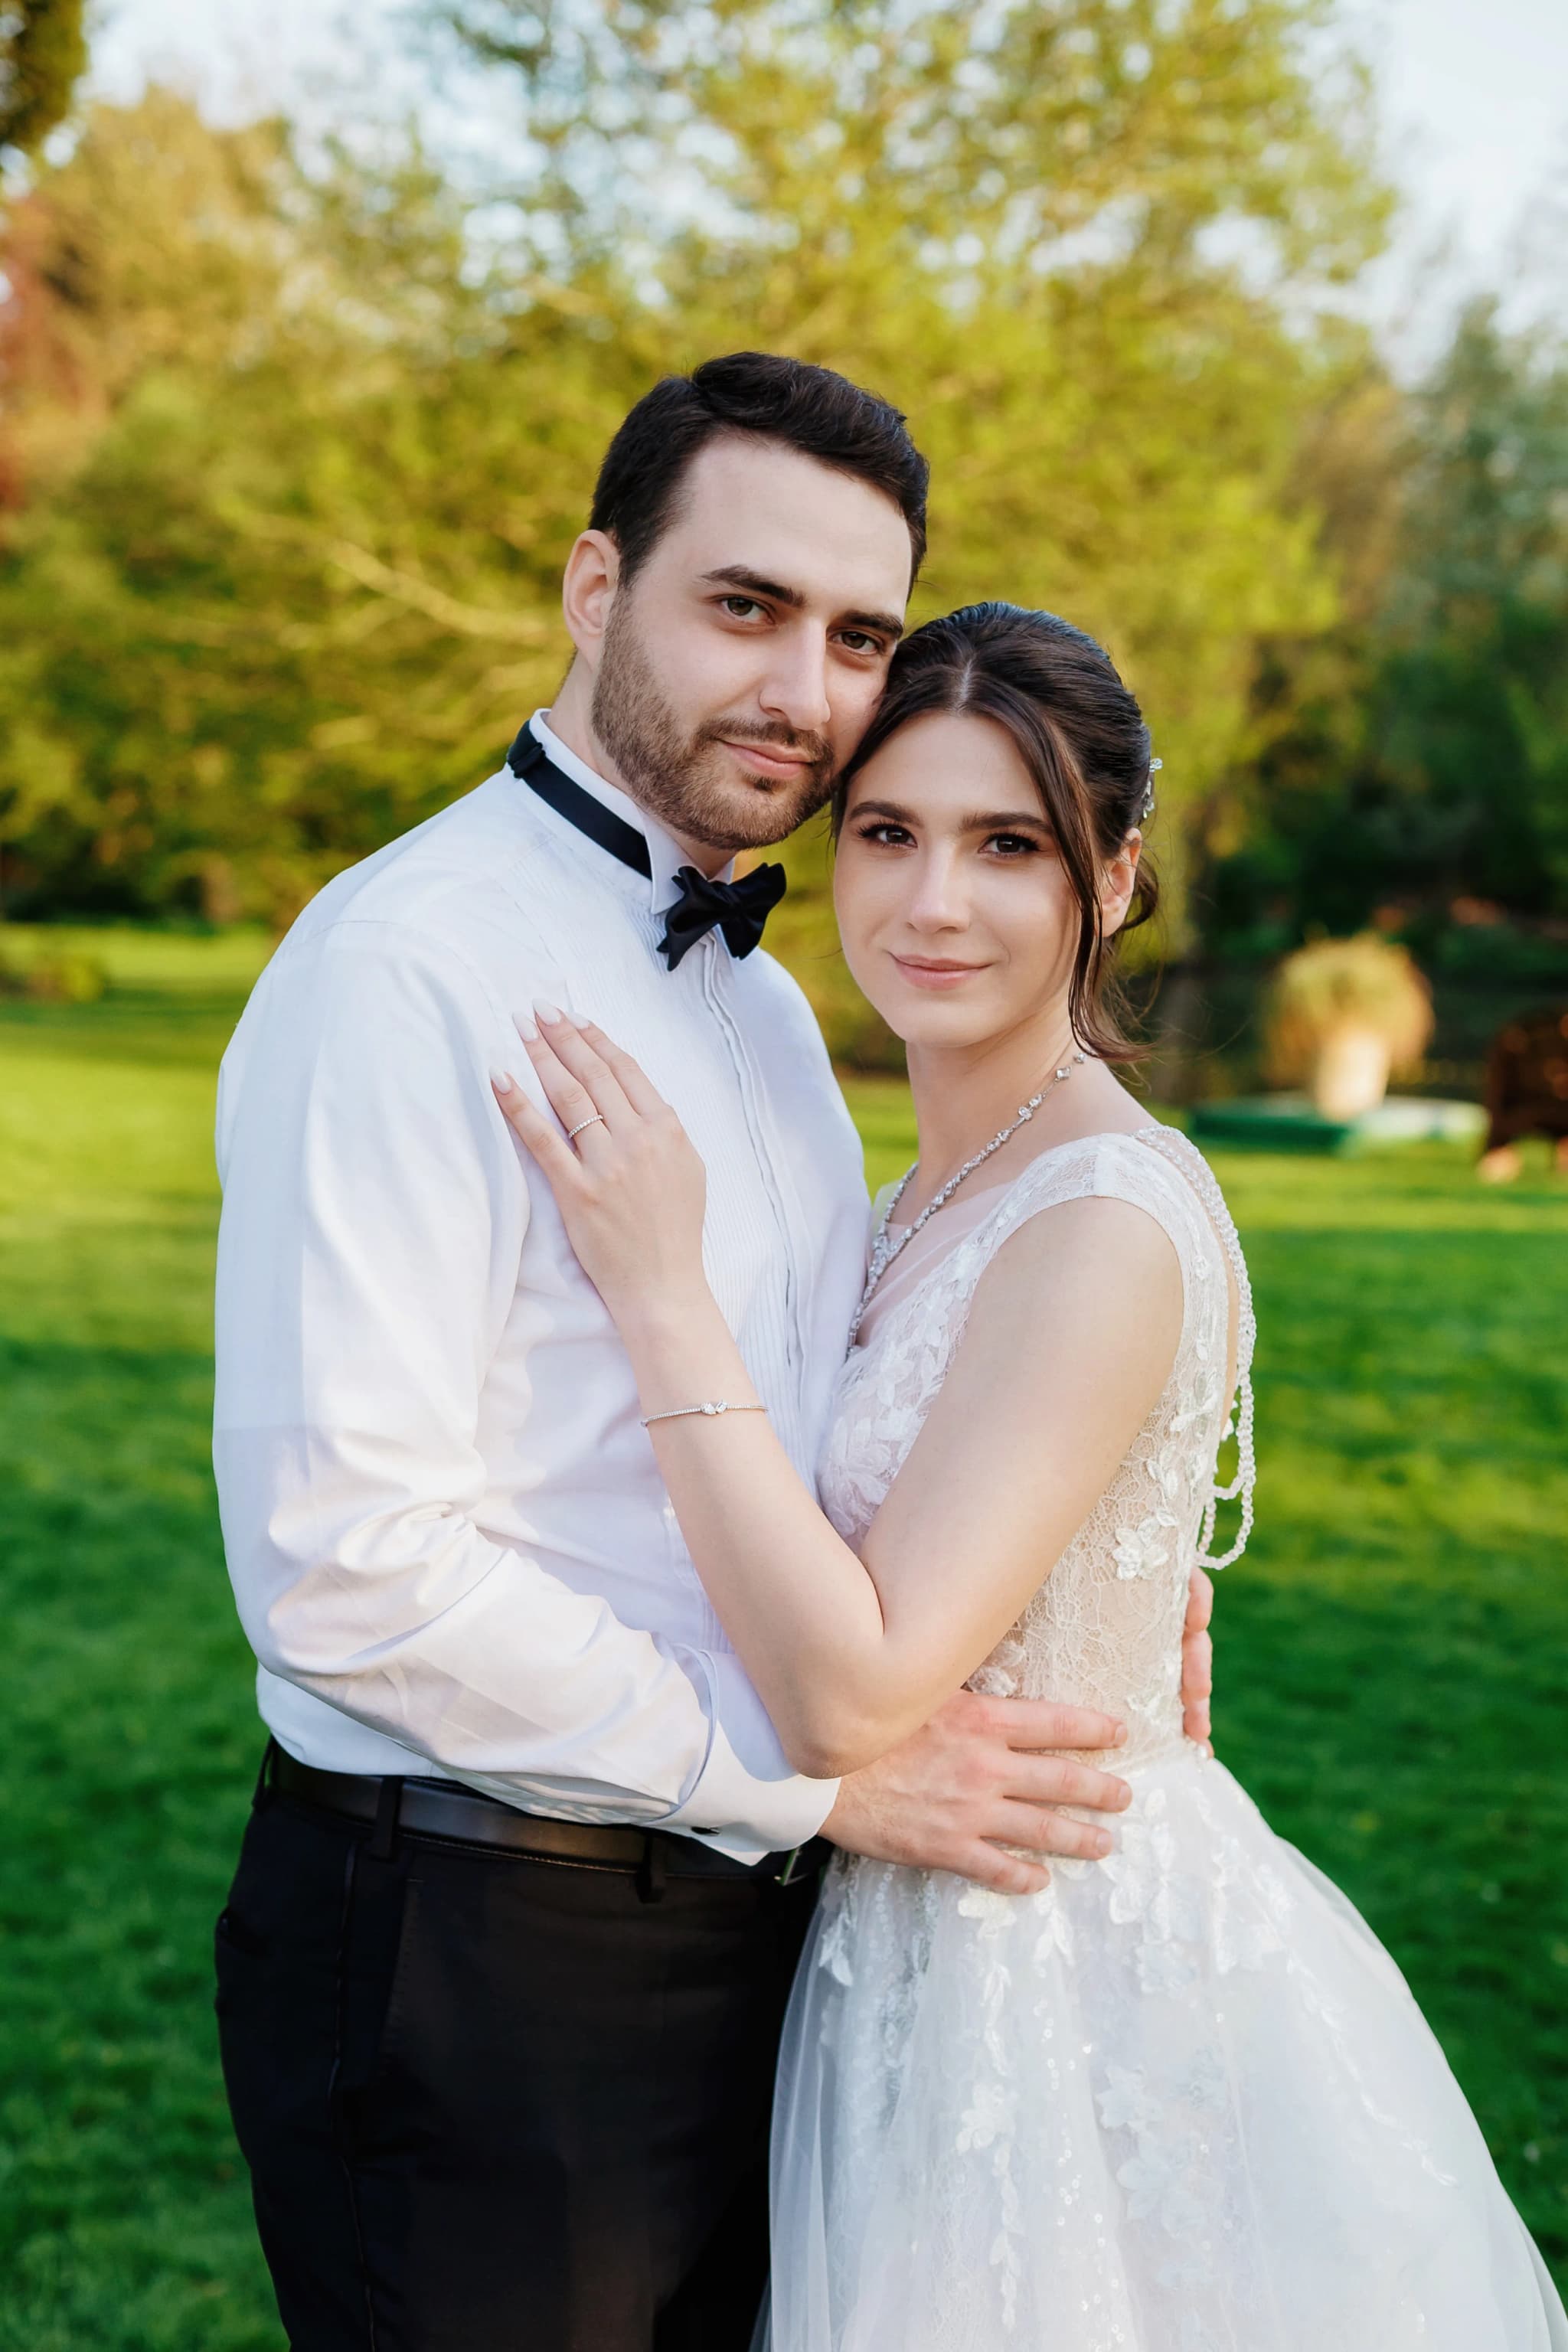
The big group photo is the one shot nearly every couple asks me for, and it's also the one most likely to go sideways. Thirty, fifty, sometimes ninety people squinting into a Cambridgeshire sun, half of them holding a drink, one uncle wandering off to find the loo. I've photographed enough large weddings across the East of England to know that a sharp, flattering big group shot isn't luck. It's tiering, staggering and a bit of friendly crowd control.
Build height, not just width
The single biggest mistake I see in large group wedding photos is people spreading out in one long, flat line. A line of forty guests means I either have to stand so far back that everyone becomes a speck, or I shoot so wide that the people on the ends stretch and distort. Neither flatters anyone, and the venue disappears behind a fence of shoulders.
Instead I build upwards. I look for natural tiers the moment I arrive: a flight of stone steps, a low garden wall, a bank of grass, the front porch of a barn. A staircase at somewhere like a Suffolk manor house or a converted Cambridgeshire barn does half my job for me, letting me stack three or four rows of faces into a tight, readable composition. Height means I can keep everyone physically closer together, which always reads as warmer and more relaxed.
If there are no steps, I make my own layers: a row seated on chairs or hay bales, a row standing behind, and the back row a step up on a kerb or rise. The couple always go in the centre, slightly forward, so the eye lands on them first.
Stagger faces so nobody hides
Staggering is the trick that separates a snapshot from a proper portrait. The rule I work to is simple: every face should sit in the gap between two faces in the row in front, never directly behind a head. I'll often ask the back row to take a small side-step so they appear in the windows of space between the front-row shoulders. It takes ten seconds and it means nobody ends up as a disembodied ear peeking over a hat.
Tall guests go towards the back and centre, shorter guests and children towards the front. I keep children sitting or kneeling at the front where they're sharp and visible, not buried in the scrum. With very big groups I'll gently curve the rows into a shallow arc, wrapping the ends slightly towards me, which keeps everyone roughly the same distance from the lens.
Getting everyone sharp
Sharpness across forty faces is a technical problem, and it's where a lot of large group wedding photos quietly fall apart. The deeper your rows go front to back, the more depth of field you need. I shoot these at a narrower aperture, usually around f/8, and lift my ISO rather than open up wide, because a beautifully blurred background is no good if half the back row is soft.
I focus on the eyes of the front-to-middle rows, which keeps the depth of field falling fairly evenly forwards and backwards. Keeping the group shallow, just three or four tight rows rather than eight loose ones, helps enormously here. And I always take several frames in quick succession, because in any crowd of fifty, someone is mid-blink in every single shot. Multiple frames let me swap a blinking face for an open one in editing.
Light, weather and the British sky
The English weather decides where I put a large group as much as the scenery does. Bright, harsh midday sun is the enemy: it makes everyone squint, casts hard shadows from hats and noses, and blows out the white of the dress. Given a choice I'll move the whole group into open shade, under the edge of a tree canopy or against the shaded side of a building, where the light is even and flattering and nobody is screwing their eyes shut.
That famous flat, overcast British sky that couples fret about is actually a gift for big groups. It works like a giant softbox, lighting every face evenly with no squinting and no shadows. If rain rolls in off the Fens, as it loves to do, I always have a backup spot scouted indoors, a large hallway, an orangery or a covered porch, so the shot still happens without a soggy crowd.
Running the group on the day
The logistics matter as much as the posing. A large group shot can swallow forty minutes of your wedding day if it's disorganised, and nothing tests guests' patience like standing around while names are shouted across a field. Here is how I keep it quick, calm and good-humoured:
- ◆Pick a marshal: Choose one loud, organised guest who knows everyone and can round people up and read out names while I focus on the camera.
- ◆Do it early: Schedule the big group shot right after the ceremony while everyone is still in one place, sober and accounted for.
- ◆Keep a tight list: Hand me a short, prioritised shot list beforehand so we never pause to wonder who is meant to be in frame.
- ◆Mind the drinks: Ask guests to set glasses and phones down for thirty seconds; a sea of pints ruins an otherwise elegant photo.
- ◆Use the venue: Steps, walls and doorways give instant tiers, so I always position the group where the architecture does the staging.
- ◆Keep it brief: Two or three quick frames, a smile, then release everyone back to the drinks before anyone gets restless.
Get those pieces in place and the large group photo stops being the stressful bit of the day and becomes one of the warmest. There is something genuinely moving about seeing everyone you love gathered into a single frame, and when it's sharp, well-lit and properly staggered, it's the print that ends up on the mantelpiece for the next thirty years.
Planning a big wedding in Cambridgeshire or further afield?
I love a large guest list and the challenge of a really good group shot. Let's talk through your venue, your timings and how we'll get everyone looking their best.
Check Your Date →


Yana Skakun
Photographer · England
Professional wedding, family and portrait photographer based in England. Passionate about capturing authentic emotions and timeless moments.
About Yana →largegroupweddingphotos
Photography Guide — Professional Photography in Cambridge & England
Yana Skakun is a professional photographer based in Cambridge, covering weddings, families, and portraits across England. Every session is personal — planned around your story, your people, and the moments that matter most. This guide — How to Pose Large Groups Effectively at Your Wedding — is part of the photography journal: practical, experience-based advice drawn from real sessions across England. Whether you arrived searching for large or group, the same care and attention shapes every session Yana photographs.
Professional Photography sessions are available year-round, with bookings open across Cambridge, Ely, Huntingdon, Peterborough, and further afield — East England, London, the Midlands, and beyond. If you have specific questions about wedding, mention it in your enquiry. Get in touch through the contact form above to check availability and discuss your session. Enquiries are welcomed from anywhere in the UK.
Frequently Asked Questions
What camera settings should I use for outdoor portraits?+
For outdoor portraits, shoot in aperture priority mode. Use a wide aperture (f/1.8–f/2.8) to blur the background and isolate your subject. Keep ISO as low as possible in good light. In bright conditions, use a neutral density filter or switch to manual to avoid overexposure at wide apertures.
What is the golden hour in photography?+
Golden hour is the period roughly 30–60 minutes after sunrise and before sunset. The sun is low in the sky, producing warm, soft, directional light that flatters skin tones and creates beautiful long shadows. It's widely considered the best natural light for portrait and outdoor photography.
How do you get sharp photos in low light?+
In low light, increase your ISO (accepting some grain), use the widest aperture your lens allows, and slow your shutter speed to the slowest you can hand-hold without camera shake (roughly 1/focal length as a guide). Use image stabilisation if available, and consider a tripod for static subjects.
What is the rule of thirds in photography?+
The rule of thirds divides the frame into a 3×3 grid. Placing your subject on one of the four intersection points — rather than dead centre — creates a more dynamic, visually interesting composition. It's a guideline, not a rule: some of the most powerful images break it deliberately.
How do you edit photos to look professional?+
Professional editing starts with shooting in RAW format. In Lightroom or similar software, correct exposure, white balance, and contrast first. Recover shadow and highlight detail. Apply gentle colour grading for mood. Be conservative with skin retouching — the goal is natural enhancement, not transformation. Consistency across a set of images is what separates professional from amateur editing.
Continue Reading
Related Articles


Get in Touch
Ready to Book Your Session?
Get in touch to discuss your vision — I'll reply within 24 hours.