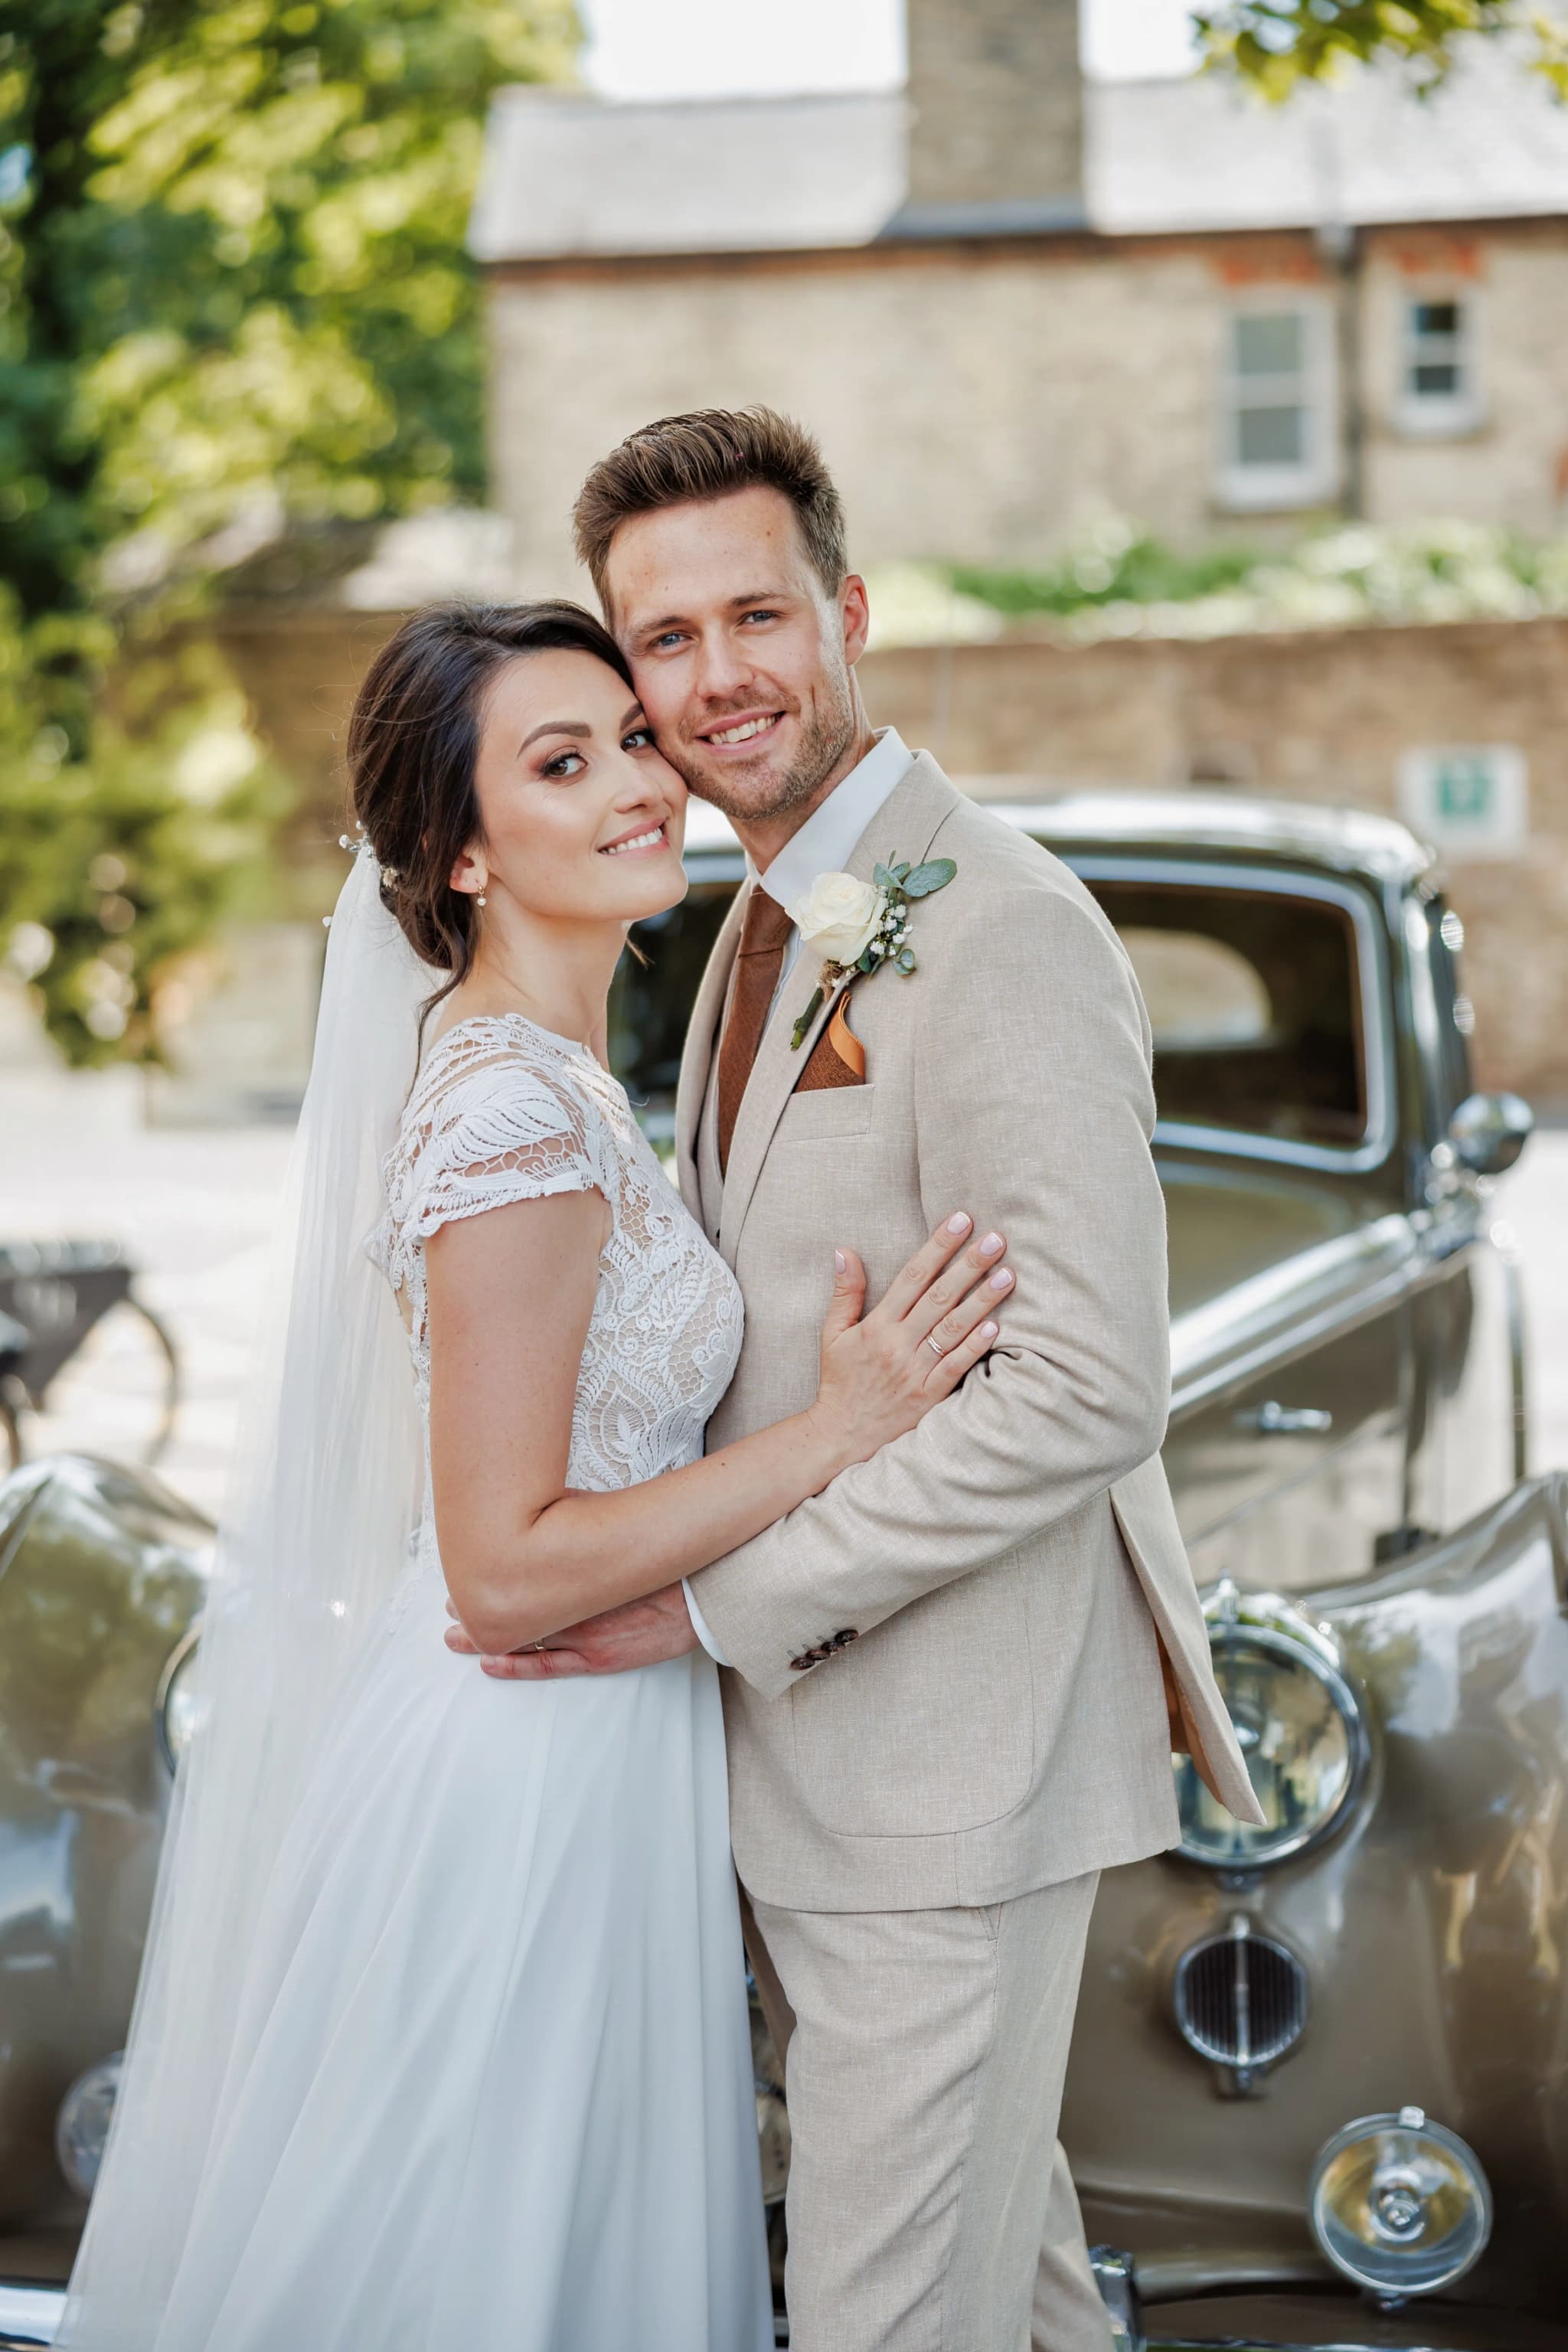
Yana Skakun

Sparkler Exit Wedding Photography: How to Plan It Properly
By Yana Skakun·13 March 2026·6 min read
A sparkler exit is one of the most dramatic and visually striking things you can organise at your wedding — two lines of guests holding lit sparklers, forming a tunnel for the couple to walk or run through, usually right at the end of the evening as a send-off. When it works, the photographs are extraordinary: warm gold light trailing against a dark sky, guests laughing and cheering either side, the couple caught mid-step in the middle of it all. When it doesn't work, you end up with a dim, blurry frame and a few stray orange streaks that don't read as anything in particular. Having photographed a good number of these over the years, I can say with confidence that the difference between the two outcomes is almost entirely down to planning, not luck, and almost none of that planning falls to your photographer alone. It is a genuinely collaborative moment between the couple, the venue, a couple of willing helpers, and whoever is holding the camera, and it rewards a bit of forethought more than almost any other part of the wedding day.
Use the Right Sparklers
This is the single most common reason a sparkler exit falls flat, and it has nothing to do with photography at all. Standard party sparklers — the short ones sold in supermarkets around bonfire night — burn for around twenty seconds. On paper that sounds like plenty of time, but in practice it isn't. By the time helpers have worked their way down a line of thirty or forty guests lighting each sparkler in turn, the sparklers held by the first guests are already fizzling out, while the last few in the line are only just catching. The couple ends up walking through a tunnel that is lit at one end and dark at the other, which photographs as patchy and uneven rather than the continuous glowing arch everyone has in mind.
The fix is simple: use proper wedding sparklers, not party ones. These are typically sold in 70cm or 90cm lengths and burn for somewhere between two and four minutes, which gives more than enough time to light the whole line, gather everyone's attention, and have the couple walk through at an unhurried pace with light still going at both ends. They are sold by dedicated wedding sparkler suppliers rather than general supermarkets, and they do cost noticeably more than a packet of bonfire night sparklers. It is worth treating this as a genuine line item in the wedding budget rather than an afterthought bought at the last minute from the nearest shop, because the gap in quality between the two is the difference between a beautiful, glowing image you will want printed large and a set of photographs that end up quietly skipped over in the album.
A rough guide is to buy slightly more sparklers than you think you need. Guests fumble, some sparklers fail to catch on the first attempt, and a handful inevitably get dropped or handed to children who are asked to stand out of the main line. Having a few spares in the box means the tunnel stays full and even rather than developing gaps partway through.
Coordinate the Lighting
Even with the right sparklers, the biggest practical challenge is lighting anywhere from thirty to eighty of them quickly enough that they are all burning at roughly the same time. A single person going down the line with an ordinary cigarette lighter is far too slow — by the time they reach the end, the sparklers at the start are already burning down. The far better method is tapers: long thin wax candles, sometimes called fireplace matches or extended lighters, that let one person light sparkler after sparkler in quick succession without needing to strike a fresh flame each time.
I generally suggest having two helpers with tapers, one starting at each end of the two lines and working towards the middle, so the whole tunnel catches in something closer to thirty seconds rather than several minutes. Brief these helpers properly beforehand — ideally someone practical and unflappable, a groomsman or a bridesmaid who is comfortable directing people, rather than whoever happens to be standing nearby when the moment arrives. They should know to move briskly and in a straight line down their side, rather than lingering to chat with each guest, and to have a general sense of when the couple intends to start walking so the whole tunnel is lit and ready rather than half-caught when the couple steps forward.
It also helps enormously to have someone — often the wedding planner if there is one, or again a trusted member of the bridal party — act as the conductor for the whole moment: gathering guests into two lines, handing out sparklers, giving the signal to light, and giving the couple the go-ahead once everything is burning. Left entirely unstructured, sparkler exits tend to dissolve into a slow shuffle of confusion, which is precisely what good coordination avoids.
Planning a sparkler exit into your day
If you know you want this moment, it is worth mentioning it early when we discuss your wedding day timeline, so coverage, positioning, and timing are all planned in rather than improvised on the night.
Get in touch about your wedding dayPosition Your Photographer Before the Walk Begins
A sparkler exit generally only photographs well from one or two specific vantage points, and your photographer needs to already be there before the couple starts walking, not scrambling to find their spot once it has begun. The strongest images usually come from standing at the far end of the tunnel, facing back towards the guests, capturing the couple walking or running directly towards the camera through the arch of light either side of them. The alternative approach is shooting from the side using a longer exposure, which lets the sparklers render as continuous light trails rather than static points of light — a more painterly, abstract look that some couples prefer to the straightforward walking shot.
Because the light is genuinely limited to the sparklers themselves and whatever ambient venue lighting is nearby, this is not a moment where a photographer can move freely and still get a clean result. Settling into position, checking the framing, and confirming exposure before the first sparkler is even lit makes the difference between a handful of unusable frames and a genuinely striking sequence.
The other piece of advice I give every couple planning this moment is simple: slow down. It is almost universal that couples run through the sparkler tunnel far faster than they need to, out of nerves or excitement or simply not knowing how long the sparklers will last. A slower, more deliberate walk — hand in hand, looking at each other rather than dashing straight ahead — produces noticeably better photographs, and it also means you actually get to experience thirty seconds of your guests cheering you on rather than a blur you barely remember afterwards.
Confirm the Venue Actually Permits It
This is worth checking properly and in writing, not assuming based on a general impression of the venue. Many wedding venues, particularly historic buildings, thatched properties, marquee venues, and anywhere with a lot of dry vegetation nearby, do not permit open flames on the grounds, and sparklers fall under that restriction even though they feel like a fairly tame, celebratory thing rather than a fire risk. Ask your venue coordinator specifically about sparklers, not just about fireworks in general — the two are often treated differently in venue policy, and a venue that firmly prohibits fireworks may still be entirely relaxed about sparklers held safely by guests at a set distance from the building.
It is also worth asking about location within the grounds. Some venues that do not allow sparklers directly outside the main building will permit them further out on the lawn or in a car park area away from thatch, timber, or parked cars. Getting this detail confirmed in advance, ideally when you first book the venue or at your final planning meeting, avoids an awkward conversation with venue staff at eleven at night when sparklers are already being handed out.
If your venue does not allow open flames at all, LED wand sparklers are a good alternative. They create a similar shape and sense of movement for photography purposes without any fire risk, and because they are battery powered rather than genuinely burning, the vast majority of venues have no objection to them whatsoever. They will not produce quite the same warm, flickering quality as a real sparkler, but for a venue with a genuine no-flame policy, they are a sensible way to still have the moment.
Think About Timing Relative to Your Photography Coverage
Sparkler exits are, by their nature, an end-of-evening moment — they need genuine darkness to read well in photographs, which usually means they happen well after the meal, speeches, and first dance, often close to when many couples' standard photography coverage is scheduled to finish. This is worth working out properly at the planning stage rather than discovering on the night that coverage has ended just before the moment you most wanted captured.
When we build out your day's timeline together, this is exactly the kind of detail worth flagging early: what time do you realistically expect to do your sparkler exit, and does that fall within your booked coverage window or just outside it? If it falls outside, extending coverage by an extra hour is a straightforward adjustment to make in advance, but it is a much harder thing to sort out in the moment on the night itself. A little planning here means the moment you have been looking forward to actually gets documented rather than becoming a story you tell without any photographs to go with it.
A Few Safety Basics Worth Arranging
None of this is really a photography concern, but it matters enough to mention. A metal bucket filled with sand, kept near the end of the tunnel, gives guests somewhere sensible to deposit spent sparklers rather than dropping them on grass or gravel where bare feet, long dresses, or children running about might come into contact with them while they are still hot. It takes next to no effort to arrange and it is standard practice at most venues that allow sparklers in the first place — your venue coordinator will often have one ready if you simply ask.
It is also worth having a quick word with anyone holding sparklers on behalf of young children, keeping them positioned slightly apart from the busier part of the tunnel, and making sure long sleeves, veils, and loose fabric are kept a sensible distance from lit sparklers as everyone gathers into position. None of this needs to feel heavy-handed — a brief, friendly reminder before lighting begins is generally all it takes.
A sparkler exit is a lovely way to close out a wedding day, and it photographs beautifully when the practical groundwork is in place: the right sparklers, a couple of briefed helpers with tapers, a venue that has genuinely confirmed it is happy for it to happen, and a photographer positioned and ready before the first sparkler is lit. None of it is complicated, but it is the sort of detail that is far easier to sort out calmly in the weeks before your wedding than in the middle of your reception. If you are planning your day and want to talk through how a sparkler exit, or any other end-of-evening moment, fits into your photography timeline, get in touch and we can build it into the plan properly from the start.


Yana Skakun
Photographer · England
Professional wedding, family and portrait photographer based in England. Passionate about capturing authentic emotions and timeless moments.
About Yana →sparkler exit wedding photographywedding sparkler send off tipssparkler exit guide ukhow to plan sparkler exit wedding
Wedding Tips — Wedding Photography in Cambridge & England
Yana Skakun is a professional wedding photographer based in Cambridge, covering weddings across England — from intimate elopements to full-day ceremonies at country houses, barns, and city venues. Every couple receives a relaxed, documentary approach that captures the day as it truly unfolds. This guide — Sparkler Exit Wedding Photography: How to Plan It Properly — is part of the photography journal: practical, experience-based advice drawn from real sessions across England. Whether you arrived searching for sparkler exit wedding photography or wedding sparkler send off tips, the same care and attention shapes every session Yana photographs.
Wedding Photography sessions are available year-round, with bookings open across Cambridge, Ely, Huntingdon, Peterborough, and further afield — East England, London, the Midlands, and beyond. If you have specific questions about sparkler exit guide uk, mention it in your enquiry. Get in touch through the contact form above to check availability and discuss your session. Enquiries are welcomed from anywhere in the UK.
Frequently Asked Questions
How much does a wedding photographer cost in England?+
Wedding photography in England typically ranges from £1,500 to £4,000+ for a full day. Price depends on experience, coverage hours, and whether albums or engagement shoots are included. Most photographers charge between £2,000–£3,000 for 8–10 hours of coverage.
How early should you book a wedding photographer?+
For peak season (May–September), book 12–18 months in advance. For autumn and winter weddings, 9–12 months is usually sufficient. Popular photographers at popular venues fill up fast — as soon as you have a date and venue confirmed, start reaching out.
How many photos do you get from a wedding photographer?+
Most professional wedding photographers deliver 400–800 edited images for a full-day wedding. The exact number depends on coverage hours, how many guests there are, and the photographer's editing style. Quality matters more than quantity — a curated gallery of 500 images tells the story better than 1,500 unedited files.
Do you need a second photographer at your wedding?+
A second photographer is helpful if you want simultaneous coverage of getting-ready moments in different locations, multiple angles during the ceremony, or more candid coverage during the reception. It adds cost but significantly increases the variety and completeness of your gallery.
What is the difference between documentary and editorial wedding photography?+
Documentary (reportage) wedding photography captures moments as they happen — the photographer observes and doesn't intervene. Editorial photography involves deliberate direction: placing you in good light, shaping compositions, creating intentional portraits. Most photographers blend both styles throughout the day.
Continue Reading
Related Articles

Wedding Tips
Sustainable Eco-Friendly Wedding Guide — Planning a Green Celebration
15 min read · Read Article
Wedding Tips
Trash the Dress Session — Complete Planning and Photography Guide
14 min read · Read Article
Wedding Tips
Client Communication for Photographers — From Enquiry to Gallery Delivery
15 min read · Read Article
Get in Touch
Ready to Book Your Session?
Get in touch to discuss your vision — I'll reply within 24 hours.