Dodge and Burn in Digital Photography: The Complete Guide to Light Sculpting, Skin Contouring, and Luminosity-Based Retouching
Dodging and burning — the deliberate lightening and darkening of specific areas within a photograph — is the single most powerful retouching technique available to a digital photographer. The names come from the traditional darkroom, where a printer would "dodge" (hold back light from the enlarger with a hand or piece of card) to make an area lighter, or "burn" (give extra exposure through a hole in a card) to make an area darker. In the digital darkroom, dodging and burning has been elevated from a corrective exposure tool into a full creative discipline — used to sculpt light, contour faces, enhance dimension, direct the viewer's eye, and transform the emotional character of an image. Professional retouchers in beauty, fashion, editorial, and fine art photography spend the majority of their retouching time on dodge and burn, because it produces the most natural, convincing results of any technique.
The fundamental principle is simple: human visual perception interprets lighter areas as closer, more prominent, and more illuminated, and darker areas as receding, less prominent, and shadowed. By selectively brightening and darkening areas, you are not merely adjusting exposure — you are reshaping how the viewer perceives the three-dimensional form, the light quality, and the visual hierarchy of the image. A portrait with skilled dodging and burning looks more three-dimensional, more sculpted, and more luminous than the same portrait without it, even when the differences are subtle enough that the viewer cannot consciously identify what changed. This is the art of dodge and burn: invisible improvement that transforms the emotional impact of the image.
Non-Destructive Dodge and Burn Setup in Photoshop
The first rule of professional dodging and burning is never to apply it destructively to the pixel layer. Instead, create dedicated dodge and burn layers that can be adjusted, masked, reduced in opacity, or deleted without affecting the original image data. The industry-standard method uses a 50% grey layer set to Soft Light blend mode. Create a new layer (Ctrl+Shift+N or Cmd+Shift+N), set the blend mode to Soft Light, check the "Fill with Soft-Light-neutral color (50% gray)" option, and name it "Dodge & Burn." Anything painted lighter than 50% grey on this layer will lighten the image below; anything painted darker than 50% grey will darken it. The 50% grey itself is completely invisible in Soft Light mode, so areas you haven't painted remain unaffected. This is a fully non-destructive, infinitely adjustable setup.
Many retouchers prefer to use two separate grey layers — one for dodging (lightening) and one for burning (darkening) — because this allows independent opacity control over lightening and darkening adjustments. You might want your dodge at 100% strength but your burn reduced to 80%, or you might want to apply a slight Gaussian Blur to one layer but not the other. Keeping them separate also makes it easier to toggle visibility of each adjustment independently to evaluate its contribution. Some retouchers go further and create multiple pairs: one set for large-scale light shaping (broad contouring of the face and body), one for medium-scale corrections (evening out mid-sized tonal irregularities), and one for micro-level detail (pore-level smoothing and texture refinement).
Curves-Based Dodge and Burn
An alternative — and in many ways superior — method uses Curves adjustment layers instead of grey layers. Create two Curves adjustment layers: one that brightens the midtones (pull the centre of the RGB curve upward by approximately 0.5–1.0 stops) and one that darkens the midtones (pull the centre downward by approximately the same amount). Fill both Curves masks with black (which hides the adjustment completely) and name them "Dodge (Curves)" and "Burn (Curves)." Now paint with white on the dodge mask to reveal the brightening, and with white on the burn mask to reveal the darkening. Painting with white at 3–10% opacity builds up the effect gradually and precisely.
The advantage of Curves-based dodge and burn over grey-layer dodge and burn is control: with Curves, you can adjust the intensity and tonal target of the dodge/burn at any time by re-shaping the curve. If you decide your burns are too intense, just pull the burn curve back toward neutral — all your painted adjustments scale proportionally without any loss of the mask information. You can also target specific tonal ranges: shape the curve to primarily affect shadows, midtones, or highlights, and every stroke you've already painted will immediately reflect the new targeting. This flexibility is the reason many high-end retouchers strongly prefer Curves-based dodge and burn, despite the slightly more complex setup. The grey-layer method is simpler and works well for general work, but Curves gives you significantly more post-hoc control.
Brush Settings for Natural Dodge and Burn
The brush settings are critical to achieving natural results. Use a round, soft-edged brush (hardness 0%) with very low opacity — 3% to 10% for most work. Flow should match opacity or be set slightly higher. When using a pressure-sensitive tablet (essential for professional dodge-and-burn work), set brush opacity or flow to pen pressure so that light touches produce subtle adjustments and firmer pressure produces stronger adjustments. This mimics the progressive building of exposure in the traditional darkroom and provides the gradual control necessary for invisible retouching.
Brush size should be appropriate to the area being worked: large brushes (200–500px or more) for broad contouring and light shaping, medium brushes (50–150px) for correcting mid-scale tonal irregularities, and small brushes (5–30px) for pore-level micro dodge and burn. Many retouchers map brush size to a shortcut key or stylus button for rapid adjustment. The critical habit is making multiple passes at low opacity rather than single heavy strokes — this builds the adjustment gradually and creates smooth, natural transitions. A single stroke at 50% opacity looks painted; twenty overlapping strokes at 3% each look like natural light.
Dodge and Burn for Facial Contouring
Facial contouring through dodging and burning follows the same principles as makeup contouring: you lighten areas that you want to advance (catch light) and darken areas that you want to recede (create shadow). The standard contouring map for a portrait face includes: dodge the bridge of the nose, the centre of the forehead, the top of the cheekbones, the cupid's bow of the upper lip, and the centre of the chin. Burn the hollows below the cheekbones, the sides of the nose, the temples, the crease above the eyelids, and the jawline and under-chin area. This creates the appearance of more defined bone structure, more sculpted features, and a more three-dimensional face.
The amount of contouring should match the existing light direction and character. If the key light is coming from camera-left, the natural highlights on the right cheekbone will be softer and the shadows on the left side deeper — your dodging and burning should reinforce this existing light pattern, not fight against it. Adding impossible highlights or shadows that contradict the established light direction creates an uncanny, unrealistic result that viewers may not consciously identify but will instinctively feel is wrong. Study the actual light in the photograph and use dodge and burn to emphasise and refine it, not to replace it with imaginary light.
Micro Dodge and Burn for Skin Perfection
Micro dodge and burn — working at the individual pore level — is the gold standard for high-end beauty retouching. The technique involves zooming to 100–200% magnification and systematically evening out the tiny light and dark variations across the skin surface. Every pore, wrinkle, small scar, and texture variation casts microscopic highlights and shadows that, in aggregate, create the perception of uneven, rough, or blemished skin. By dodging the tiny shadows and burning the tiny highlights — bringing every micro-variation closer to a neutral midtone — you create the appearance of perfectly smooth, luminous skin while preserving all the texture. This is fundamentally different from frequency separation (which smooths colour/tone and preserves texture as a whole); micro dodge and burn individually addresses every single tonal variation.
Micro dodge and burn is labour-intensive — a full beauty headshot may take 1–3 hours of careful work — but the results are unmatched. The technique works because it preserves the actual skin texture while eliminating the tonal variations that make texture visible. The result is skin that looks impossibly smooth and luminous but still completely real — there is no plastic or airbrushed quality because every pore and fine line is physically intact. It is merely the contrast of those pores and lines that has been reduced. Many high-end beauty retouchers use a helper layer to aid micro dodge and burn: a Curves adjustment layer or a Black & White adjustment layer that increases contrast dramatically, making every tiny tonal variation obvious. This helper layer is never part of the final image — it is simply a visual aid that reveals micro-level problems invisible at normal contrast.
Dodge and Burn for Eyes and Lips
The eyes are the most important element in any portrait, and skilled dodging and burning can make eyes dramatically more compelling. The standard approach includes: dodge the catchlights (making them slightly brighter and more prominent), dodge the iris (particularly the edge nearest the light source, to enhance the luminous quality), burn the outer ring of the iris (many irises have a natural darker ring that, when enhanced, makes the eye look deeper and more defined), dodge the whites of the eyes (very gently — over-whitening creates an alien appearance), and burn the lash line and eye crease lightly to add definition. For the eyelids, gentle burning of the crease adds depth, while gentle dodging of the lid itself creates a more luminous, open appearance.
Lips benefit from precise dodging and burning to enhance their three-dimensionality. Dodge the centre of the lower lip (where natural light hits), burn the corners of the mouth and the line between the lips, and gently burn the edges of the lips where they meet the surrounding skin to add definition. The cupid's bow of the upper lip — dodged gently — catches light and makes the lips appear fuller. For teeth, very gentle dodging can brighten a smile without creating an unnaturally white appearance — the key is moderation. Real teeth are not pure white; they have natural colour variation that should be reduced but not eliminated. Dodge teeth only enough to remove any grey or yellowish cast that the lighting may have created without turning them into a bleached-white wall.
Dodge and Burn for Body Photography
Body photography — boudoir, fitness, fashion, and fine art — benefits enormously from dodging and burning to enhance musculature, slim and define waistlines, enhance collarbone structure, define shoulders and arms, and create more dramatic body contours. The principles are identical to facial contouring: dodge the areas where light naturally hits (the top surface of muscles, the curve of shoulders, the front of the collarbone) and burn the areas of natural shadow (between muscles, the sides of the waist, under the collarbone, the inner arms). This enhances the existing three-dimensional form without creating impossible light.
For fitness and physique photography, dodge and burn is the primary tool for enhancing muscle definition. The separation between each muscle group is naturally slightly shadowed, and by gently burning those separations while dodging the muscle bellies, you create significantly more definition than the camera captured. This is standard practice in fitness advertising and editorial photography and is considered a normal post-processing step, not deceptive manipulation. The key is working with the real anatomy and the real light — enhancing what exists rather than inventing definition that isn't there. For female body photography, the approach is typically more subtle, focusing on refining curves and creating smooth, luminous skin rather than enhancing muscle separation.
Landscape Dodge and Burn
Dodging and burning is equally valuable in landscape photography, where it serves as the primary tool for directing the viewer's eye through the composition. The traditional landscape principle is to guide the viewer from a darker foreground through a lighter midground to the brightest point (usually near the horizon or the main subject). By selectively burning the foreground edges and corners (a digital vignette that looks far more natural than a mechanical vignette filter) and dodging the midground and subject, you create a visual path that leads the eye naturally through the image. This technique has been used by every great landscape photographer from Ansel Adams (who was a master printer) to modern digital practitioners.
In landscape work, dodge and burn also excels at enhancing atmospheric depth. Aerial perspective — the natural tendency for distant objects to appear lighter and less saturated — can be enhanced by gently dodging distant elements and burning foreground elements, increasing the perception of depth. Similarly, the dimensionality of rock formations, tree bark, cloud formations, and water can be enhanced by selectively dodging highlights and burning shadows to create more contrast and three-dimensionality within those elements. Use a larger brush with very low opacity (2–5%) for landscape dodging and burning, working in broad, sweeping strokes rather than the detailed, per-pore approach used for skin.
Helper Layers and Visual Aids for Dodge and Burn
Helper layers are temporary adjustment layers that increase the visibility of tonal irregularities, making it easier to identify areas that need dodging or burning. The most common helper is a Curves layer with the midtones pulled sharply upward and the shadows crushed — this creates a high-contrast, almost posterised view that reveals every tiny tonal variation. A Black & White adjustment layer set to maximise the contrast in skin tones (boost red channels, reduce green) is also effective. Some retouchers use a solid colour fill layer (bright red or blue) set to the Colour blend mode, which strips all luminosity information and shows only the colour data — useful for identifying colour casts and irregularities on the low-frequency level. These helper layers should be placed at the top of the layer stack, turned on during retouching, and turned off (or deleted) before final export.
Another invaluable helper is the "Solar Curve" or "Inverted S-Curve" — a Curves layer with the curve shaped into a dramatic zigzag that creates a solarised, high-contrast view revealing even the subtlest tonal banding, transitions, and irregularities. This is particularly useful for checking that your dodge-and-burn work has created smooth transitions rather than visible boundaries. If your dodging and burning looks smooth under the solar curve, it will look perfectly smooth in the final image. Retouchers who use helper layers consistently report significantly faster work and higher quality, because the helpers reveal problems that are invisible at normal contrast, allowing you to address them before they become visible under certain viewing conditions (like when a client pulls the image into Instagram filters that boost contrast).
Integrating Dodge and Burn into a Complete Retouching Workflow
The optimal position for dodge and burn in a complete retouching workflow is after basic cleanup (spot healing, stray hair removal, blemish removal) and before frequency separation (if used). This order works because dodge-and-burn contouring establishes the light structure of the image, and you want frequency separation to smooth the colour within that established light structure, not before it. The complete professional workflow: (1) RAW processing and colour correction, (2) Photoshop — basic cleanup with Healing Brush and Clone Stamp, (3) macro dodge-and-burn for contouring and light shaping, (4) micro dodge-and-burn for pore-level evening (if high-end), (5) frequency separation for colour correction, (6) final sharpening and output. This workflow produces results that look like the subject was captured under perfect lighting with perfect skin, while maintaining the natural texture and character of real skin.
The time investment varies dramatically with the retouching standard. A quick editorial-quality dodge-and-burn pass takes 5–15 minutes per portrait. A detailed beauty-quality micro dodge-and-burn can take 1–4 hours per image. Wedding photographers typically allocate 2–5 minutes per hero image for dodge-and-burn work. Whatever the time budget, the principle remains constant: work progressively from large-scale to small-scale, use very low opacity, build gradually, and constantly toggle the dodge-and-burn layers to compare before and after. If the difference is dramatic enough to be immediately obvious, you have probably gone too far — good dodging and burning should improve the image in a way that most viewers perceive as "great lighting" rather than "heavy retouching."
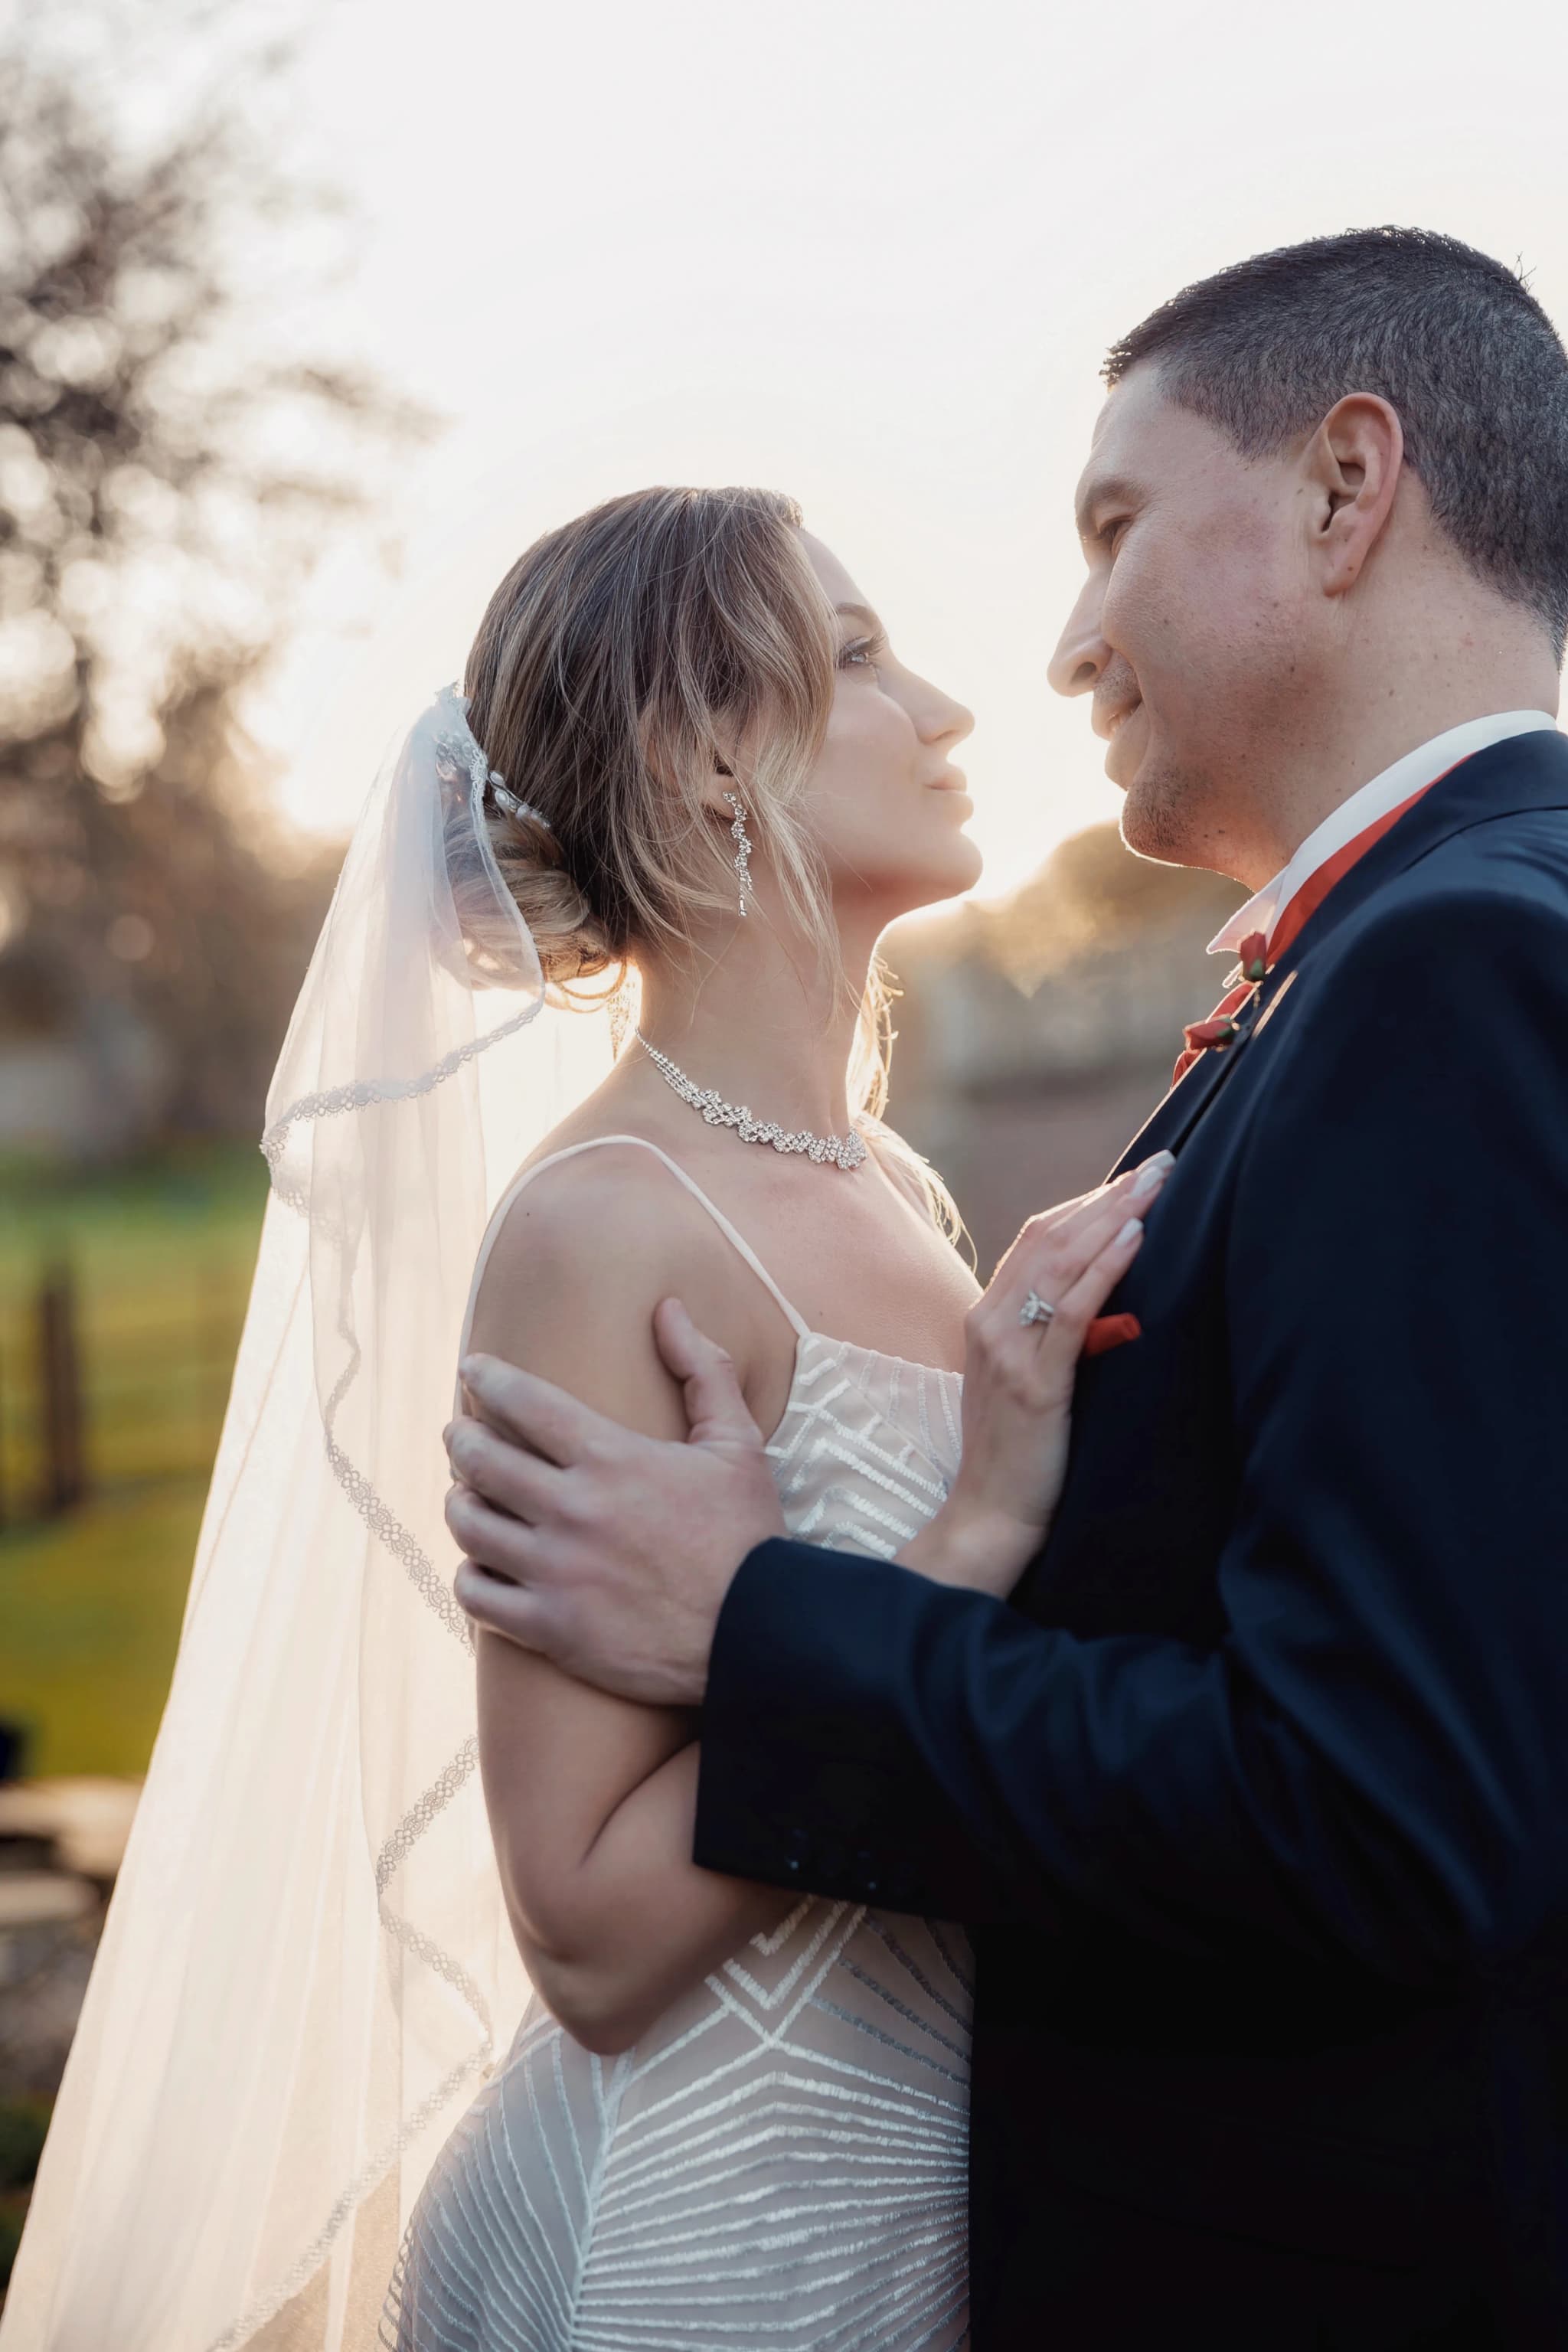
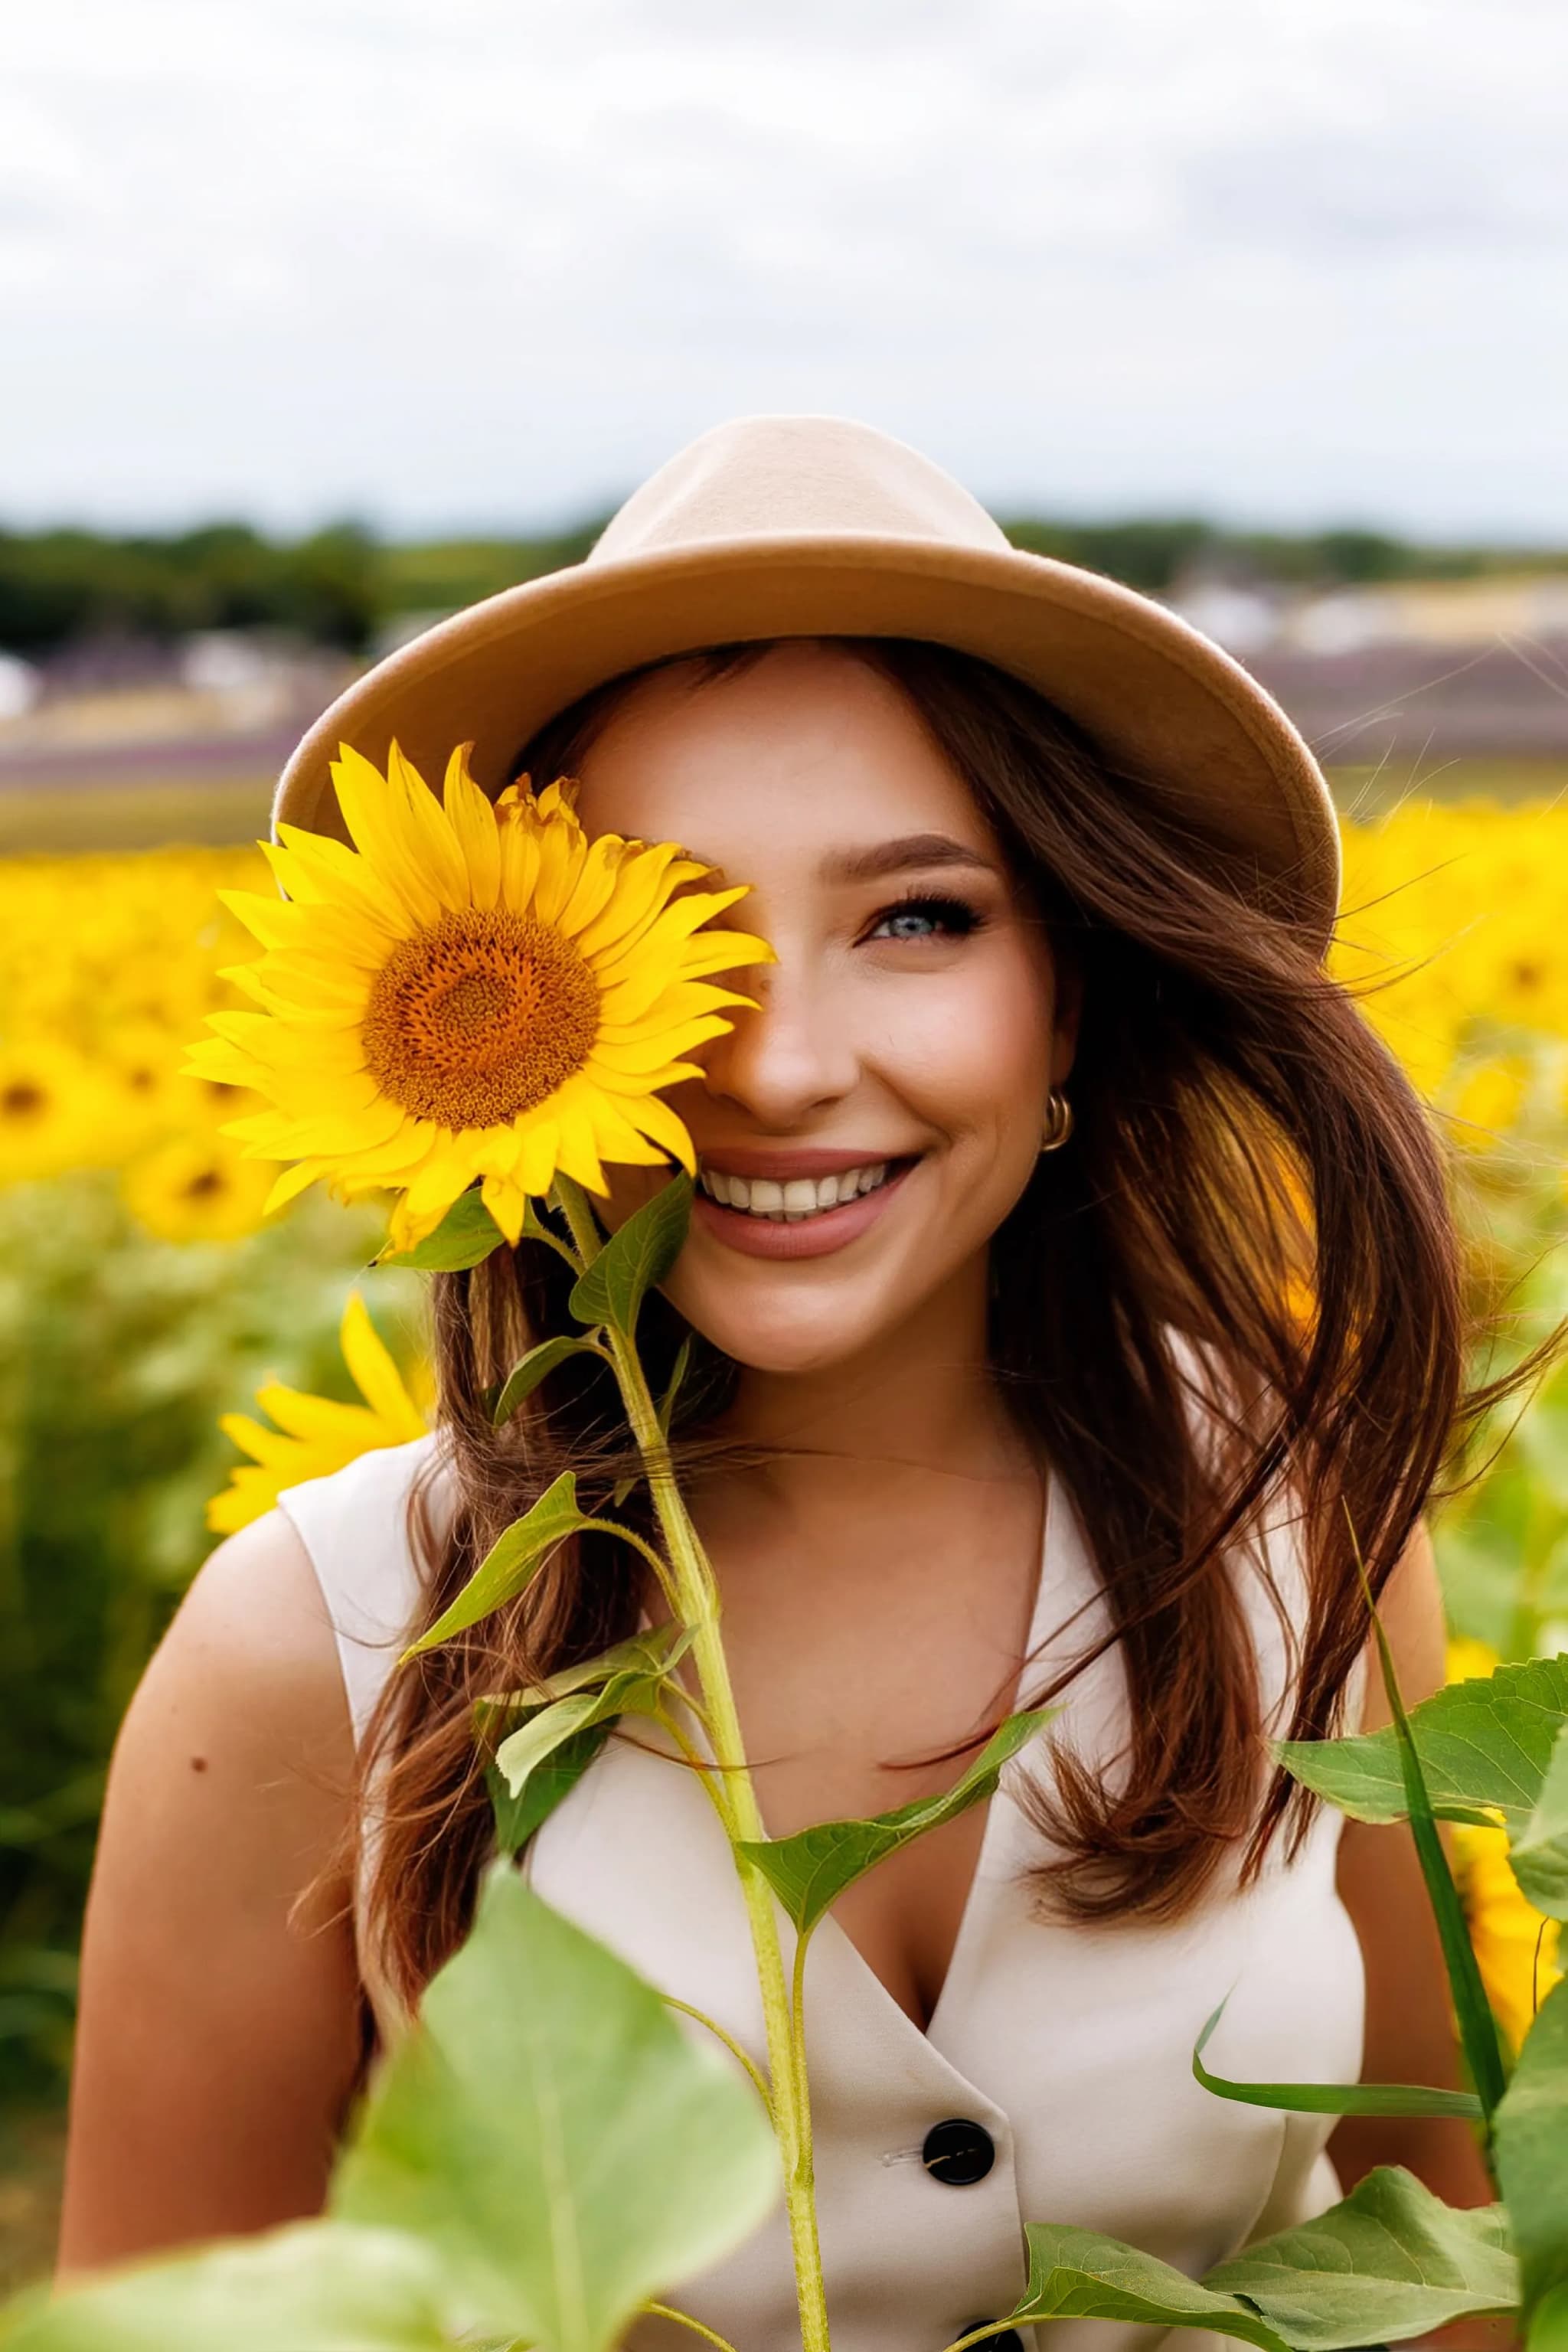
Expertly Retouched Photography for Every Occasion
Every portrait I deliver is carefully retouched using professional dodge-and-burn and skin-perfecting techniques — creating luminous, dimensional images that look natural, not over-processed. Your photos deserve the same attention to detail that goes into the world's best portrait and fashion photography.