Yana Skakun

How to Handle Harsh Summer Sun in Your Wedding Photos
By Yana Skakun·10 July 2026·8 min read
Every summer bride and groom in the UK asks some version of the same question once they see the forecast for their wedding day: what happens if it is bright and sunny with not a cloud in sight? It sounds like a strange thing to worry about — surely sunshine is the dream? — but harsh midday sun is one of the most technically demanding conditions a wedding photographer works in. Overhead light at one or two in the afternoon creates deep shadows under eyes and noses, squinting, blown-out highlights on white dresses, and a flatness in skin tone that no amount of editing fully repairs. The good news is that harsh sun is entirely manageable with the right planning, and some of the most striking wedding images I have taken have come from days with brilliant summer light handled correctly rather than fought against.
Why Midday Sun Is the Hardest Light to Work With
The physics of it are simple. When the sun sits high overhead, roughly between eleven in the morning and three in the afternoon through the British summer, light falls almost straight down. That creates hard-edged shadows directly beneath the brow, nose, and chin — the classic "raccoon eyes" look that makes even beautifully applied make-up look uneven in photographs. White and ivory dress fabric reflects an enormous amount of light back into the lens, which can blow out detail in the lace and beading that a bride has often spent months choosing. Meanwhile skin, especially under strong sun, develops harsh specular highlights on the forehead and nose that a camera sensor struggles to hold onto alongside the shadow detail elsewhere in the frame.
This is not a matter of camera skill alone. It is genuinely a different lighting problem to the soft, even light of an overcast day or the flattering low sun of early morning and early evening. A photographer who has not planned specifically for hard midday sun will produce images that look noticeably harsher than the same couple photographed an hour either side of it. That is why timing the day properly matters as much as any camera setting.
Build Shade Into the Timeline Before the Day Even Starts
The single most effective tool against harsh sun is not a camera trick at all — it is the wedding day timeline. When I work with couples on their schedule during planning, I look specifically at where the couple portraits and group photographs fall relative to solar noon. If a ceremony finishes at half past one on a clear June afternoon, that is exactly the window when the sun is at its most punishing, and I will actively steer portrait time either earlier, into a shaded pocket of the garden, or later, closer to the drinks reception when the light starts to soften.
For couples getting married in high summer, I often suggest a short deliberate gap in the timeline purely for a "golden hour" portrait session later in the evening, even if the couple has already had photographs taken earlier in the day. Slipping away from the reception for fifteen or twenty minutes as the sun drops gives a completely different, much more flattering set of images than anything taken at midday, and couples are consistently glad they built the time in. This kind of planning is something I talk through with every couple booking a full wedding day, and it is one of the reasons the initial consultation matters as much as the photography itself — you can read more about how I approach a full day's coverage on the weddings page.
Finding and Using Open Shade
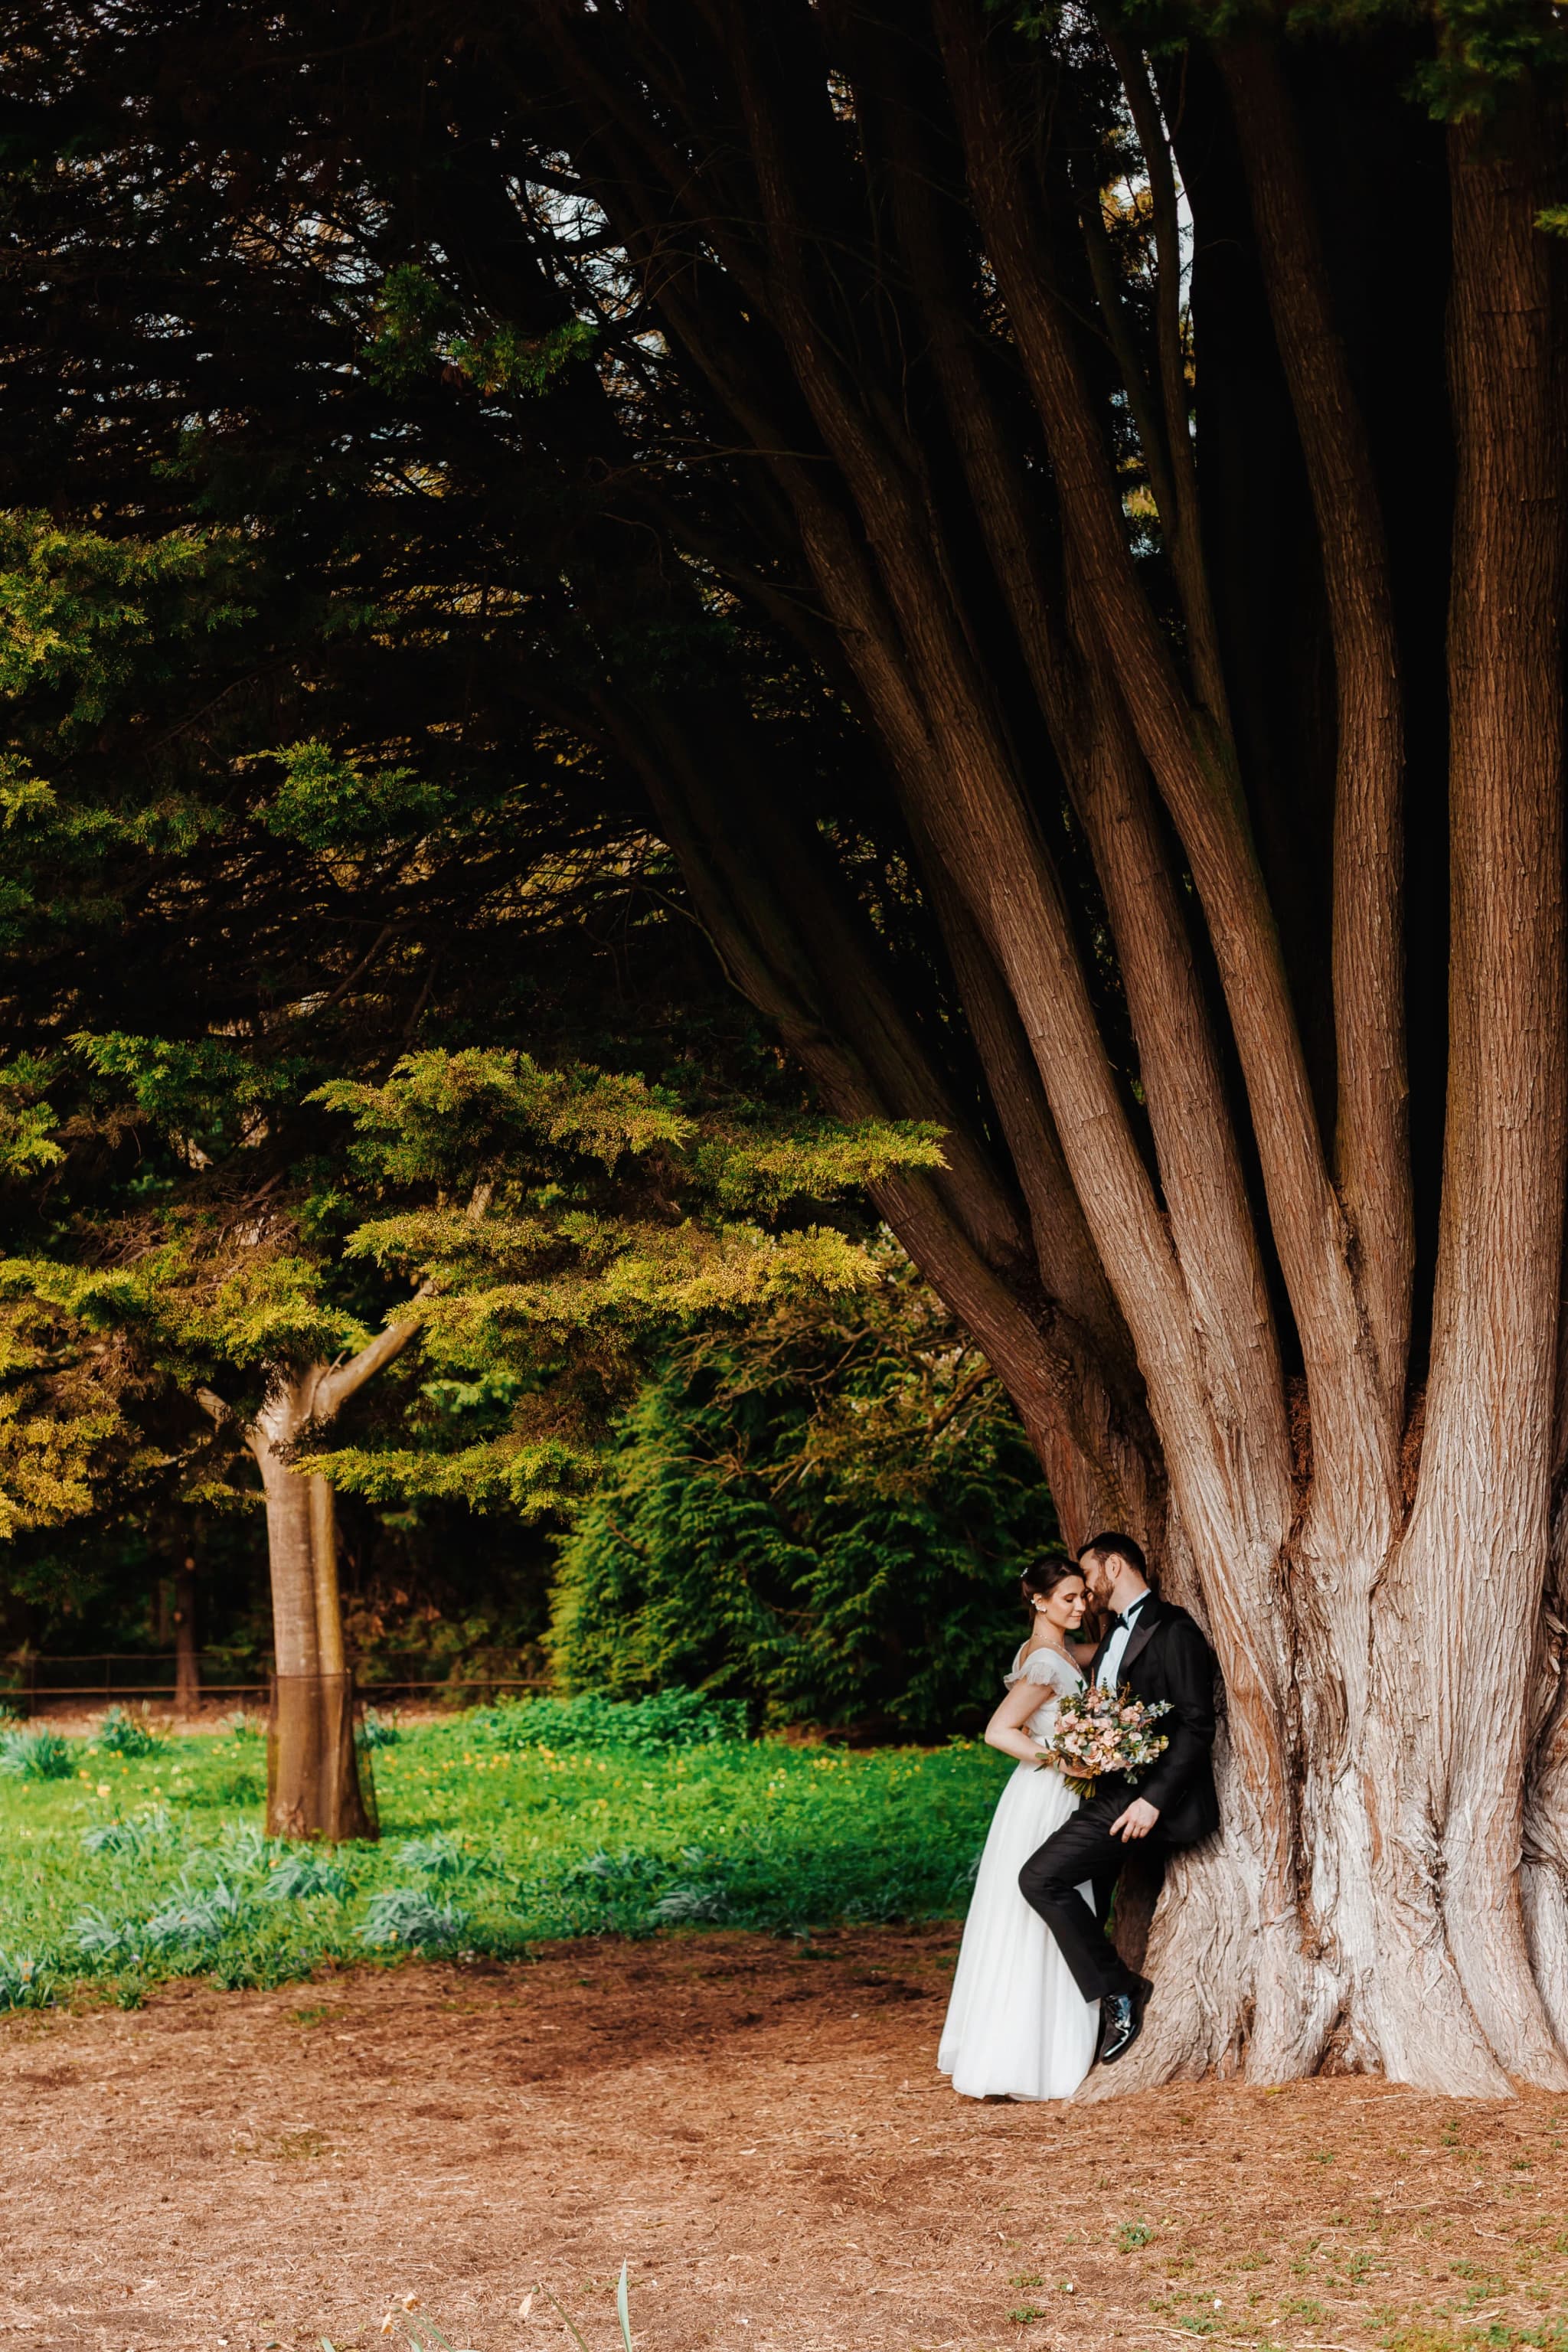
Open shade — the shadow cast by a building, a tree canopy, or an archway, where the subject is shaded but still facing an open sky rather than being boxed in by walls — is the working photographer's best friend on a bright day. It gives soft, even, wraparound light with none of the harsh shadow lines of direct sun, while still keeping enough ambient brightness in the eyes to avoid the flat, lifeless look you get from full deep shade under a dense tree.
Part of my job on the day is scouting these pockets of open shade in advance, whether that is the north side of a marquee, the shadow line of a church tower, or a line of mature trees at the edge of a walled garden. Venues with mixed architecture — a mix of open lawn and covered cloisters, for instance — give far more flexibility than a single exposed field. If you are still choosing a venue and want photographs that hold up regardless of what the weather does, it is worth asking prospective venues whether they have shaded areas near the main photo spots, and mentioning it to your photographer during planning.
Planning a summer wedding?
If your wedding date falls in the height of summer, I would genuinely welcome a conversation about your timeline before the day arrives. A short adjustment to when portraits happen can make a real difference to how the photographs feel, and it costs nothing to plan for in advance.
Get in touchBacklighting: Turning Harsh Sun Into an Asset
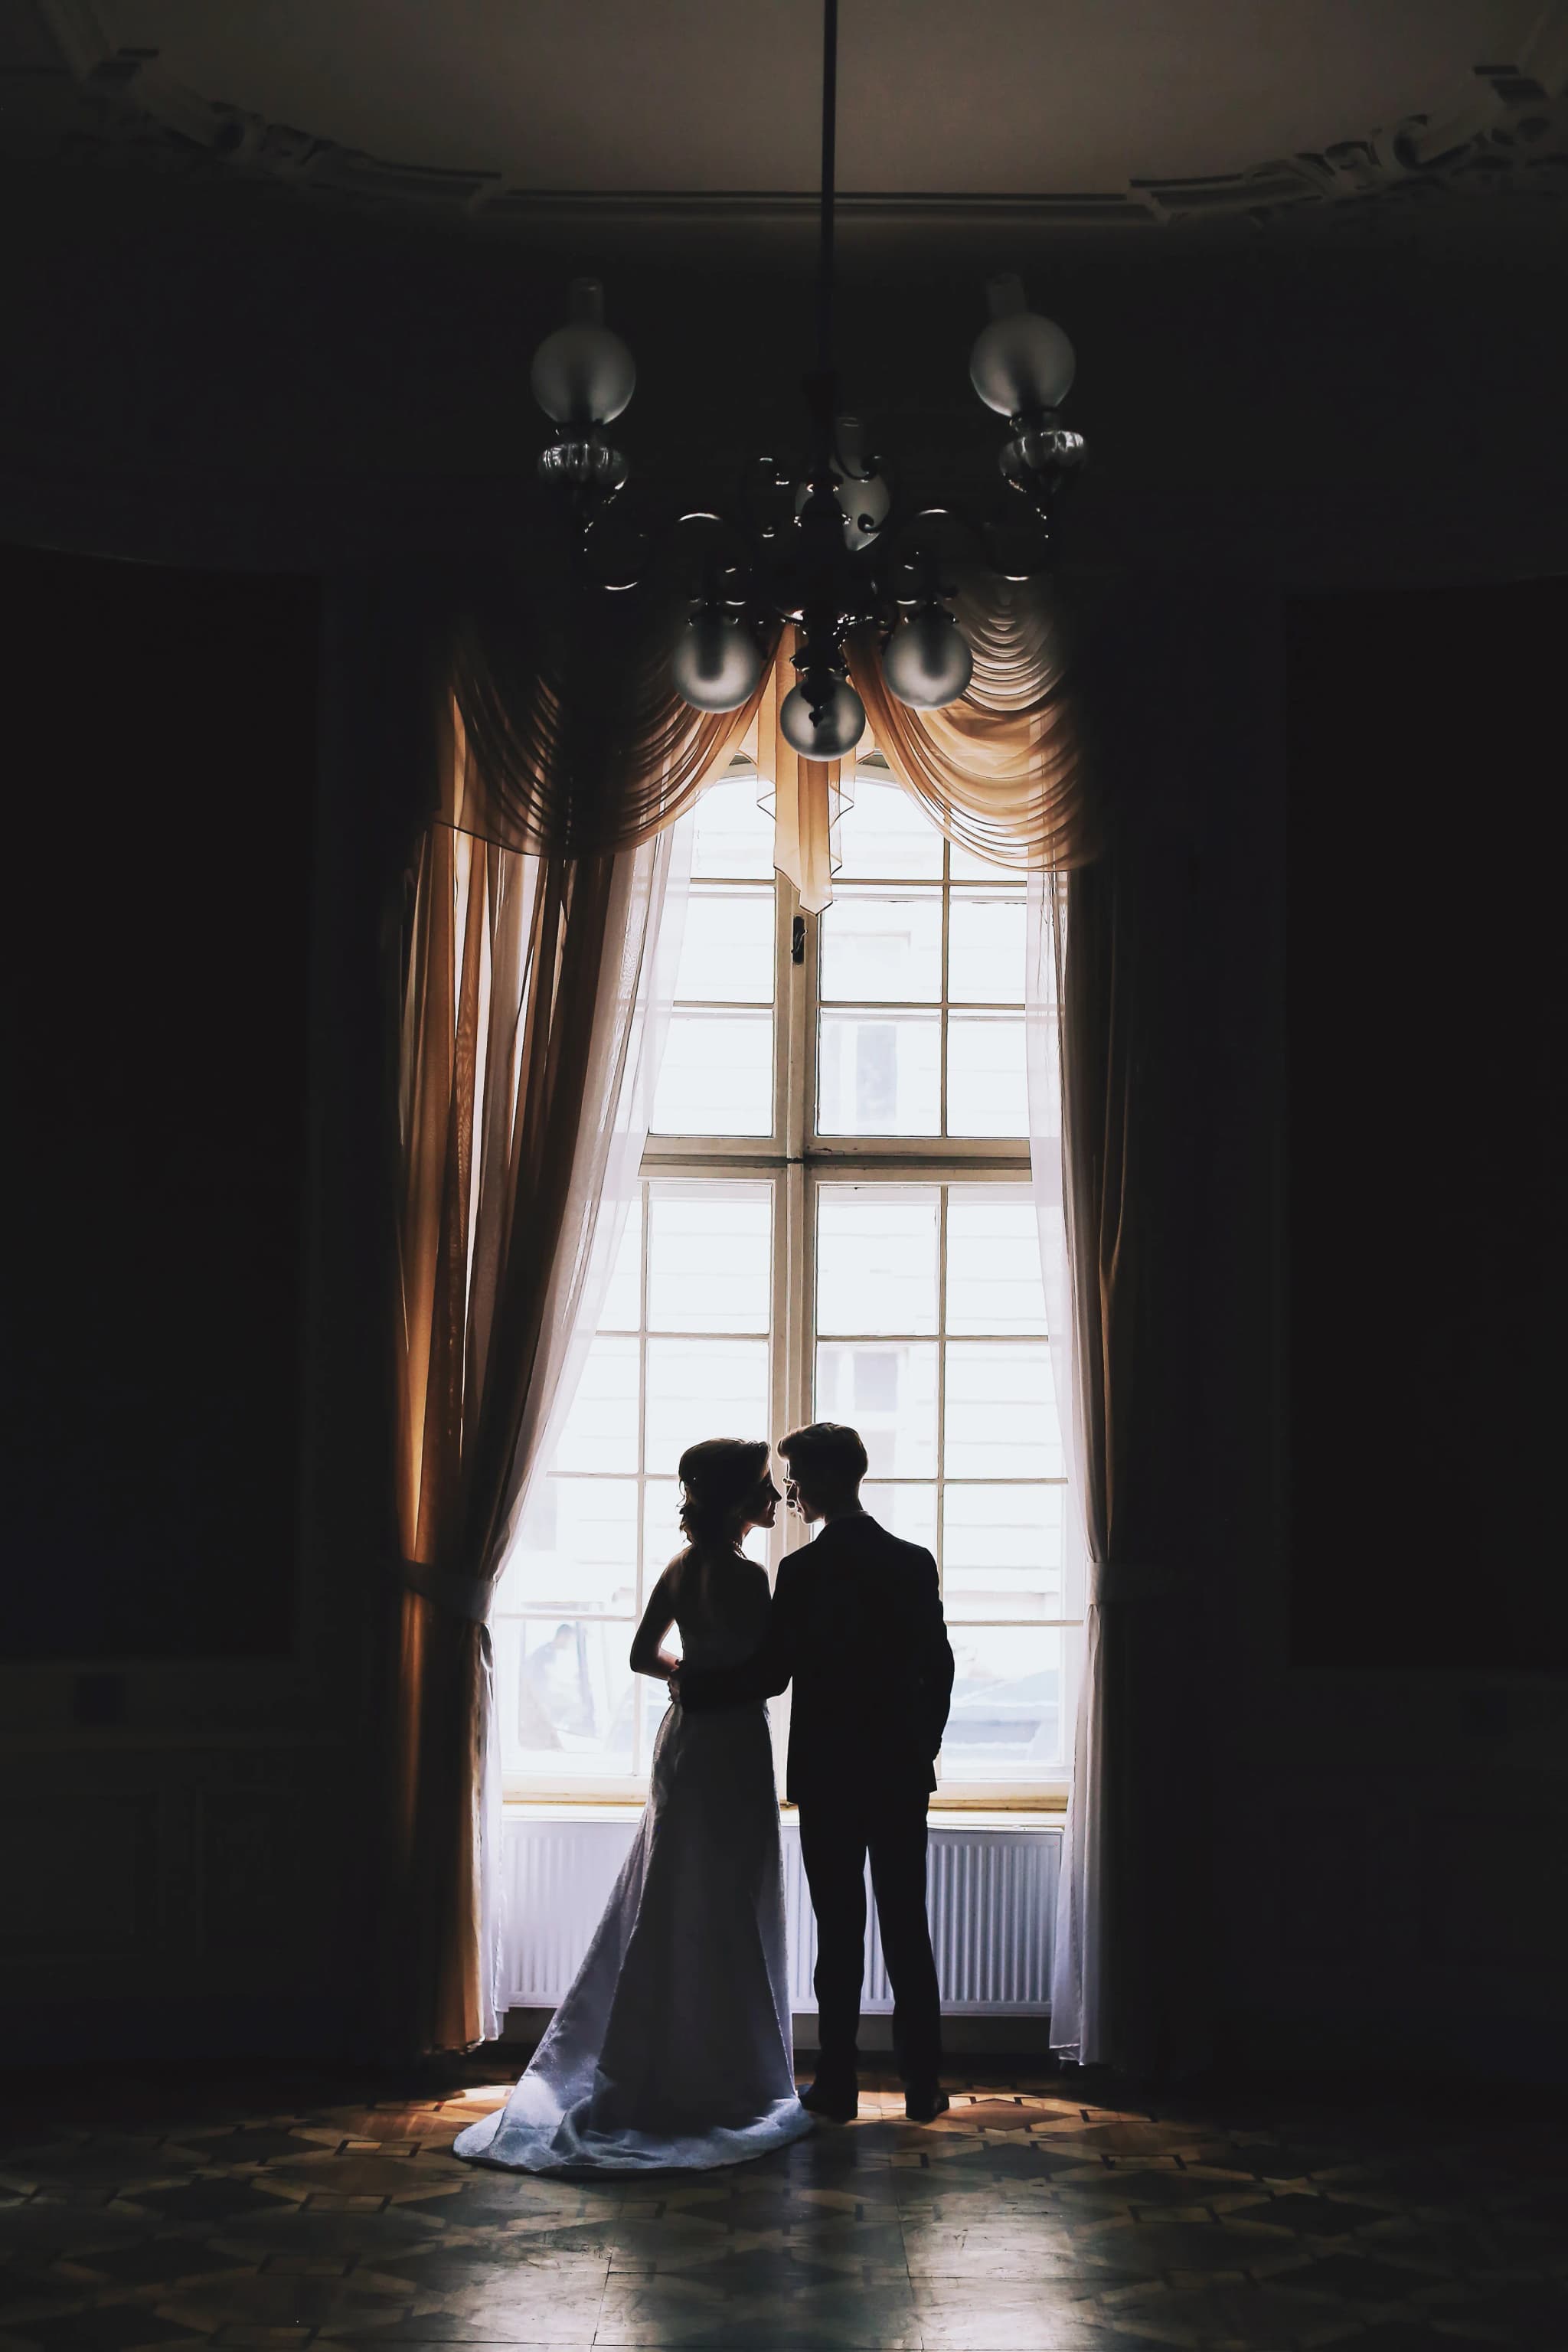
One of the most useful techniques for strong sun is to stop fighting it from the front and instead put it behind the couple. Positioning the sun directly behind the subjects, rather than in front of or to the side of them, removes the squinting and the harsh downward shadows entirely, and creates a bright rim of light around hair and shoulders that reads as warm and romantic rather than harsh. This is often called backlighting or shooting into the light, and it is one of the reasons some of my favourite images from bright summer days have the couple with their backs half-turned to the sun, silhouette-edged, rather than facing squarely into it.
The technical challenge with backlighting is exposure — metering for the couple's faces rather than the bright sky behind them, and sometimes adding a touch of fill light with a reflector or a flash to lift the shadow side of the face so it does not go too dark against the bright background. This is a technique that takes practice to get consistently right, but it turns the exact same conditions that would otherwise be a problem into some of the most atmospheric images of the day.
Practical Posing Adjustments for Bright Light
Posing changes quite a bit under strong sun. Facing a couple directly towards bright sky, even in shade, tends to make people squint and narrow their eyes even without direct sun on their face, so I usually angle bodies and faces slightly away from the brightest part of the sky. Tilting a bride's face very slightly downward rather than upward avoids catching hard shadow under the brow bone from an overhead sun, and it is a small adjustment that makes a noticeable difference in the final images.
For group photographs, which are harder to fine-tune individually, I prioritise finding a shaded or backlit spot over a sunlit one wherever the venue allows it, even if that means moving the group a short distance from where family members are already standing. A slightly less convenient location with even light will produce photographs the whole family is happy with for decades, which matters more than convenience in the moment. I also keep group shots efficient and well-organised specifically so people are not standing squinting in bright sun for longer than necessary — a rushed, uncomfortable group photo session is something I actively try to avoid regardless of the weather.
Camera Settings and Equipment That Help
On the technical side, a few things make a genuine difference in strong sun. Shooting in RAW rather than JPEG preserves far more highlight and shadow detail, giving much more room to recover blown-out white dress fabric or deep shadow on a dark suit during editing. A polarising filter can cut glare on skin, cars, water, and glossy surfaces, and it deepens blue sky in a way that adds real depth to outdoor portraits. Diffusers and small reflectors, which I carry as standard kit through the summer months, let me soften direct sun on a face or bounce light back into shadow areas without needing flash at all.
For couples marrying in very exposed locations with little natural shade — a beach, a hilltop, an open field — I sometimes bring a portable diffusion panel specifically to create shade on demand where none exists naturally. This matters most for couples choosing outdoor or elopement-style ceremonies with no building nearby to retreat to, which is something I plan for carefully with anyone booking an elopement photography day in open countryside.
What Couples Can Do Ahead of the Day
Beyond timeline planning, there are a few small things couples can do themselves. Setting expectations with the wedding party about a short window for portraits in decent light, rather than assuming photographs can happen "whenever there's a gap," helps enormously. Matte face powder for both the bride and groom, applied by a make-up artist who knows the wedding is outdoors in summer, reduces the shine that strong sun brings out and that flash or reflected light can otherwise exaggerate. And choosing a ceremony start time with photography in mind, even by half an hour, can shift the whole portrait window out of the harshest part of the day without changing anything else about the plan.
If sunglasses are part of the day — ushers, groomsmen, guests relaxing between the ceremony and reception — it is worth having a plan for the couple portraits and family formals specifically, since sunglasses in every image of a bright day can make a gallery feel repetitive rather than varied. A polite word from the couple or a bridesmaid asking people to put sunglasses away for ten minutes during the formal photographs goes a long way.
The Upside: Why Bright Summer Days Still Produce Beautiful Galleries
None of this is meant to suggest that a sunny wedding day is a problem to survive. Strong, reliable light gives crisp, vivid colour, blue skies that make garden and countryside venues look their absolute best, and enough brightness to shoot handheld at fast shutter speeds all day without ever worrying about motion blur on a first dance or confetti throw. The techniques above exist to manage the harshest hour or two, not to fight the whole day. Most UK summer weddings have long stretches of soft, workable light either side of the midday peak, and a well-planned timeline means the difficult window barely registers by the time the full gallery comes together.
Every gallery I deliver from a bright summer wedding includes both the punchy, saturated daylight images from the ceremony and reception, and the softer, warmer images from the early evening portrait session — and couples consistently tell me the variety is part of what they love about the finished set. If you would like to see how this plays out across a full wedding day, the galleries linked from the wedding photographer page show a range of weather and light conditions, and the wedding albums page has examples of how a mixed-light gallery comes together in print.
Harsh summer sun is one of the most common weather worries couples raise when they first get in touch, and it is genuinely one of the easiest things to plan around with the right experience behind the camera. If you have a summer date booked or are still deciding on a ceremony time and want advice on how the light will work for your particular venue, I am always happy to talk it through — you can see current availability and packages on the pricing page, or simply get in touch directly. Yana Skakun Photography has shot weddings through every kind of British summer weather, from grey drizzle to cloudless heatwaves, and a bright forecast is never a reason to worry about how your photographs will turn out.
Yana Skakun
Photographer · England
Professional wedding, family and portrait photographer based in England. Passionate about capturing authentic emotions and timeless moments.
About Yana →harsh sun wedding photographysummer wedding photography tipsoutdoor wedding lightingUK wedding photographerwedding timeline planningbacklighting wedding photos
Photography Tips — Professional Photography in Cambridge & England
Yana Skakun is a professional photographer based in Cambridge, specialising in wedding, family, and portrait photography across England. Every session is personal — planned around your story, your people, and the moments that matter most. This guide — How to Handle Harsh Summer Sun in Your Wedding Photos — is part of the photography journal: practical, experience-based advice drawn from real sessions across England. Whether you arrived searching for harsh sun wedding photography or summer wedding photography tips, the same care and attention shapes every session Yana photographs.
Professional Photography sessions are available year-round, with bookings open across Cambridge, Ely, Huntingdon, Peterborough, and further afield — East England, London, the Midlands, and beyond. If you have specific questions about outdoor wedding lighting, mention it in your enquiry. Get in touch through the contact form above to check availability and discuss your session. Enquiries are welcomed from anywhere in the UK.
Frequently Asked Questions
What camera settings should I use for outdoor portraits?+
For outdoor portraits, shoot in aperture priority mode. Use a wide aperture (f/1.8–f/2.8) to blur the background and isolate your subject. Keep ISO as low as possible in good light. In bright conditions, use a neutral density filter or switch to manual to avoid overexposure at wide apertures.
What is the golden hour in photography?+
Golden hour is the period roughly 30–60 minutes after sunrise and before sunset. The sun is low in the sky, producing warm, soft, directional light that flatters skin tones and creates beautiful long shadows. It's widely considered the best natural light for portrait and outdoor photography.
How do you get sharp photos in low light?+
In low light, increase your ISO (accepting some grain), use the widest aperture your lens allows, and slow your shutter speed to the slowest you can hand-hold without camera shake (roughly 1/focal length as a guide). Use image stabilisation if available, and consider a tripod for static subjects.
What is the rule of thirds in photography?+
The rule of thirds divides the frame into a 3×3 grid. Placing your subject on one of the four intersection points — rather than dead centre — creates a more dynamic, visually interesting composition. It's a guideline, not a rule: some of the most powerful images break it deliberately.
How do you edit photos to look professional?+
Professional editing starts with shooting in RAW format. In Lightroom or similar software, correct exposure, white balance, and contrast first. Recover shadow and highlight detail. Apply gentle colour grading for mood. Be conservative with skin retouching — the goal is natural enhancement, not transformation. Consistency across a set of images is what separates professional from amateur editing.
Continue Reading
Related Articles

Photography Tips
Photography Gift Vouchers: The Most Personal Present You Can Give
5 min read · Read Article
Photography Tips
Photo Books vs Photo Albums: What Is the Difference and Which Is Better?
5 min read · Read Article
Photography Tips
Photo Gift Ideas: Turning Professional Images into Meaningful Presents
5 min read · Read Article
Get in Touch
Ready to Book Your Session?
Get in touch to discuss your vision — I'll reply within 24 hours.