Yana Skakun

Night Wedding Photography: Flash, Sparklers, and Creative Lighting
By Yana Skakun·10 July 2026·8 min read
There is a moment at almost every wedding I photograph when the sun finally drops below the horizon, the fairy lights come on, and the room or the field or the marquee changes character entirely. Guests relax, the dancing starts, and the light stops behaving the way it did all afternoon. Night wedding photography is its own discipline within wedding photography — it asks for different equipment, different technique, and a different way of thinking about a scene — and it is often the part of the day that produces the images couples remember most vividly. This is a practical guide to how flash, ambient light, and creative techniques like sparkler exits actually work, written from years of doing this at UK weddings where the light is rarely predictable and the evening often arrives faster than anyone expects.
Why Night Photography Is a Different Skill, Not Just a Darker Version of Daytime
Daytime wedding photography is fundamentally about managing and shaping light that already exists in abundance — finding open shade, positioning people relative to the sun, softening harsh midday contrast. Night photography inverts that problem entirely. There is very little usable ambient light, and what light does exist is often mixed — warm tungsten uplighting from a marquee, cool white fairy lights, the orange glow of a bar, a spotlight from the DJ booth, all in the same frame, all with different colour temperatures. Getting a photograph that looks natural and flattering in that environment requires actively adding light back into the scene in a controlled way, almost always with flash, while still preserving the atmosphere that made the room feel special in the first place.
The skill is in the balance. A flash photograph that is too aggressive kills the ambience completely — the background goes black, the fairy lights disappear, and the couple looks like they have been lit with a torch in a dark room. A flash photograph that is too weak leaves everything grainy, blurred by camera shake or subject movement, and generally disappointing. The technique that produces images people actually love sits in the middle: enough flash to freeze motion and light faces properly, balanced against a slower shutter speed that still lets the ambient lighting of the room register in the frame.
Off-Camera Flash Versus On-Camera Flash
On-camera flash, fired directly from the top of the camera or bounced off a nearby ceiling, is the tool most people associate with flash photography, and it has a place at weddings — it is fast, reliable, and works when you need to move quickly through a busy dance floor without setting anything up. But direct on-camera flash has a recognisable look: flat lighting, harsh shadows directly behind the subject, and a slightly clinical feel that does not always suit a wedding's romantic tone.
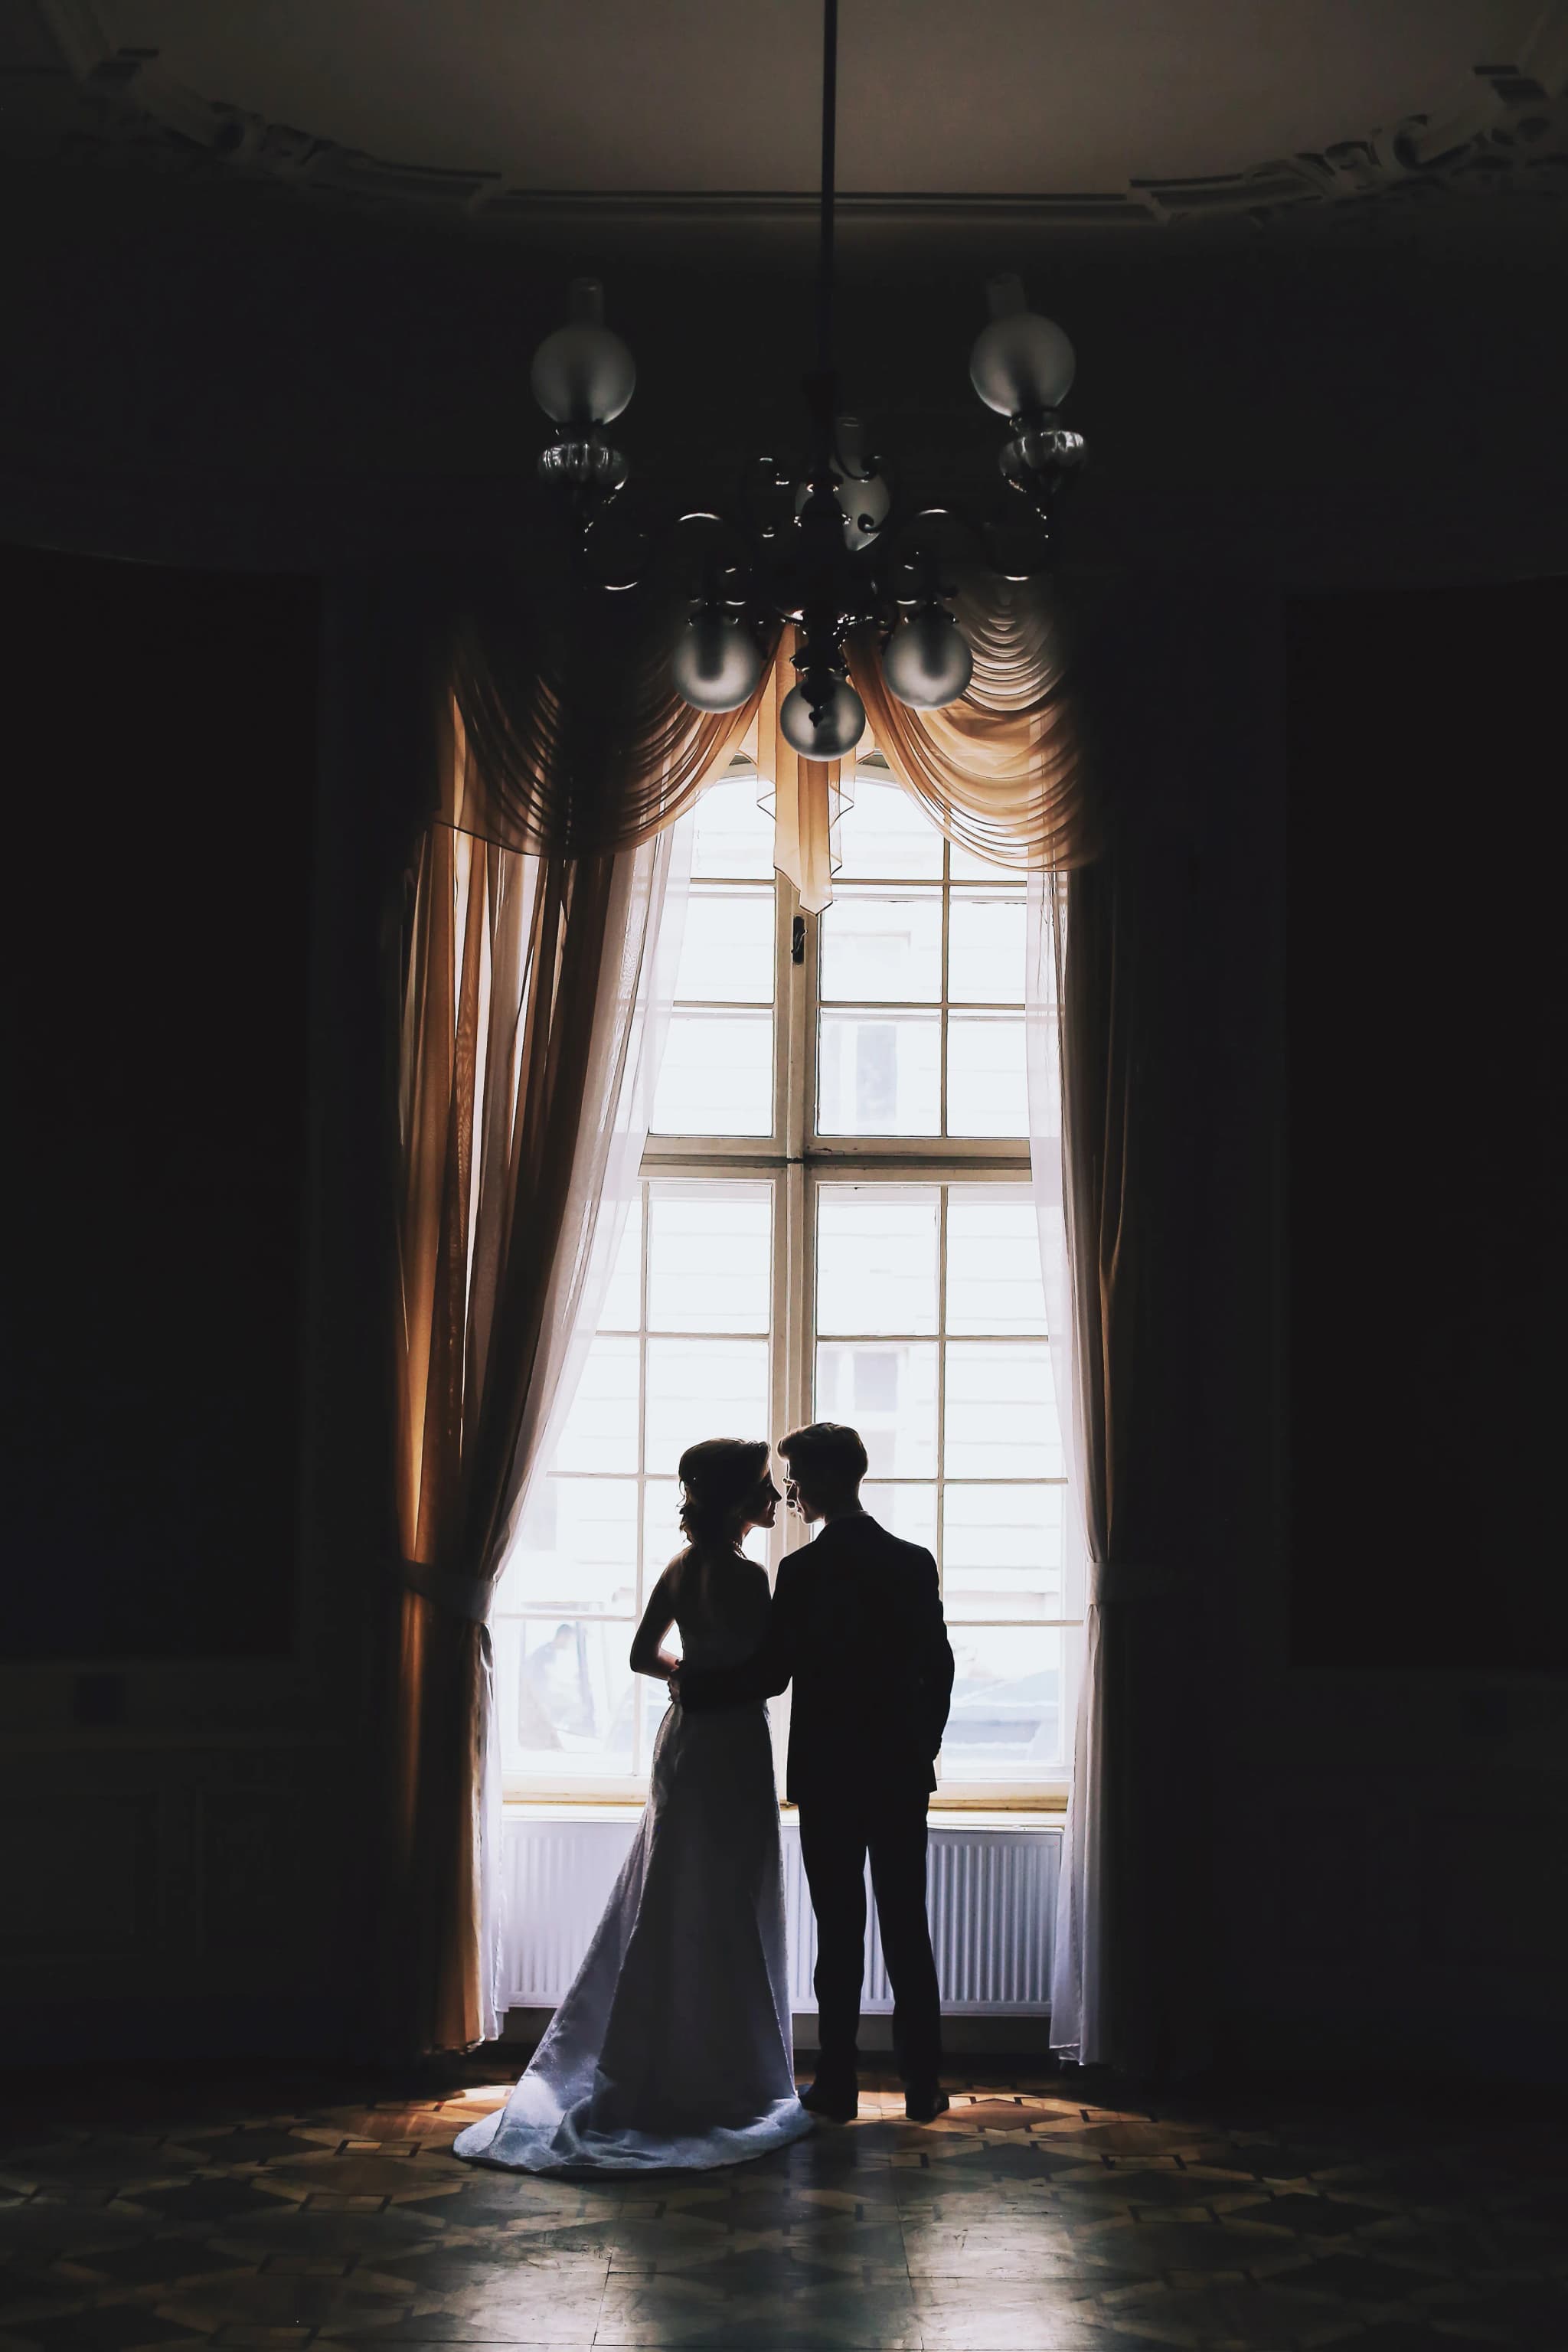
Off-camera flash, where one or more lights are positioned away from the camera on stands or held by an assistant, changes the character of the image completely. Light coming from the side or slightly above creates shape and dimension on a face rather than flattening it. Backlighting a couple during a first dance with one flash while a second, softer flash fills in from the front creates the kind of dramatic, editorial-looking image that has become one of the defining looks of modern wedding photography. I use off-camera flash extensively during evening receptions, particularly for the first dance and for portraits taken outside once darkness has fallen, because the control it gives over shadow and highlight is simply not available with a single on-camera unit.
The trade-off is speed and complexity. Off-camera flash requires positioning, sometimes a second person to hold or adjust a light, and constant awareness of where that light is relative to where the couple or guests are moving. It is not something to attempt for the first time on someone's wedding day — it needs to be second nature before it gets used live, because a wedding reception does not pause for a photographer to fix a lighting setup.
Balancing Flash with Ambient Light: The Technical Core of It
The technique that separates competent night wedding photography from flat, snapshot-style flash photography comes down to slow-sync flash and deliberate shutter speed choices. A typical daytime photograph might use a shutter speed of 1/250th of a second or faster. At night, dropping the shutter speed to something like 1/30th or even slower — while the flash fires briefly to freeze the main subject — allows the camera's sensor time to also gather in the warm glow of festoon lighting, candles, or a sunset that is still fading on the horizon behind the marquee.
This does introduce a risk: anything moving during that slower shutter window, other than the instant the flash fires, can register as blur or a ghosting trail. Used intentionally, that blur becomes part of the image — a swirl of movement around a couple dancing, string lights trailing slightly, a sense of motion and energy that a frozen, purely flash-lit image cannot convey. Used accidentally, it just looks like a mistake. Learning to predict which is which, and to choose shutter speed deliberately rather than defaulting to whatever the camera suggests, is really the whole craft of it.
White balance matters more at night than at almost any other point in a wedding day. Mixed lighting sources with different colour temperatures in the same frame — tungsten uplighters, LED fairy lights, a flash set to daylight balance, the last blue light of dusk outside a window — can produce colour casts that look wrong if not corrected, either in camera with gels on the flash to match the ambient colour, or carefully in post-processing afterwards. Gelling a flash to match warm tungsten venue lighting, for example, means the flash-lit subject and the ambient-lit background sit in the same colour world rather than looking like two different photographs stitched together.
Planning an evening full of light
If your venue has a particular evening feature in mind — a marquee with festoon lighting, a courtyard for a sparkler exit, a first dance under a low, dim chandelier — it genuinely helps to talk it through in advance. Knowing the space and the likely lighting conditions ahead of the day means arriving with the right equipment already planned rather than improvising on the night. I cover this kind of planning as part of every wedding I book.
Get in touchSparkler Exits: What Actually Makes Them Work
Sparkler exits have become one of the most requested end-of-night shots in UK weddings, and when they are planned properly they produce some of the most striking images of the whole day. When they are not planned properly, they produce a handful of guests holding dim, quickly-extinguished sparklers in a photograph that looks nothing like the glowing tunnel couples picture in their heads. The difference is almost entirely down to preparation rather than photographic skill.
The single most important factor is sparkler length. Standard 10cm sparklers bought from a supermarket burn out in around thirty seconds — nowhere near enough time to get everyone lit, positioned, and walking through before the first ones go dark. I always recommend the 36cm “wedding sparklers” sold specifically for this purpose, which burn for closer to four minutes. That extra time transforms the whole exercise from a rushed scramble into something that can actually be directed calmly, with time to light everyone's sparkler from a lighting station using a lit sparkler or a long lighter rather than a match, which struggles in any wind at all.
Positioning guests in two facing lines with a clear central aisle, briefed in advance about holding sparklers up and out rather than down at their sides, makes an enormous difference to the final image. I also ask a couple of ushers or the best man to help herd guests into position quickly, because coordinating twenty or thirty people who have been drinking and socialising all evening takes more organisation than most couples expect. Doing a practice run-through earlier in the evening, even without lighting the sparklers, saves a huge amount of time once it actually gets dark and the moment needs to happen quickly.
Wind and rain are the two things that can end a sparkler exit before it starts. A courtyard or a spot with some shelter from surrounding buildings or hedging works far better than an exposed field. I always have a backup plan discussed with the couple in advance — moving the exit to a more sheltered spot on the property, or, if the weather genuinely will not cooperate, an alternative like an indoor confetti moment or a simple, well-lit exit under the marquee lighting instead.
Other Creative Lighting Moments Worth Planning For
Sparklers are the best-known evening lighting moment, but they are far from the only one worth thinking about. Cold spark fountains — the pyrotechnic-style machines that produce a shower of sparks without heat or flame — have become popular for a dramatic first dance moment and are often permitted at venues that will not allow open flame or confetti. They require licensed operators in most cases and specific clearance from the venue, so this is very much something to arrange months ahead rather than the week of the wedding.
Fairy lights and festoon lighting strung across a marquee ceiling or through trees in a garden create some of the most reliably beautiful backdrops for portraits taken once the sun is down. Positioning a couple so those lights sit softly out of focus behind them, using a wide aperture, produces the warm, glowing bokeh that has become a signature look of evening wedding portraits. This works particularly well for couples who want a quieter, more intimate set of images away from the reception, similar in feeling to the kind of relaxed, unposed portraits I aim for during an elopement or small ceremony, just relocated to the evening hours of a larger wedding.
Sky lanterns are worth mentioning specifically because many UK venues and local authorities now restrict or ban them entirely due to fire risk to livestock and thatched buildings, and they carry real environmental concerns. If a couple is considering them, checking with the venue directly and considering a genuinely safer alternative, such as a sparkler exit or a cold spark send-off, is worth doing early in the planning process rather than discovering a ban on the day itself.
Equipment Considerations for Photographers and What It Means for Couples
From a purely practical standpoint, night wedding photography demands more equipment than daytime coverage: multiple flashes with fresh batteries, radio triggers, occasionally light stands, and lenses that perform well at wider apertures in low light. None of this is something a couple needs to think about directly, but it does explain why a photographer who is confident and experienced shooting into the evening will often ask more questions about the venue's evening lighting plan, the timing of the first dance, and whether a sparkler exit or similar moment is planned, well before the wedding day itself.
It also explains why evening coverage is worth discussing clearly when booking, since the hours after dark genuinely require a different approach than the ceremony or the drinks reception. Details on how coverage hours and evening moments fit into a package are covered on the pricing page, and it is always worth raising specific evening plans — a sparkler exit, a particular first dance song, an outdoor fire pit moment — directly during initial conversations so they can be properly planned for rather than handled reactively on the night.
Making the Most of Golden Hour Before the Lights Come On
Before night photography even begins, the transition period around sunset — often called golden hour, and the deeper blue period that follows it — offers some of the best light of the entire day, and it is worth protecting time for it in the schedule. A short window, sometimes as little as fifteen minutes, taken away from the reception for portraits during this transition produces images with a completely different character to anything shot indoors under artificial light: warm, soft, often with a dramatic sky as a backdrop.
I always try to build this into the day's timeline in advance rather than hoping it happens organically, because once a reception is in full swing, pulling a couple away for even ten minutes becomes harder and the light window closes regardless of whether anyone is ready. Couples planning their day can find general guidance on structuring timings, including protecting this kind of light, on the wedding photography pages, and it is a conversation worth having early with whoever is coordinating the day's running order.
What to Discuss with Your Photographer Beforehand
A short list worth raising in early conversations with any photographer covering your wedding into the evening: whether a sparkler exit or similar moment is planned and roughly what time it will happen; whether the venue allows open flame, cold sparks, or has any restrictions worth knowing in advance; what the evening lighting inside the venue actually looks like, since photographers benefit enormously from seeing photos of the space lit up at night rather than only in daylight; and whether there is a backup plan if weather interferes with an outdoor evening moment.
These evening images often end up being some of the most treasured from the whole wedding, precisely because they capture a different mood — looser, warmer, more celebratory — than the more composed portraits earlier in the day. They also tend to be strong choices for the closing pages of a printed wedding album, giving the story of the day a natural, glowing conclusion rather than ending abruptly at the last formal portrait.
Night wedding photography rewards preparation more than almost any other part of the day. The couples who get the sparkler exit they pictured, the glowing dance floor portraits, and the warm, atmospheric images of a marquee lit up after dark are, in my experience, almost always the ones who talked through the evening plan properly beforehand rather than leaving it to chance. If you are planning a wedding and want to talk through how the evening hours will be covered, sparklers included, get in touch — I am always happy to talk through timings and lighting plans as part of booking with Yana Skakun Photography.
Yana Skakun
Photographer · England
Professional wedding, family and portrait photographer based in England. Passionate about capturing authentic emotions and timeless moments.
About Yana →night wedding photographysparkler exitoff-camera flash weddingsevening wedding photographerwedding lighting tipsUK wedding photography
Photography Tips — Professional Photography in Cambridge & England
Yana Skakun is a professional photographer based in Cambridge, specialising in wedding, family, and portrait photography across England. Every session is personal — planned around your story, your people, and the moments that matter most. This guide — Night Wedding Photography: Flash, Sparklers, and Creative Lighting — is part of the photography journal: practical, experience-based advice drawn from real sessions across England. Whether you arrived searching for night wedding photography or sparkler exit, the same care and attention shapes every session Yana photographs.
Professional Photography sessions are available year-round, with bookings open across Cambridge, Ely, Huntingdon, Peterborough, and further afield — East England, London, the Midlands, and beyond. If you have specific questions about off-camera flash weddings, mention it in your enquiry. Get in touch through the contact form above to check availability and discuss your session. Enquiries are welcomed from anywhere in the UK.
Frequently Asked Questions
What camera settings should I use for outdoor portraits?+
For outdoor portraits, shoot in aperture priority mode. Use a wide aperture (f/1.8–f/2.8) to blur the background and isolate your subject. Keep ISO as low as possible in good light. In bright conditions, use a neutral density filter or switch to manual to avoid overexposure at wide apertures.
What is the golden hour in photography?+
Golden hour is the period roughly 30–60 minutes after sunrise and before sunset. The sun is low in the sky, producing warm, soft, directional light that flatters skin tones and creates beautiful long shadows. It's widely considered the best natural light for portrait and outdoor photography.
How do you get sharp photos in low light?+
In low light, increase your ISO (accepting some grain), use the widest aperture your lens allows, and slow your shutter speed to the slowest you can hand-hold without camera shake (roughly 1/focal length as a guide). Use image stabilisation if available, and consider a tripod for static subjects.
What is the rule of thirds in photography?+
The rule of thirds divides the frame into a 3×3 grid. Placing your subject on one of the four intersection points — rather than dead centre — creates a more dynamic, visually interesting composition. It's a guideline, not a rule: some of the most powerful images break it deliberately.
How do you edit photos to look professional?+
Professional editing starts with shooting in RAW format. In Lightroom or similar software, correct exposure, white balance, and contrast first. Recover shadow and highlight detail. Apply gentle colour grading for mood. Be conservative with skin retouching — the goal is natural enhancement, not transformation. Consistency across a set of images is what separates professional from amateur editing.
Continue Reading
Related Articles

Photography Tips
Photography Gift Vouchers: The Most Personal Present You Can Give
5 min read · Read Article
Photography Tips
Photo Books vs Photo Albums: What Is the Difference and Which Is Better?
5 min read · Read Article
Photography Tips
Photo Gift Ideas: Turning Professional Images into Meaningful Presents
5 min read · Read Article
Get in Touch
Ready to Book Your Session?
Get in touch to discuss your vision — I'll reply within 24 hours.