Yana Skakun
The complete corporate headshot guide: What to expect and how to prepare
By Yana Skakun·8 December 2026·7 min read
A good headshot does a strange amount of work for a single still image. Before anyone reads a word of your bio, looks at your job title, or scrolls through your LinkedIn history, they have already formed an impression from your photograph — approachable or guarded, current or dated, someone they might enjoy working with or someone purely functional. Corporate headshots matter far more than the ten minutes most people spend thinking about them would suggest, and getting them right is a genuinely worthwhile investment of time.
What Makes a Headshot Actually Good
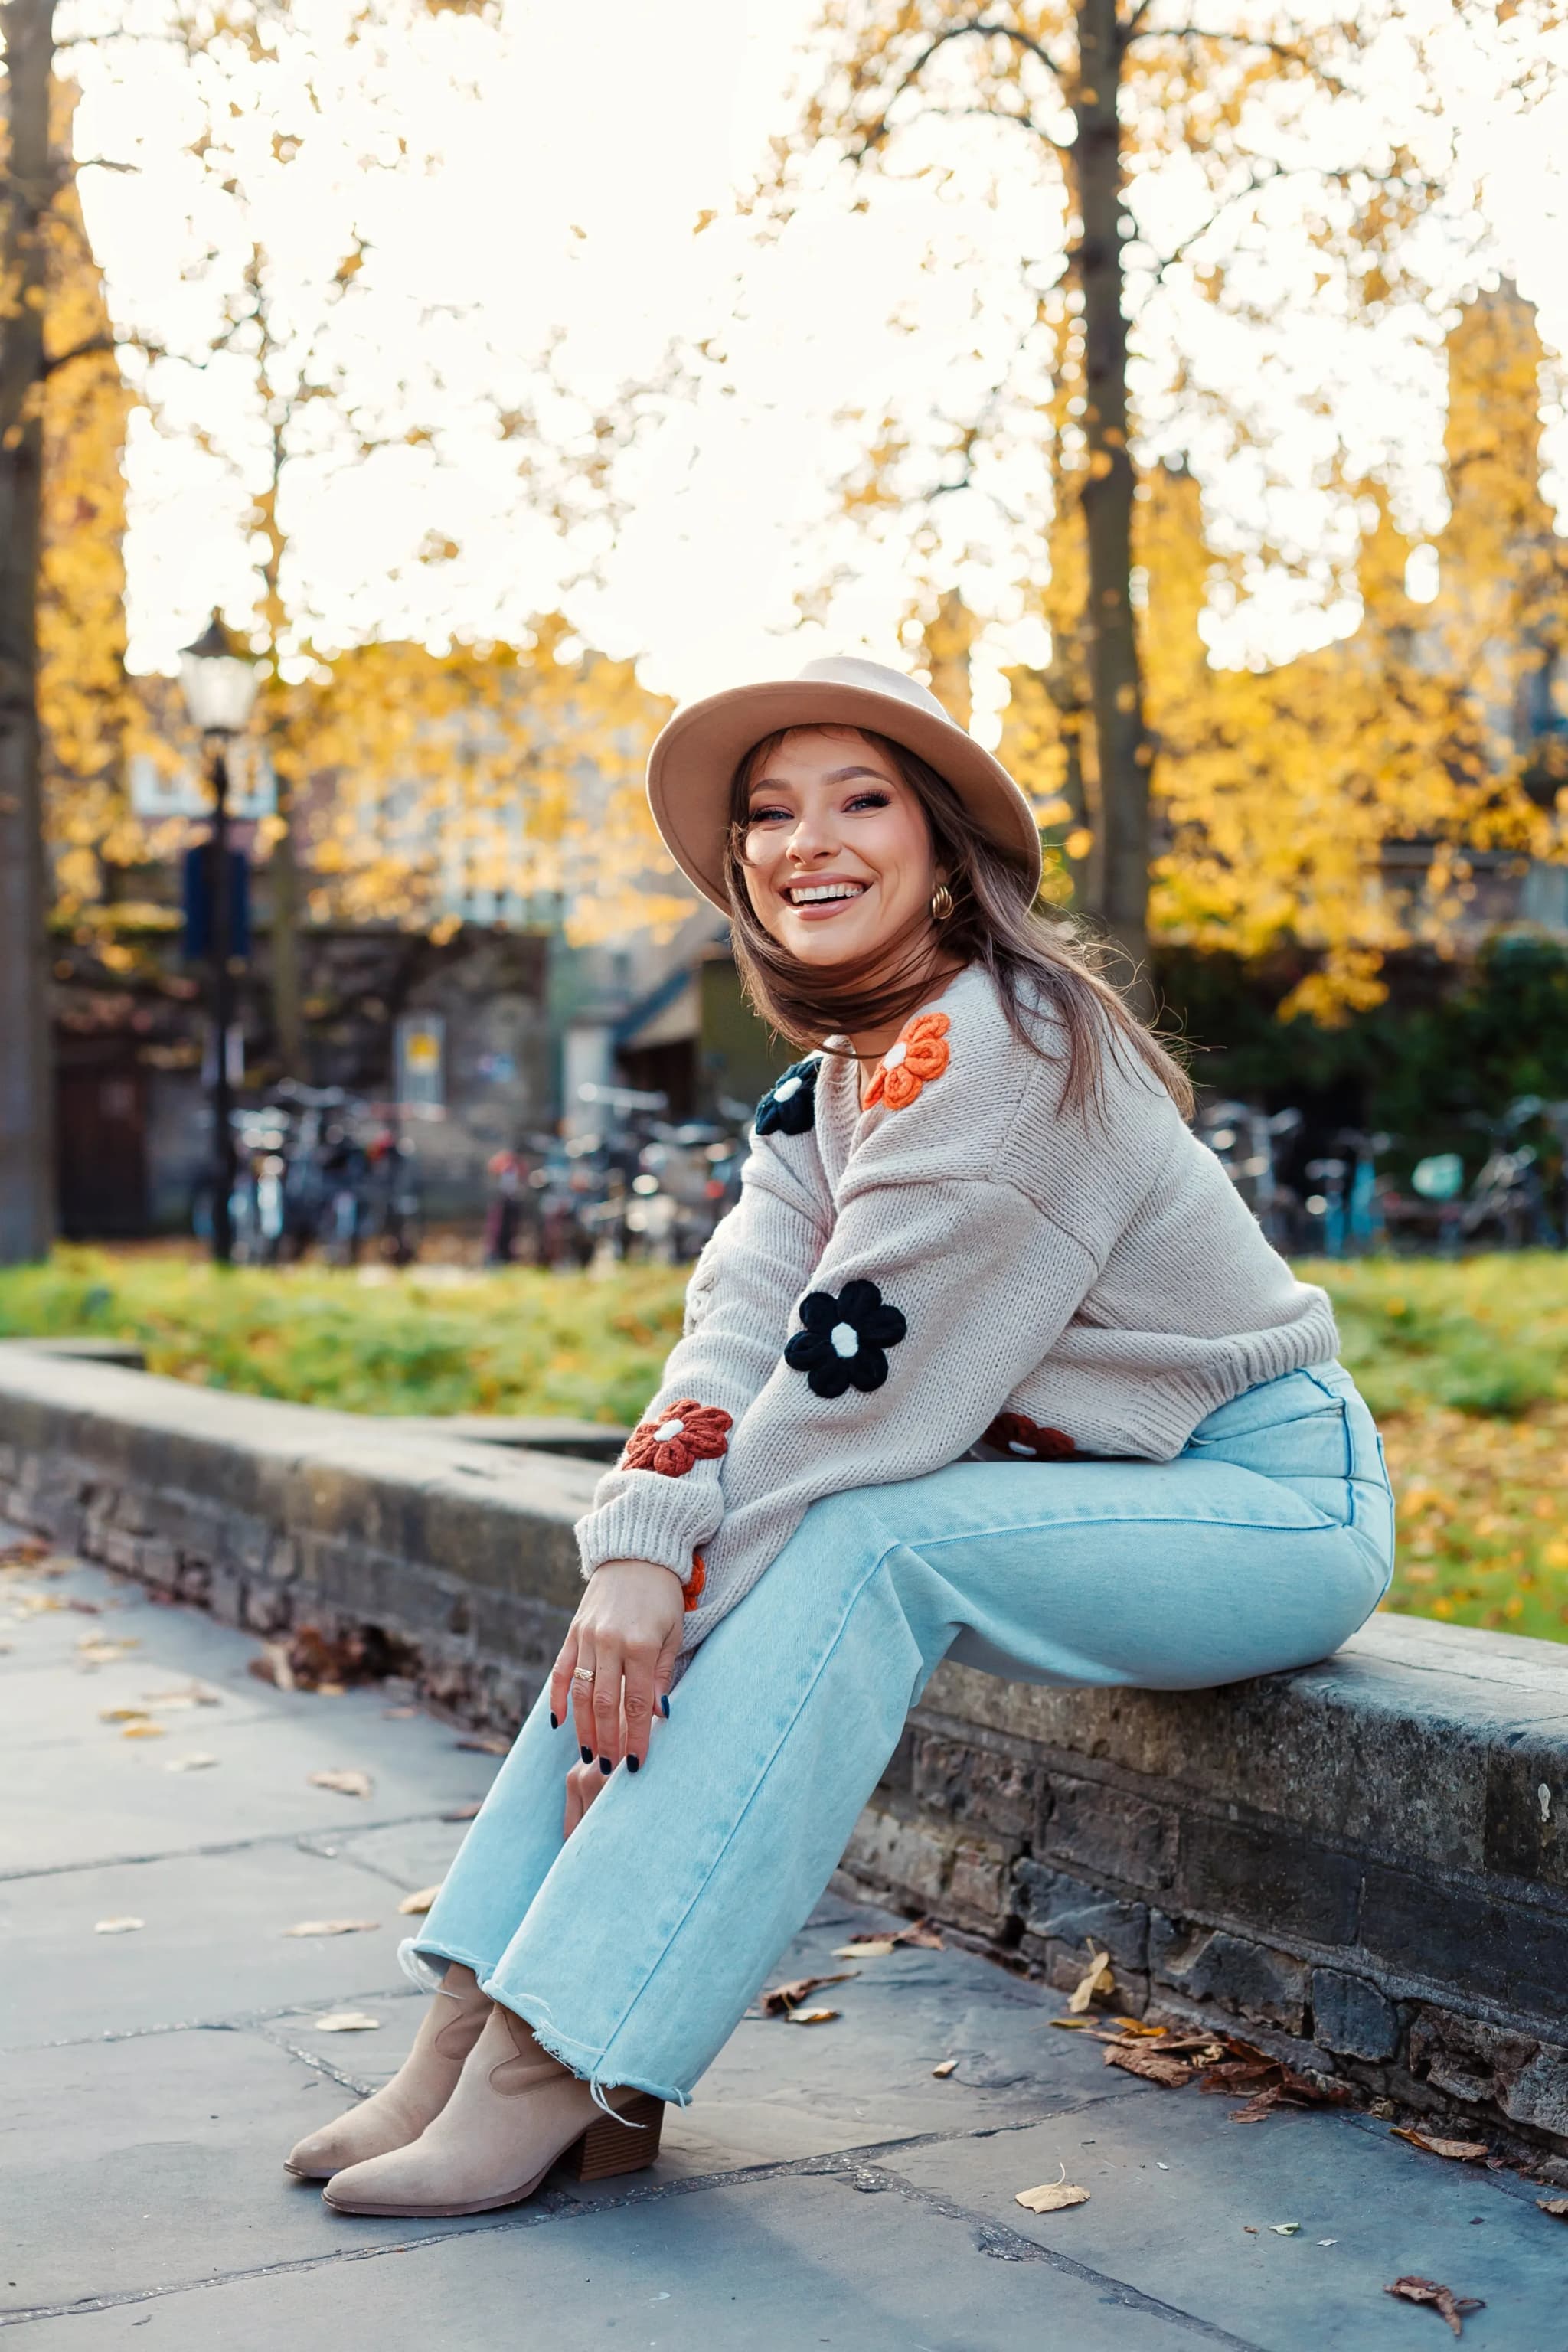
The technical basics — sharp focus on the eyes, clean background, correct exposure — are the minimum bar, not the goal. What separates a headshot that genuinely works from one that merely exists is expression. A headshot where someone looks like they are mid-conversation, about to speak, or has just heard something mildly amusing, reads as far more approachable and trustworthy than one where the subject has been told to "look professional" and has responded with a fixed, slightly tense smile. People respond to other people, not to poses, and the best corporate headshots capture something that still feels like a real expression rather than a held one.
This is harder to achieve than it sounds, because very few people find being photographed comfortable, and a camera pointed directly at someone's face tends to produce exactly the self-conscious stiffness you are trying to avoid. Getting past that requires actual conversation during the session — talking to someone about something unrelated to the photograph, asking a genuine question, giving them something to react to — rather than simply instructing them through a series of poses. The best frame from a session is very often not the one where someone was told to smile, but the one taken half a second after, when the instructed smile has relaxed into something real.
Consistency also matters more for headshots than for almost any other kind of portrait work, particularly when a headshot is going to sit alongside colleagues' images on a website or in a directory. Similar framing, similar lighting quality, and a similar tonal edit across a set of headshots makes an organisation's team page look coherent and considered rather than like a collection of photographs taken at different times by different people with different equipment, which is exactly what has usually happened when a team page looks inconsistent.
Natural Light Versus Studio Lighting
There are two broad approaches to headshot lighting, and each has genuine strengths depending on what the images are for. A studio setup, using controlled artificial lighting against a plain or branded background, gives complete consistency — useful when photographing a large team where every image needs to match exactly, or where a company has a specific branded backdrop it wants used across all staff photography. The lighting can be replicated precisely from one person to the next, which matters enormously when twenty or thirty headshots need to sit side by side on a website.
A natural light approach, working with window light or an outdoor setting with open shade, tends to produce a softer, more organic result that many people find more flattering and less obviously "corporate". Skin tones read more naturally, the transition from light to shadow across the face is gentler, and the overall feel is closer to a candid portrait than a studio production. This suits individual headshots particularly well — a solo founder, a consultant, a speaker bio photo — where the image needs to feel personable rather than uniform.
In practice I choose the approach based on the brief. For a full team session where every image needs to match precisely for a company website grid, a controlled studio setup travelling to the office is usually the right call. For an individual professional wanting a headshot for LinkedIn, a speaking engagement, or press use, natural light — whether in a studio with large windows or an outdoor location with soft, even shade — often produces a warmer, more distinctive result. Neither approach is objectively better; the right choice depends entirely on how the image will be used and alongside what else.
A note on preparing for your session
The clients who get the most out of a headshot session are usually the ones who have thought briefly beforehand about how the image will actually be used. A headshot for a formal press bio and one for a casual team page can call for a slightly different feel, and knowing that in advance means we can plan expression, framing, and background to match.
Get in touch about headshotsPreparing for Your Session
Clothing choices affect the final image more than most people expect. Solid, mid-to-dark tones photograph more cleanly than busy patterns or very bright colours, which can dominate the frame and pull attention away from your face. Navy, charcoal, deep green, and burgundy are reliable choices because they read as professional without being severe, and they tend to complement most skin tones. Fine patterns and narrow stripes can create a strange shimmering effect in photographs known as moiré, so it is worth avoiding anything too fussy or fine-textured. For team sessions, aiming for a broadly coherent colour palette across the group — rather than everyone in identical outfits, which can look oddly uniform — gives a team page a considered, unified feel.
Grooming is worth planning slightly ahead of the day rather than on the morning of it. A haircut a week or so beforehand tends to look more natural on camera than one from the previous afternoon, which can look slightly too fresh and stiff. If you wear glasses, having them cleaned properly and being aware that certain lens coatings can cause glare under some lighting is worth mentioning before the session so it can be planned around. A light, natural finish generally photographs better than heavy make-up, which can look exaggerated under close, direct lighting, and simple, minimal jewellery avoids drawing attention away from your face.
On the practical side, arriving with a little time to settle in before the camera comes out makes a genuine difference. The first few frames of any session are rarely the strongest, simply because most people take a few minutes to stop feeling self-conscious. Sessions that start with a short, unhurried conversation before any photographs are taken consistently produce more relaxed, natural results than ones that go straight into posing.
Choosing and Using Your Final Images
After a session, working from a full contact sheet rather than a heavily pre-filtered handful of images gives you a genuine choice, and it is worth trusting your own reaction over what you think you are supposed to look like. The image that makes you smile when you see it, rather than the one that looks most conventionally "correct", is very often the one that will work best once it is out in the world on a website or a LinkedIn profile. Retouching for corporate headshots should be light — removing temporary blemishes, evening out lighting, gentle skin smoothing — rather than a heavy edit that starts to look unlike the person in real life. A headshot that does not match how you actually look when someone meets you in person after seeing your profile photo undermines the trust the image was meant to build.
Different platforms call for slightly different crops and formats. LinkedIn and most professional networking uses favour a square or near-square crop with the face relatively large in frame, since it is often viewed at a small size on a phone screen. Company websites and press use tend to want a bit more space around the subject to allow for text overlays or varied page layouts, so having your final images delivered in a few different crops and formats saves a great deal of back-and-forth later.
A well-made headshot is a small, quietly useful piece of infrastructure — it turns up on your LinkedIn profile, your company's about page, a speaker programme, a press release, and keeps working for you in the background for years without you thinking about it much at all, provided it was done properly the first time. If you are due for an update, need headshots for a growing team, or are preparing for a new role or launch, get in touch and we can talk through what will work best for how the images will be used.
Yana Skakun
Photographer · England
Professional wedding, family and portrait photographer based in England. Passionate about capturing authentic emotions and timeless moments.
About Yana →corporate headshot guidehow to prepare for headshotsprofessional portrait tipsLinkedIn photo guidebusiness headshot preparation
Business Headshots — Corporate Headshot Photography in Cambridge & England
Corporate photography with Yana Skakun covers individual headshots, team portraits, and event documentation — all delivered with the same consistent quality and professional tone. Available in Cambridge and across England for businesses of all sizes. This guide — The complete corporate headshot guide: What to expect and how to prepare — is part of the photography journal: practical, experience-based advice drawn from real sessions across England. Whether you arrived searching for corporate headshot guide or how to prepare for headshots, the same care and attention shapes every session Yana photographs.
Corporate Headshot Photography sessions are available year-round, with bookings open across Cambridge, Ely, Huntingdon, Peterborough, and further afield — East England, London, the Midlands, and beyond. If you have specific questions about professional portrait tips, mention it in your enquiry. Get in touch through the contact form above to check availability and discuss your session. Enquiries are welcomed from anywhere in the UK.
Frequently Asked Questions
What camera settings should I use for outdoor portraits?+
For outdoor portraits, shoot in aperture priority mode. Use a wide aperture (f/1.8–f/2.8) to blur the background and isolate your subject. Keep ISO as low as possible in good light. In bright conditions, use a neutral density filter or switch to manual to avoid overexposure at wide apertures.
What is the golden hour in photography?+
Golden hour is the period roughly 30–60 minutes after sunrise and before sunset. The sun is low in the sky, producing warm, soft, directional light that flatters skin tones and creates beautiful long shadows. It's widely considered the best natural light for portrait and outdoor photography.
How do you get sharp photos in low light?+
In low light, increase your ISO (accepting some grain), use the widest aperture your lens allows, and slow your shutter speed to the slowest you can hand-hold without camera shake (roughly 1/focal length as a guide). Use image stabilisation if available, and consider a tripod for static subjects.
What is the rule of thirds in photography?+
The rule of thirds divides the frame into a 3×3 grid. Placing your subject on one of the four intersection points — rather than dead centre — creates a more dynamic, visually interesting composition. It's a guideline, not a rule: some of the most powerful images break it deliberately.
How do you edit photos to look professional?+
Professional editing starts with shooting in RAW format. In Lightroom or similar software, correct exposure, white balance, and contrast first. Recover shadow and highlight detail. Apply gentle colour grading for mood. Be conservative with skin retouching — the goal is natural enhancement, not transformation. Consistency across a set of images is what separates professional from amateur editing.
Continue Reading
Related Articles
Business Headshots
Why professional business headshots are worth the investment in 2025
7 min read · Read Article
Business Headshots
LinkedIn headshot: What actually makes a profile photo work
7 min read · Read Article
Business Headshots
Virtual backgrounds vs real headshots: Why your LinkedIn photo still matters
6 min read · Read Article
Get in Touch
Ready to Book Your Session?
Get in touch to discuss your vision — I'll reply within 24 hours.